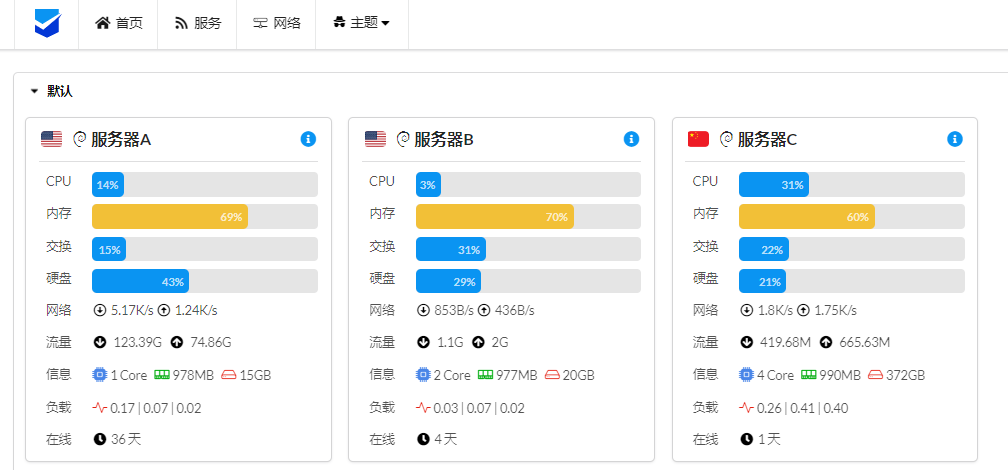
没有公网 IP 如何部署哪吒探针(适用于家里云 Nas、Nat VPS、IPv6 Only VPS)
哪吒探针可以帮你监控多台服务器的实时状态,通常情况下,安装面板的机器需要拥有公网 IP,才能接受 Agent 的数据,但我们可以通过 Cloudflare Tunnels 来实现无公网 IP 部署哪吒探针本文假设你已经按照官方文档安装好哪吒探针,并且面板端口为 8008,Agent 通信端口为 5555。
·
前言
哪吒探针可以帮助我们监控多台服务器的实时状态,通常情况下,安装面板的机器需要拥有公网 IP,才能接受 Agent 的数据,但我们可以通过 Cloudflare Tunnels 来实现无公网 IP 部署哪吒探针
本文假设你已经按照官方文档安装好哪吒探针,并且面板端口为 8008,Agent 通信端口为 5555
哪吒面板端
- 编辑面板配置文件
vim /opt/nezha/dashboard/data/config.yaml
- 将
GRPCHostProxuGRPCPortTLS这三项做如下修改
GRPCHost: data.example.com
ProxyGRPCPort: 443
TLS: true
- 重启面板
哪吒 Agent
- 通信域名: data.example.com
- 面板通信端口: 443 (套 Cloudflare CDN 必须为443)
- Agent 密钥: 管理面板中添加服务器时生成的密钥
- gRPC 端口的 SSL/TLS 加密: y
Nginx 设置
申请 SSL 证书
证书可以选择自签名证书或者 Cloudflare 的 15 年证书
自签名证书
openssl genrsa -out /opt/nezha/nezha.key 2048
openssl req -new -subj "/CN=data.example.com" -key /opt/nezha/nezha.key -out /opt/nezha/nezha.csr
openssl x509 -req -days 36500 -in /opt/nezha/nezha.csr -signkey /opt/nezha/nezha.key -out /opt/nezha/nezha.pem
Cloudflare 证书
按照下图创建证书,将私钥和证书命名为 nezha.key 和 nezha.pem,上传到 /opt/nezha 目录

安装 Nginx
apt-get install nginx -y
编辑 nezha.conf
确保
/etc/nginx/nginx.conf中包含include /etc/nginx/conf.d/*.conf(默认包含),否则下面的配置文件不会生效
- 创建
nezha.conf文件
vim /etc/nginx/conf.d/nezha.conf
- 填入以下内容,其中将
server_name修改为你的域名
server {
  listen 443 ssl http2;
  listen [::]:443 ssl http2;
  server_name data.example.com;

  ssl_certificate /opt/nezha/nezha.pem;
  ssl_certificate_key /opt/nezha/nezha.key;
  ssl_stapling on;
  ssl_session_timeout 1d;
  ssl_protocols TLSv1.2 TLSv1.3;

  underscores_in_headers on;

  keepalive_time 24h;
  keepalive_requests 100000;
  keepalive_timeout 120s;

  location / {
    proxy_pass http://localhost:8008;
    proxy_set_header Host $http_host;
    proxy_set_header Upgrade $http_upgrade;
  }

  location ~ ^/(ws|terminal/.+)$ {
    proxy_pass http://localhost:8008;
    proxy_http_version 1.1;
    proxy_set_header Upgrade $http_upgrade;
    proxy_set_header Connection "Upgrade";
    proxy_set_header Host $http_host;
  }

  location ^~ /proto.NezhaService/ {
    grpc_read_timeout 300s;
    grpc_send_timeout 300s;
    grpc_socket_keepalive on;
    grpc_pass grpc://grpcservers;
  }
}

upstream grpcservers {
    server localhost:5555;
    keepalive 512;
}
- 重启 Nginx
systemctl restart nginx
Cloudflare 设置
SSL
SSL 设置需要设置为 Full / Full (strict)。如果用的自签名证书选择 Full;用的是 Cloudflare 的 15 年证书选择 Full (strict)

gRPC
Network 设置中需要把 gRPC 打开

http2
- 启动 cloudflared 时需要添加
--protocol http2参数 - 编辑
cloudflared.service文件
vim /etc/systemd/system/cloudflared.service
- 找到
ExecStart项,添加--protocol http2
ExecStart=/usr/bin/cloudflared --no-autoupdate tunnel run --protocol http2 --token <token>
- 重启 cloudflared
systemctl daemon-reload
systemctl restart cloudflared
Tunnels
- Path 为空
- Service:
HTTPS://localhost:443 - No TLS Verify: Enabled
- HTTP2 connection: Enabled

更多推荐
 已为社区贡献8条内容


所有评论(0)