安卓开发 5.5 初探Fragment
对于多界面安卓应用,当然可以使用多个Activity来实现,但是比较浪费资源,不如在一个Activity中使用多个碎片(Fragment)来实现界面切换效果。
·
文章目录
一、导读
- 对于多界面安卓应用,当然可以使用多个Activity来实现,但是比较浪费资源,不如在一个Activity中使用多个碎片(Fragment)来实现界面切换效果。
二、Fragment
1、概述
- Fragment是Android3.0引入的新API,它代表Activity的子模板,所以可以把fragment理解为Activity片段。Fragment必须被“嵌入”Avtivity中使用,因此Fragment也拥有自己的生命周期,不过Fragment的生命周期受Activity所控制,也就是说Activity停止的时候,Activity中所有的Fragment都会被停止,其它状态也是一样。
2、生命周期
- 附加与分离:onAttach() + onDetach()
- 创建和销毁:onCreate() + onDestroy()
- 创建视图和销毁视图:onCreateView() + onDestroyView()
- 可见和不可见:onStart() + onStop()
- 可交互和不可交互:onResume() + onPause()
三、切换碎片案列
1、准备工作
- 基于
Empty Activity目录创建安卓应用 -SwitchFragment - 将三张背景图片拷贝到
drawable目录 - 字符串资源文件 -
strings.xml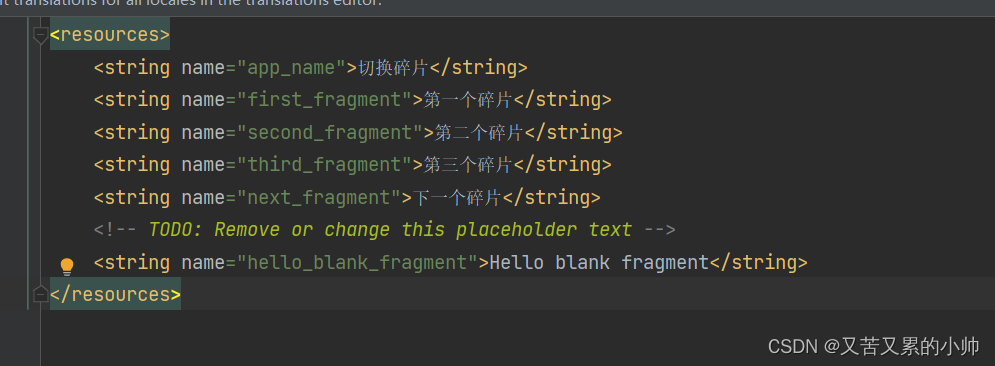
2、主布局资源文件
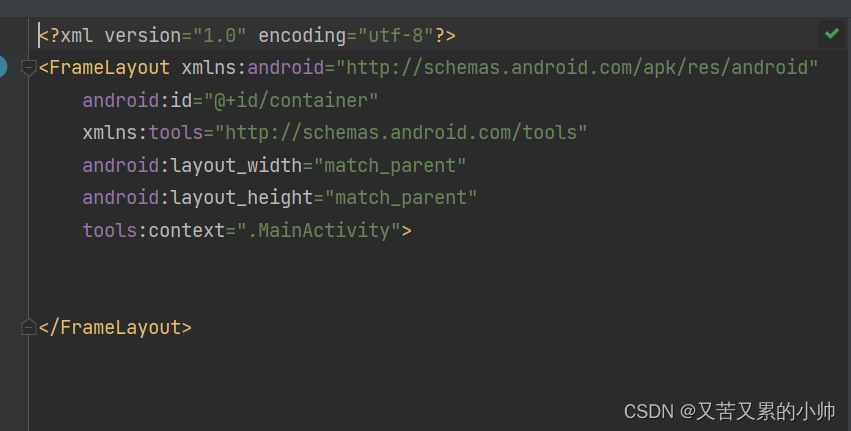
- 主布局现在没有负责具体的界面设计工作,它只是提供一个容器或平台,让碎片去负责各自的界面设计
3、创建碎片
(1)、创建第一个碎片
- 基于模板创建碎片 -
FirstFragment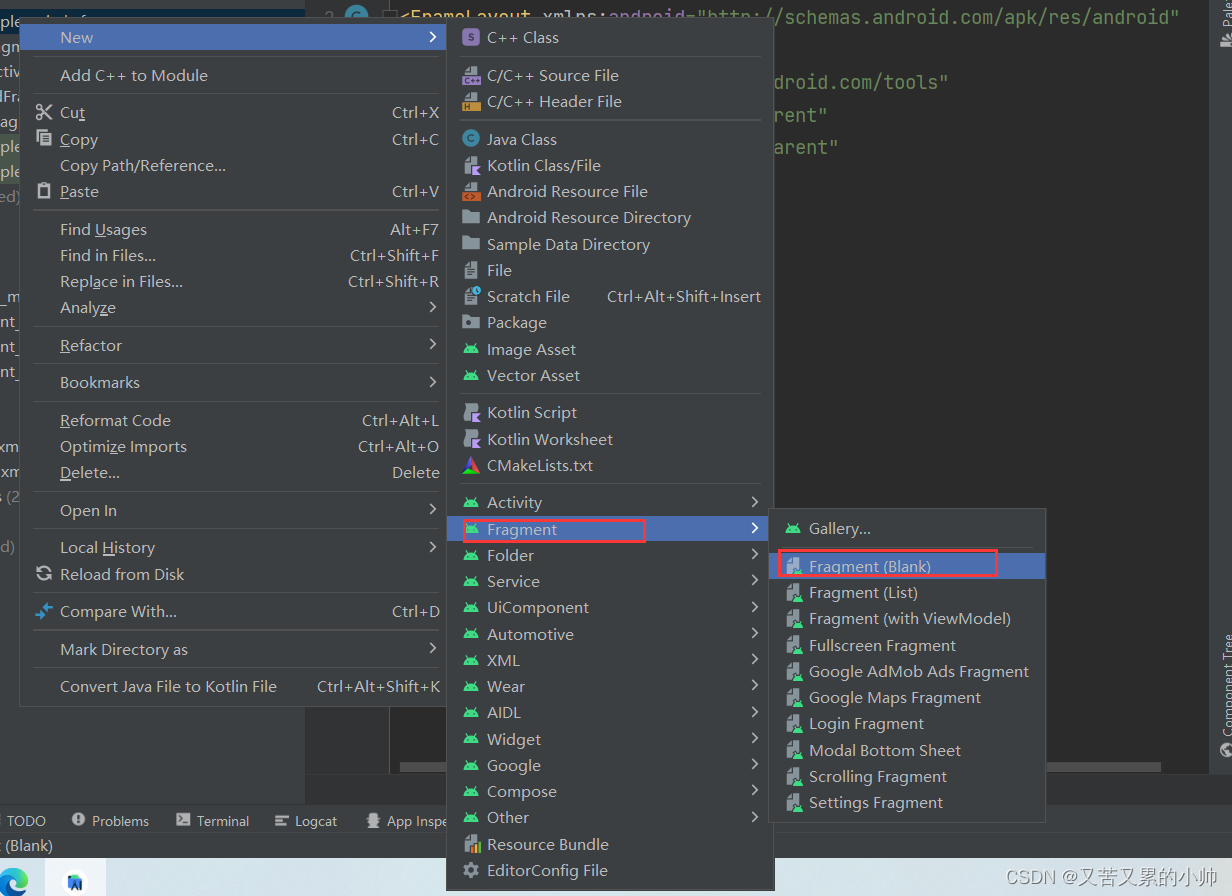
- 设置碎片名称 -
FirstFragment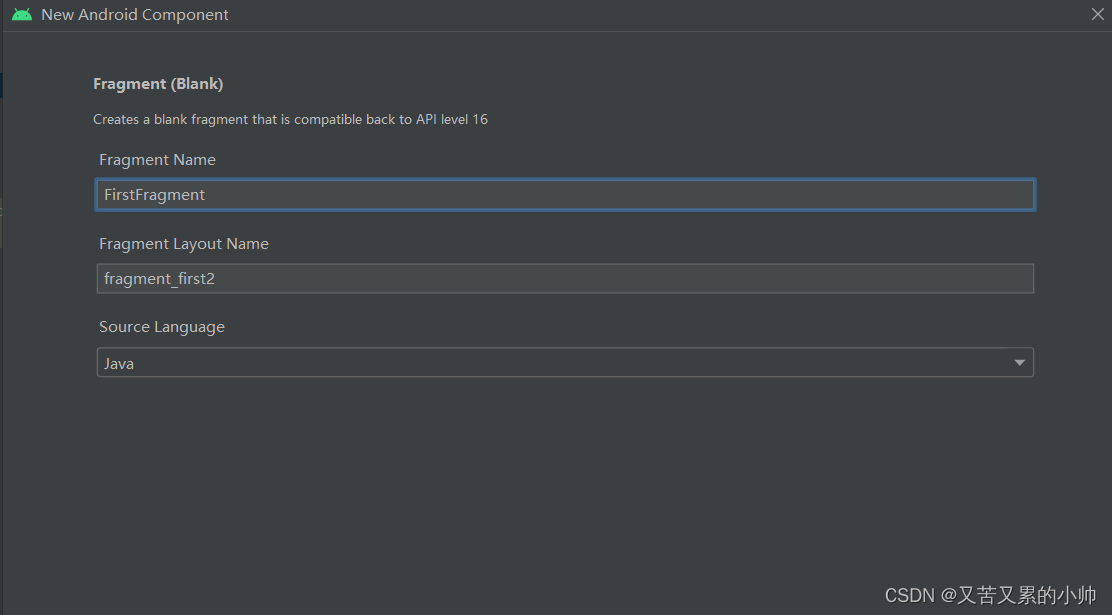
- 修改第一个碎片的布局资源文件 -
fragment_first.xml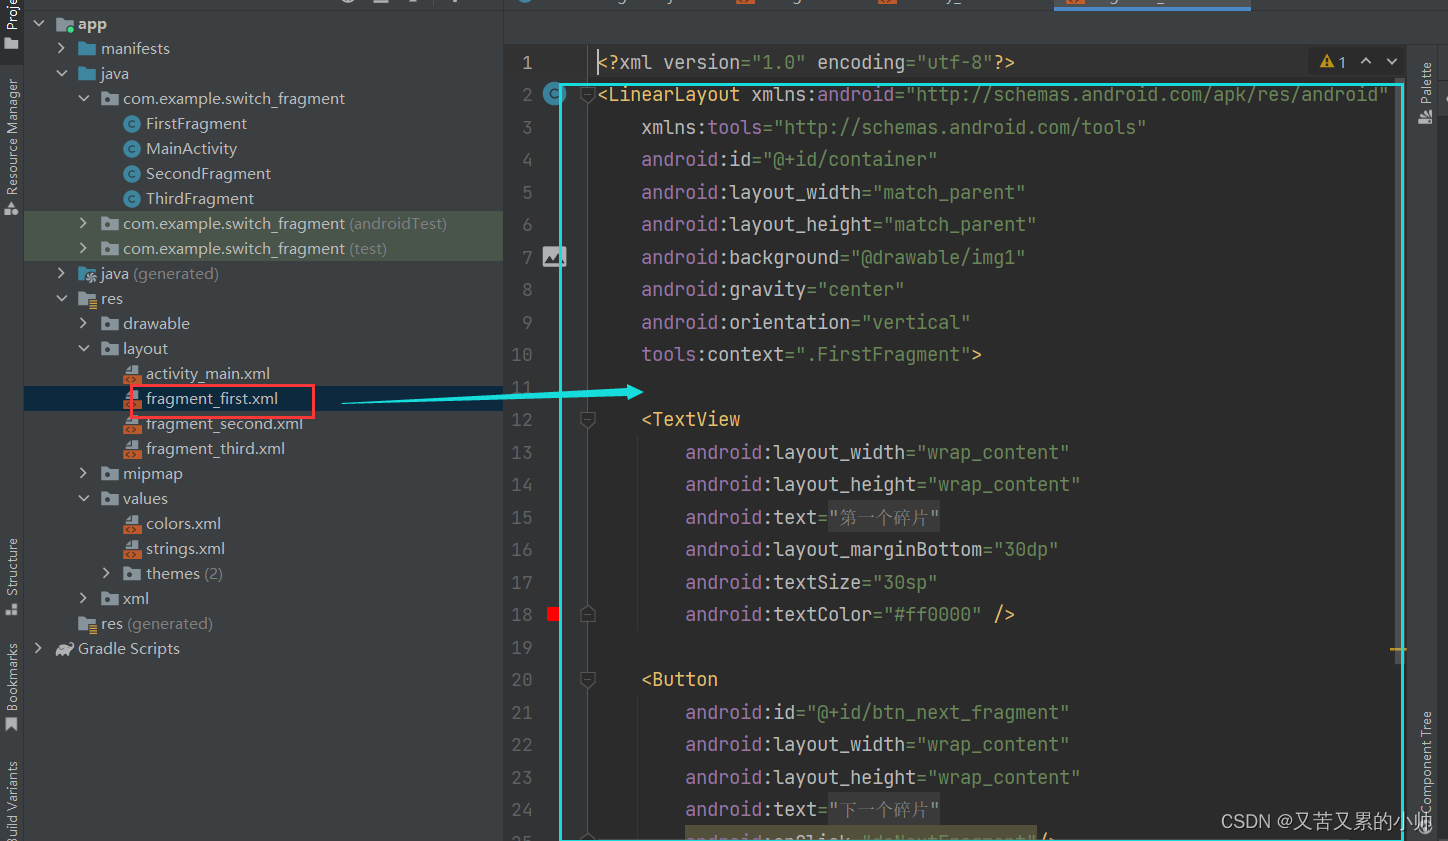
<?xml version="1.0" encoding="utf-8"?>
<LinearLayout xmlns:android="http://schemas.android.com/apk/res/android"
    xmlns:tools="http://schemas.android.com/tools"
    android:id="@+id/container"
    android:layout_width="match_parent"
    android:layout_height="match_parent"
    android:background="@drawable/img1"
    android:gravity="center"
    android:orientation="vertical"
    tools:context=".FirstFragment">

    <TextView
        android:layout_width="wrap_content"
        android:layout_height="wrap_content"
        android:text="@string/first_fragment"
        android:layout_marginBottom="30dp"
        android:textSize="30sp"
        android:textColor="#ff0000" />

    <Button
        android:id="@+id/btn_next_fragment"
        android:layout_width="wrap_content"
        android:layout_height="wrap_content"
        android:text="@string/next_fragment"
        android:onClick="doNextFragment"/>

</LinearLayout>
(2)、按照(1)来继续创建第二、三个碎片
- 基于模板创建第二个碎片 - SecondFragment
- 基于 模板创建第三个碎片 - ThirdFragment
1、第二碎片个布局资源文件代码
<?xml version="1.0" encoding="utf-8"?>
<LinearLayout xmlns:android="http://schemas.android.com/apk/res/android"
    xmlns:tools="http://schemas.android.com/tools"
    android:id="@+id/container"
    android:layout_width="match_parent"
    android:layout_height="match_parent"
    android:background="@drawable/img2"
    android:gravity="center"
    android:orientation="vertical"
    tools:context=".SecondFragment">

    <TextView
        android:layout_width="wrap_content"
        android:layout_height="wrap_content"
        android:layout_marginBottom="30dp"
        android:text="@string/second_fragment"
        android:textColor="#00ff00"
        android:textSize="50sp" />

    <Button
        android:id="@+id/btn_next_fragment"
        android:layout_width="wrap_content"
        android:layout_height="wrap_content"
        android:onClick="doNextFragment"
        android:text="@string/next_fragment"/>


</LinearLayout>
2、第三碎片个布局资源文件代码
<?xml version="1.0" encoding="utf-8"?>
<LinearLayout xmlns:android="http://schemas.android.com/apk/res/android"
    xmlns:tools="http://schemas.android.com/tools"
    android:id="@+id/container"
    android:layout_width="match_parent"
    android:layout_height="match_parent"
    android:background="@drawable/img3"
    android:orientation="vertical"
    android:gravity="center"
    tools:context=".ThirdFragment">

    <TextView
        android:layout_width="wrap_content"
        android:layout_height="wrap_content"
        android:layout_marginBottom="50dp"
        android:text="@string/third_fragment"
        android:textColor="#0000ff"
        android:textSize="30sp" />

    <Button
        android:id="@+id/btn_next_fragment"
        android:layout_width="wrap_content"
        android:layout_height="wrap_content"
        android:onClick="doNextFragment"
        android:text="@string/next_fragment"/>

</LinearLayout>
4、主界面类实现功能
- 主界面类 -
MainActivity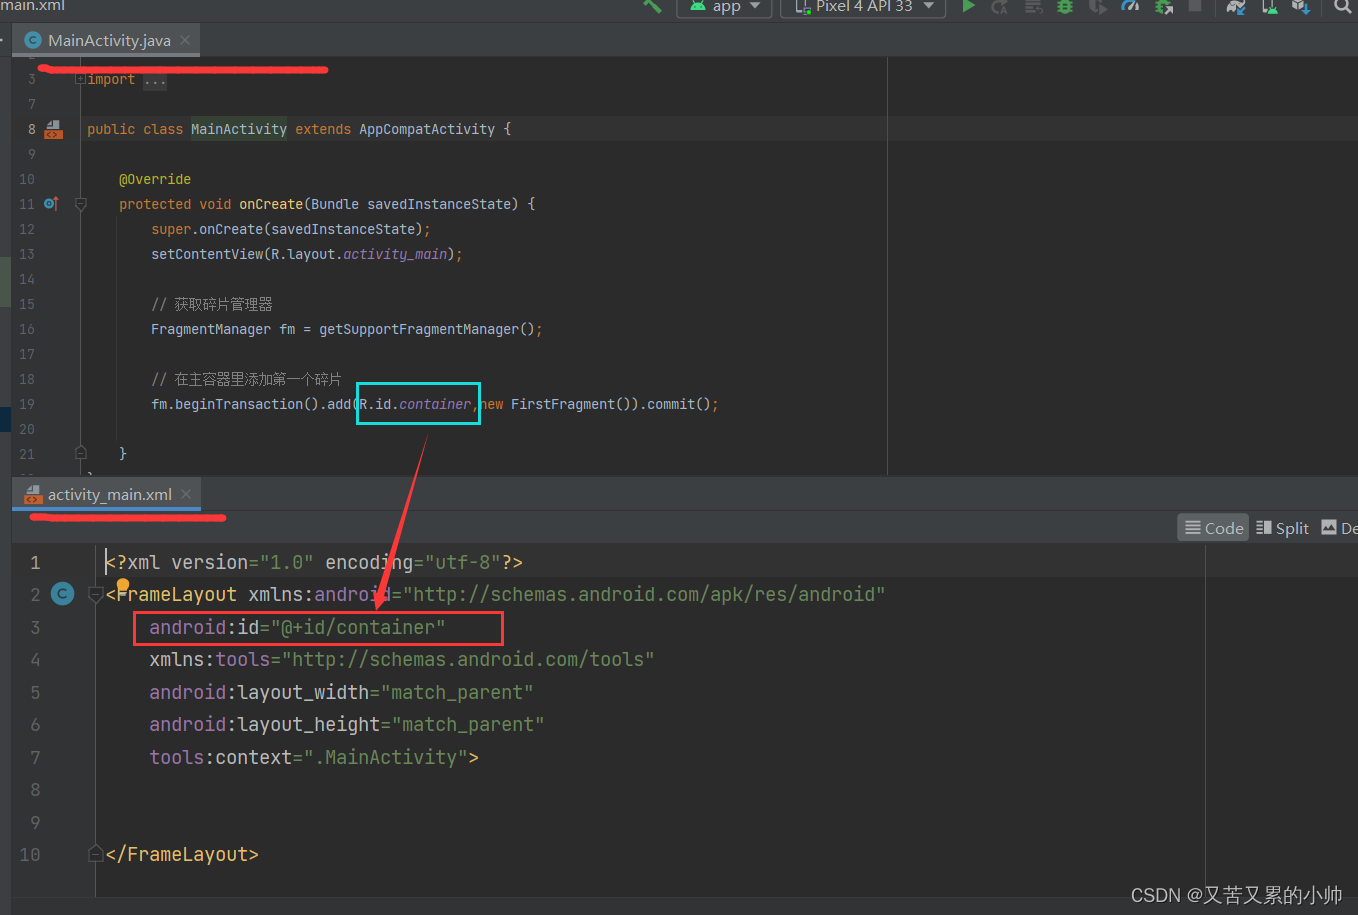
5、碎片界面类实现功能
(1)第一个碎片界面(FirstFragment)类实现功能
public class FirstFragment extends Fragment {

    private Button btnNextFragment;

    @Override
    public void onCreate(Bundle savedInstanceState) {
        super.onCreate(savedInstanceState);

    }

    @Override
    public View onCreateView(LayoutInflater inflater, ViewGroup container,
                             Bundle savedInstanceState) {
        // 获取碎片视图
        View view = inflater.inflate(R.layout.fragment_first,container,false);

        // 通过资源标识符获取实例控件
        btnNextFragment = view.findViewById(R.id.btn_next_fragment);
        // 给按钮注册单击监听事件
        btnNextFragment.setOnClickListener(new View.OnClickListener() {
            @Override
            public void onClick(View v) {
                // 切换到第二个碎片
                getFragmentManager().beginTransaction().addToBackStack("next")
                        .replace(R.id.container,new SecondFragment())
                        .commit();
            }
        });

        // 返回碎片视图
        return view;

    }
}
(2)第二个碎片界面(SecondFragment)类实现功能
public class SecondFragment extends Fragment {

    private Button btnNextFragment;

    @Override
    public void onCreate(Bundle savedInstanceState) {
        super.onCreate(savedInstanceState);

    }

    @Override
    public View onCreateView(LayoutInflater inflater, ViewGroup container,
                             Bundle savedInstanceState) {
        // 获取碎片视图
        View view = inflater.inflate(R.layout.fragment_second,container,false);
        // 实例化
        btnNextFragment = view.findViewById(R.id.btn_next_fragment);
        btnNextFragment.setOnClickListener(new View.OnClickListener() {
            @Override
            public void onClick(View v) {
                // 切换到第二个碎片
                getFragmentManager().beginTransaction().addToBackStack("next")
                        .replace(R.id.container,new ThirdFragment())
                        .commit();
            }
        });

        return view;

    }
}
(3)第三个碎片界面(ThirdFragment)类实现功能
public class ThirdFragment extends Fragment {

    private Button btnNextFragment;


    @Override
    public void onCreate(Bundle savedInstanceState) {
        super.onCreate(savedInstanceState);

    }

    @Override
    public View onCreateView(LayoutInflater inflater, ViewGroup container,
                             Bundle savedInstanceState) {
        View view = inflater.inflate(R.layout.fragment_third,container,false);

        btnNextFragment = view.findViewById(R.id.btn_next_fragment);
        btnNextFragment.setOnClickListener(new View.OnClickListener() {
            @Override
            public void onClick(View v) {
                getFragmentManager().beginTransaction().addToBackStack("next")
                        .replace(R.id.container,new FirstFragment())
                        .commit();
            }
        });

        return view;

    }
}
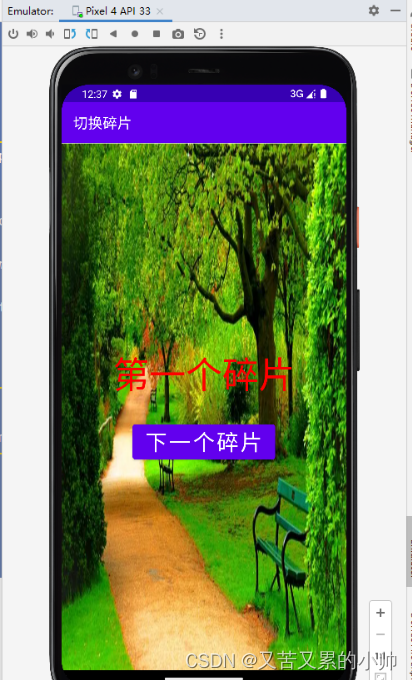
6、启动应用,查看效果
7、优化代码存在的不足(这里不做补充)
- 每次切换碎片时,都是利用new来创建新的碎片,这样在不断切换碎片的过程中,就导致资源的浪费

华为开发者空间,是为全球开发者打造的专属开发空间,汇聚了华为优质开发资源及工具,致力于让每一位开发者拥有一台云主机,基于华为根生态开发、创新。
更多推荐


 2
2 0
0- 0


 已为社区贡献5条内容

所有评论(0)