VS code连接Ubuntu虚拟机
VS code连接Ubuntu虚拟机
·
1. Ubuntu安装openssh-server,装完即自动启动ssh服务。
apt install openssh-server2. vs code搜索安装Remote Development插件。

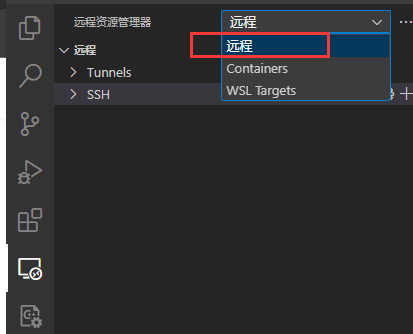
3. 打开远程工具,选择为远程
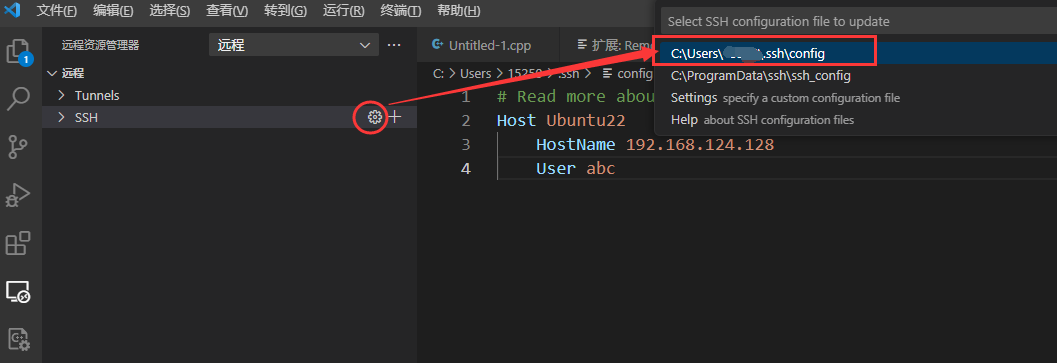
4. 点击SSH的设置,打开虚拟机(服务器)信息配置文件,填写服务器信息。
Host:服务器名字,可随便写;
HostName:服务器IP;
User:登录服务器的用户(Ubuntu通常不可为root)
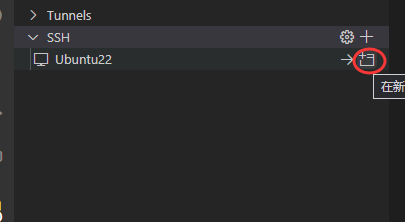
5. 填完服务器信息后保存,刷新,添加成功。
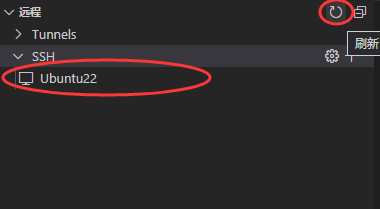
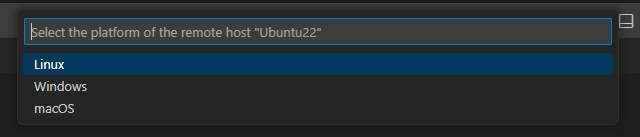
6. 点击Ubuntu22右边的连接,选择Linux,输入密码即可连接。

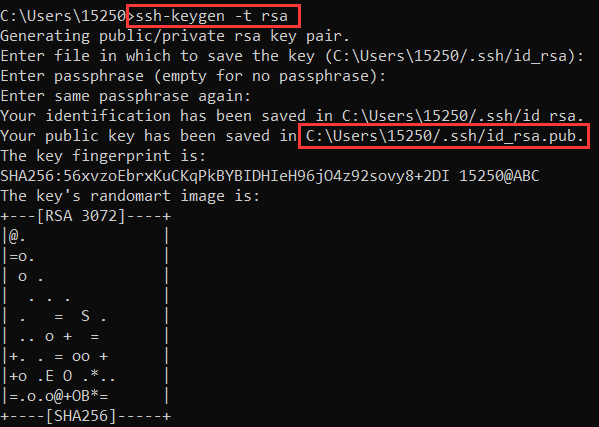
7. 使用公钥私钥省去每次连接输入密码的步骤。
(1)Windows命令行生成公钥。输入ssh-keygen -t rsa后,一直回车使用默认设置。
生成的公钥路径在第二个红框里面。
(2)定位到上述路径,记事本打开,全部复制。

(3)在虚拟机中输入ssh-keygen -t rsa,生成公钥私钥路径。(注意:虚拟机中生成公钥私钥的用户必须和vscode登录虚拟机的用户必须相同,否则无效)
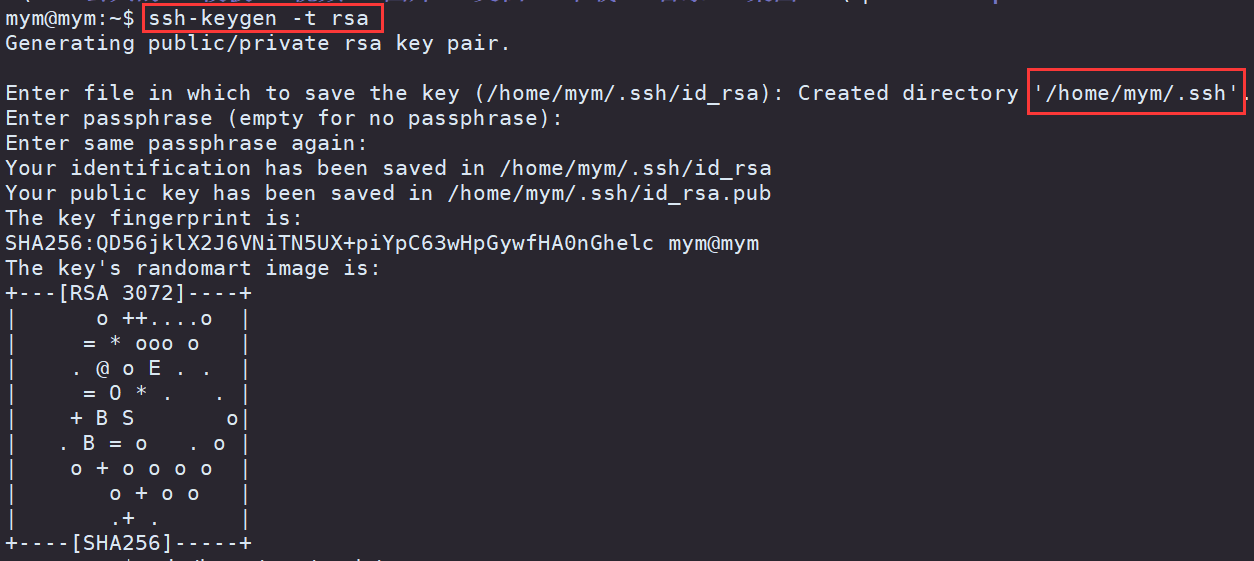
(4)进入上述生成的路径(第二个红框),vim创建authorized_keys,将从Windows粘贴的公钥复制进去保存。 再次使用vs code连接虚拟机(服务器)时就无需输入密码了。

华为开发者空间,是为全球开发者打造的专属开发空间,汇聚了华为优质开发资源及工具,致力于让每一位开发者拥有一台云主机,基于华为根生态开发、创新。
更多推荐


 4
4 0
0- 0


 已为社区贡献1条内容

所有评论(0)