linux NFS 服务配置
(4)共享/nfs/test目录,所有人都具有读写权限,但是当用户使用该共享目录时,都将账号映射成匿名用户,并且指定匿名用户的UID和GID都为65534。(2)共享/nfs/public目录,允许192.168.100.0/24和192.168.200.0/24网段的客户端访问,并且对此目录只有只读权限。(3)共享/nfs/works目录,192.168.100.0/24网段的客户端具有只读权限
首先恢复虚拟机1与虚拟机2快照,重新准备环境:
虚拟机1-单网卡-仅主机模式-192.168.100.10
虚拟机2-单网卡-仅主机模式-192.168.100.20
虚拟机3-单网卡-仅主机模式-192.168.100.30
保证网络连通(三个虚拟机可互通,物理机可ping通三台虚拟机),本地yum源配好!!
-------------------------------------------------------
任务一、NFS文件系统挂载
0、虚拟机1与虚拟机2均配置好网络,关闭firewalld、SELinux1、虚拟机1安装nfs软件
[root@localhost ~]# yum install rpcbind nfs-utils -y

[root@localhost ~]# rpm -qa |grep rpc
libtirpc-0.2.4-0.10.el7.x86_64
xmlrpc-c-client-1.32.5-1905.svn2451.el7.x86_64
xmlrpc-c-1.32.5-1905.svn2451.el7.x86_64
rpcbind-0.2.0-42.el7.x86_64

[root@localhost ~]# rpm -qa |grep nfs
libnfsidmap-0.25-17.el7.x86_64
nfs-utils-1.3.0-0.48.el7.x86_64
2、虚拟机1启动nfs服务
[root@localhost ~]# systemctl start rpcbind && systemctl start nfs && systemctl start nfs-server

[root@localhost ~]# systemctl enable nfs-server

[root@localhost ~]# systemctl enable rpcbind
3、虚拟机1创建共享目录并配置
[root@localhost ~]# mkdir /tmp1
[root@localhost ~]# touch /tmp1/test.tar
[root@localhost ~]# vim /etc/exports
添加如下内容:
/tmp1  192.168.100.20/24(ro)  localhost(rw)  *(ro,sync)
4、虚拟机2(客户端)挂载
首先虚拟机2(客户端)安装nfs-utils
[root@localhost ~]# yum install nfs-utils -y然后识别要访问的远程共享
[root@localhost ~]# showmount -e 192.168.100.10
Export list for 192.168.100.10:
/tmp1 (everyone)
虚拟机2挂载
[root@localhost ~]# mkdir /mnt/nfs
[root@localhost ~]# mount -t nfs 192.168.100.10:/tmp1 /mnt/nfs
[root@localhost ~]# ll /mnt/nfs/
总用量 0
-rw-r--r--. 1 root root 0 8月  24 09:31 test.tar
-------------------------------------------------------
任务二、NFS综合应用实战
企业NFS服务器虚拟机1的地址是192.168.100.10;一个客户端Client1(虚拟机2)的IP地址是192.168.100.20;另一个客户端Client2(虚拟机3)的IP地址是192.168.100.30。
需求分析:
(1)共享/media目录,允许所有客户端访问该目录并只有只读权限。
(2)共享/nfs/public目录,允许192.168.100.0/24和192.168.200.0/24网段的客户端访问,并且对此目录只有只读权限。
(3)共享/nfs/works目录,192.168.100.0/24网段的客户端具有只读权限,并且将root用户映射成匿名用户。
(4)共享/nfs/test目录,所有人都具有读写权限,但是当用户使用该共享目录时,都将账号映射成匿名用户,并且指定匿名用户的UID和GID都为65534。
(5)共享/nfs/security目录,仅允许192.168.100.20客户端访问并具有读写权限。
步骤:
0、三台虚拟机均配置好网络和本地yum源,关闭firewalld与SELinux
1、在虚拟机1上创建相关目录并设置权限
[root@localhost ~]# mkdir /media
[root@localhost ~]# mkdir /nfs
[root@localhost ~]# mkdir /nfs/public
[root@localhost ~]# mkdir /nfs/works
[root@localhost ~]# mkdir /nfs/test
[root@localhost ~]# mkdir /nfs/security
[root@localhost ~]# chmod 777 /media
[root@localhost ~]# chmod -R 777 /nfs
2、虚拟机1安装nfs服务并启动,虚拟机2与虚拟机3安装nfs客户端
虚拟机1:
[root@localhost ~]# yum install rpcbind nfs-utils -y
[root@localhost ~]# systemctl start rpcbind && systemctl start nfs && systemctl start nfs-server
[root@localhost ~]# systemctl enable nfs-server
[root@localhost ~]# systemctl enable rpcbind
虚拟机2、虚拟机3:
[root@localhost ~]# yum install nfs-utils -y3、虚拟机1配置nfs
[root@localhost ~]# vim /etc/exports
添加如下内容:
/media *(ro)
/nfs/public 192.168.100.0/24(ro) 192.168.200.0/24(ro)
/nfs/works 192.168.100.0/24(ro,root_squash)
/nfs/test *(rw,all_squash,anonuid=65534,anongid=65534)
/nfs/security 192.168.100.20(rw)

重启nfs服务
[root@localhost ~]# systemctl restart nfs-server rpcbind
4、客户端验证
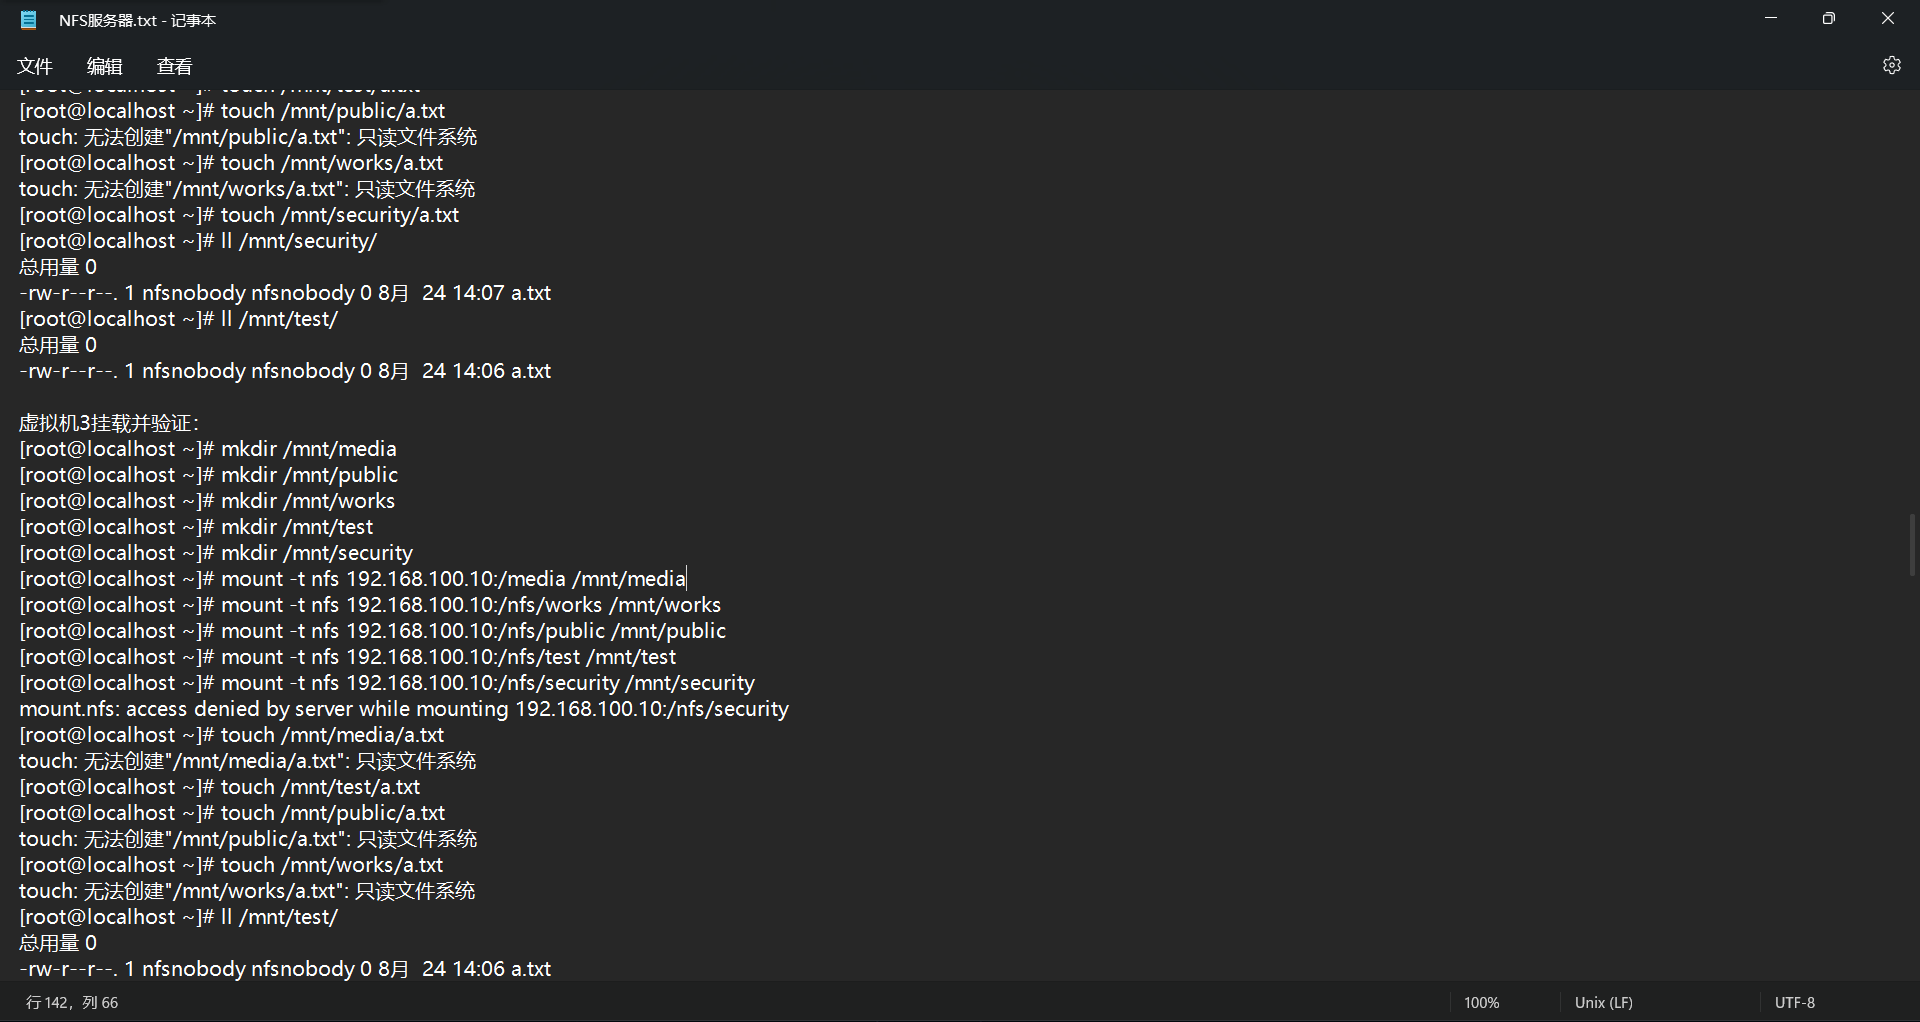
虚拟机2挂载并验证:
[root@localhost ~]# mkdir /mnt/media
[root@localhost ~]# mkdir /mnt/public
[root@localhost ~]# mkdir /mnt/works
[root@localhost ~]# mkdir /mnt/test
[root@localhost ~]# mkdir /mnt/security
[root@localhost ~]# mount -t nfs 192.168.100.10:/media /mnt/media
[root@localhost ~]# mount -t nfs 192.168.100.10:/nfs/works /mnt/works
[root@localhost ~]# mount -t nfs 192.168.100.10:/nfs/public /mnt/public
[root@localhost ~]# mount -t nfs 192.168.100.10:/nfs/test /mnt/test
[root@localhost ~]# mount -t nfs 192.168.100.10:/nfs/security /mnt/security
[root@localhost ~]# touch /mnt/media/a.txt
touch: 无法创建"/mnt/media/a.txt": 只读文件系统
[root@localhost ~]# touch /mnt/test/a.txt
[root@localhost ~]# touch /mnt/public/a.txt
touch: 无法创建"/mnt/public/a.txt": 只读文件系统
[root@localhost ~]# touch /mnt/works/a.txt
touch: 无法创建"/mnt/works/a.txt": 只读文件系统
[root@localhost ~]# touch /mnt/security/a.txt
[root@localhost ~]# ll /mnt/security/
总用量 0
-rw-r--r--. 1 nfsnobody nfsnobody 0 8月  24 14:07 a.txt
[root@localhost ~]# ll /mnt/test/
总用量 0
-rw-r--r--. 1 nfsnobody nfsnobody 0 8月  24 14:06 a.txt
虚拟机3挂载并验证:
[root@localhost ~]# mkdir /mnt/media
[root@localhost ~]# mkdir /mnt/public
[root@localhost ~]# mkdir /mnt/works
[root@localhost ~]# mkdir /mnt/test
[root@localhost ~]# mkdir /mnt/security
[root@localhost ~]# mount -t nfs 192.168.100.10:/media /mnt/media
[root@localhost ~]# mount -t nfs 192.168.100.10:/nfs/works /mnt/works
[root@localhost ~]# mount -t nfs 192.168.100.10:/nfs/public /mnt/public
[root@localhost ~]# mount -t nfs 192.168.100.10:/nfs/test /mnt/test
[root@localhost ~]# mount -t nfs 192.168.100.10:/nfs/security /mnt/security
mount.nfs: access denied by server while mounting 192.168.100.10:/nfs/security
[root@localhost ~]# touch /mnt/media/a.txt
touch: 无法创建"/mnt/media/a.txt": 只读文件系统
[root@localhost ~]# touch /mnt/test/a.txt
[root@localhost ~]# touch /mnt/public/a.txt
touch: 无法创建"/mnt/public/a.txt": 只读文件系统
[root@localhost ~]# touch /mnt/works/a.txt
touch: 无法创建"/mnt/works/a.txt": 只读文件系统
[root@localhost ~]# ll /mnt/test/
总用量 0
-rw-r--r--. 1 nfsnobody nfsnobody 0 8月 24 14:06 a.txt更多推荐
 已为社区贡献7条内容


所有评论(0)