云主机linux个人博客安装hugo并配置到nginx
linux个人博客安装hugo我的云主机是64位的打开hugo的github传送门下载到云主机[root@hecs-82454 local]# wget https://github.com/gohugoio/hugo/releases/download/v0.88.1/hugo_0.88.1_Linux-64bit.tar.gz下载时间可能比较长,等待一下接下来解压下载下来的压缩包[root@h
云主机linux个人博客安装hugo并配置到nginx
我的云主机是64位的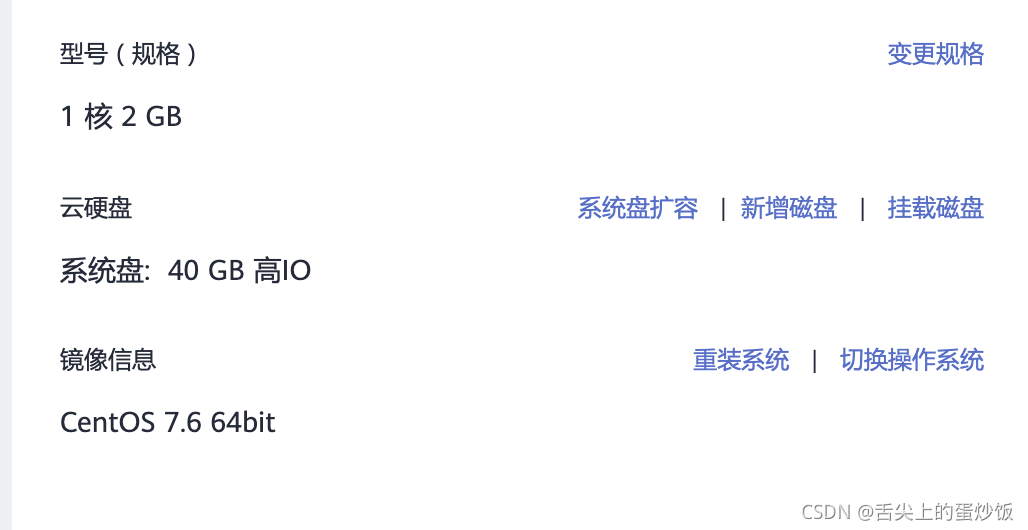
下载hugo
打开hugo的github
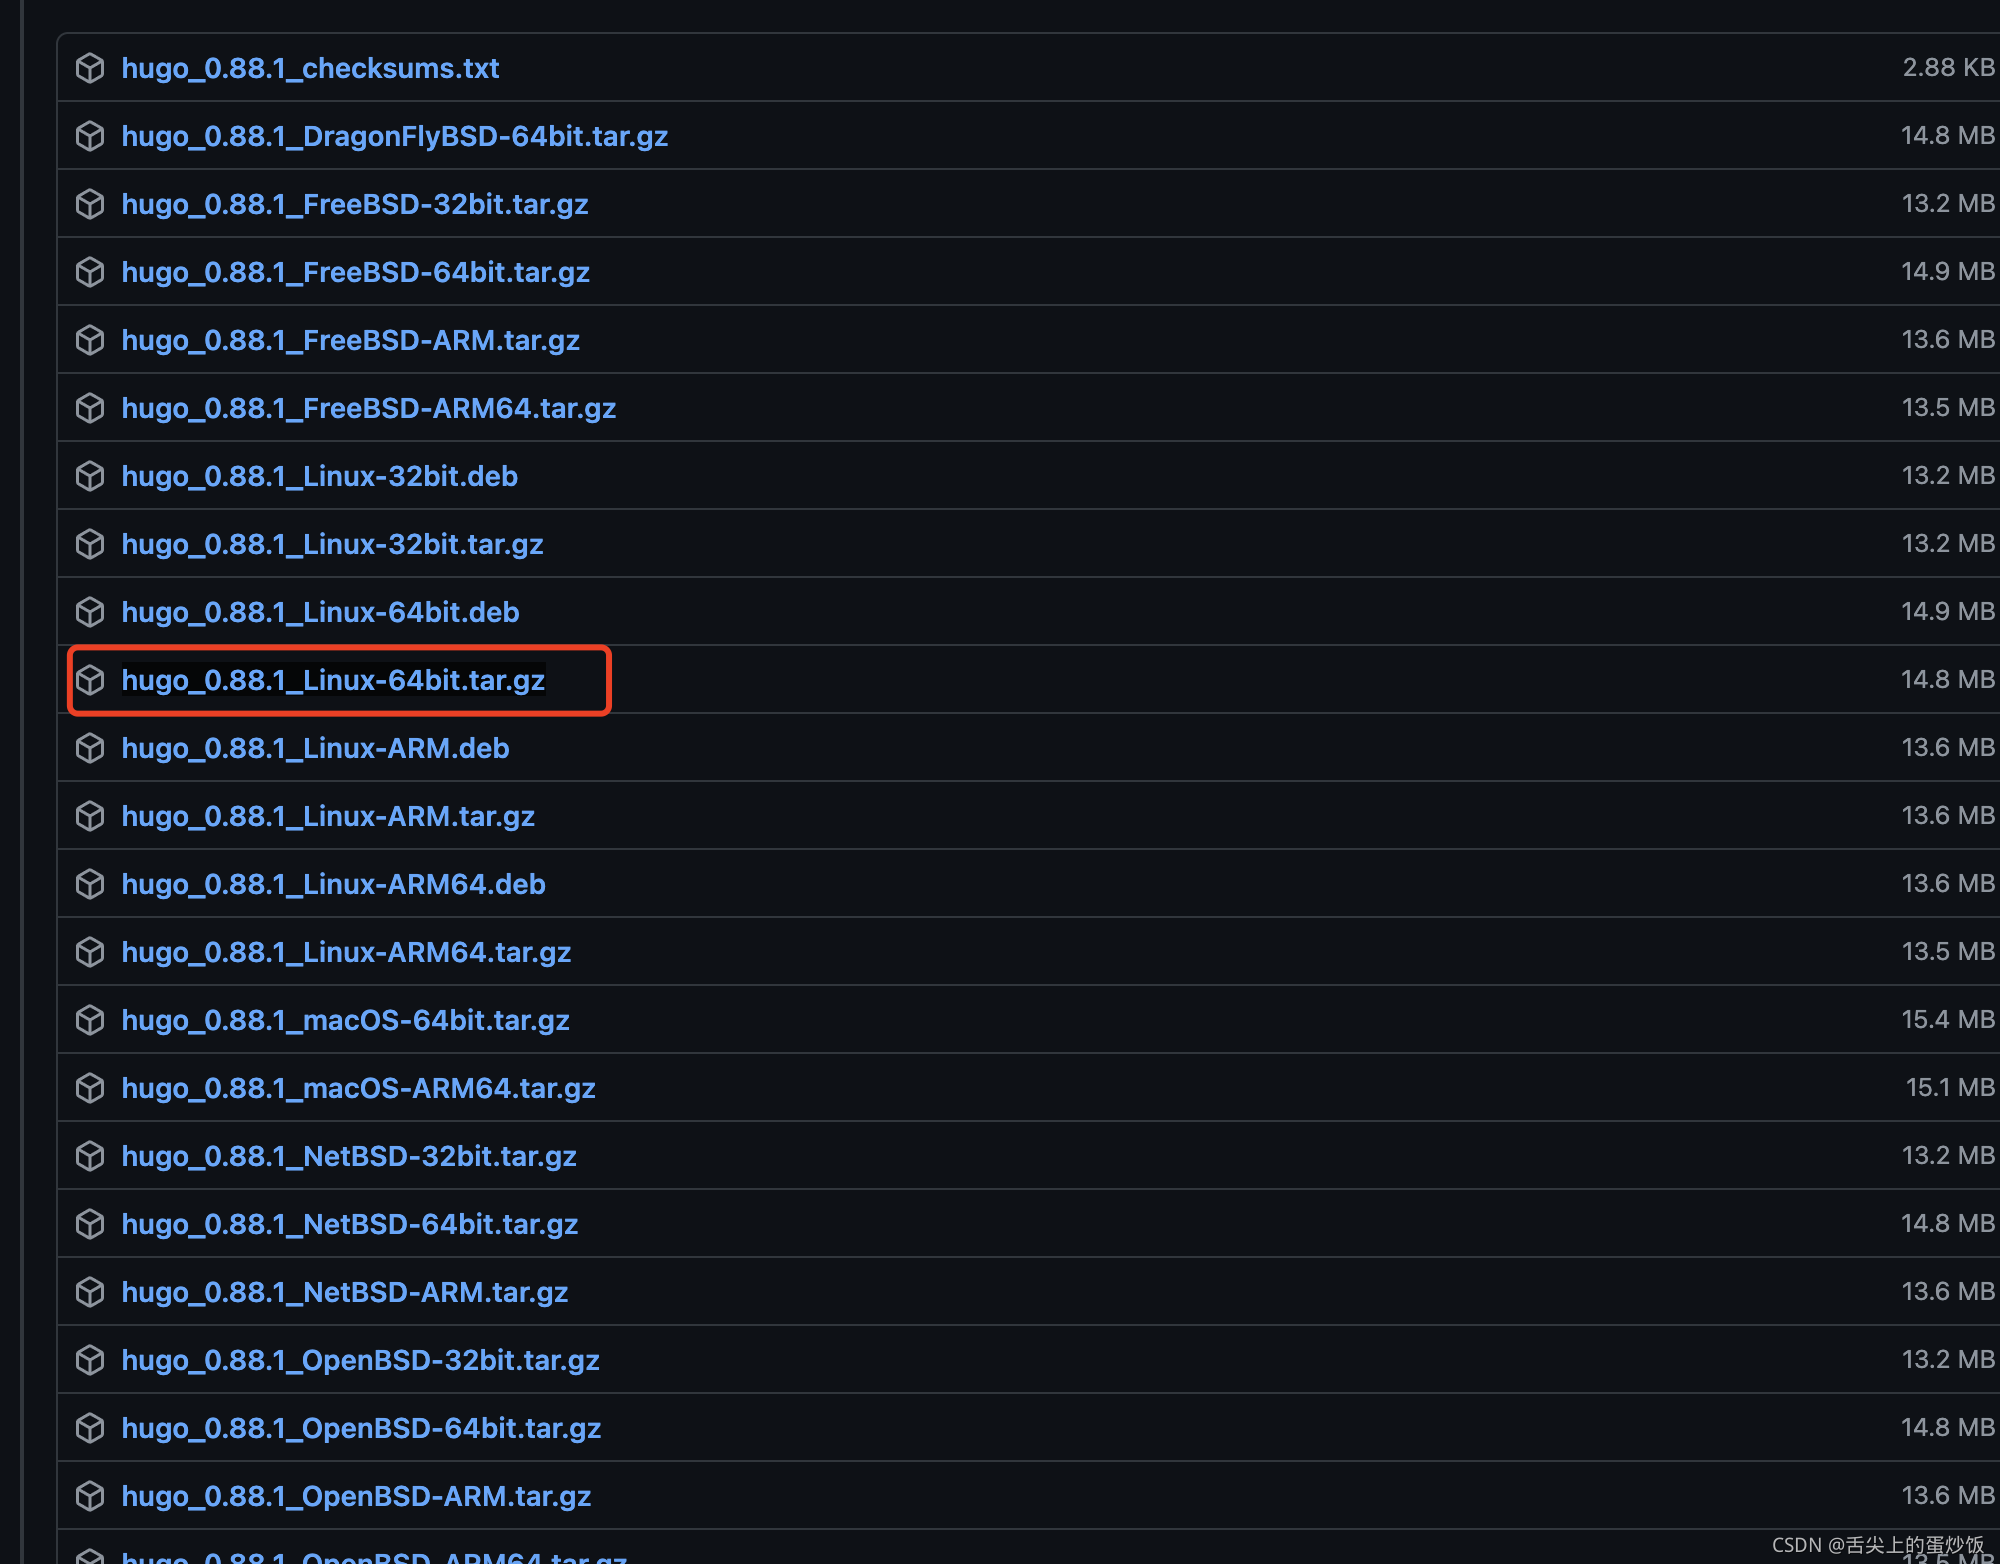
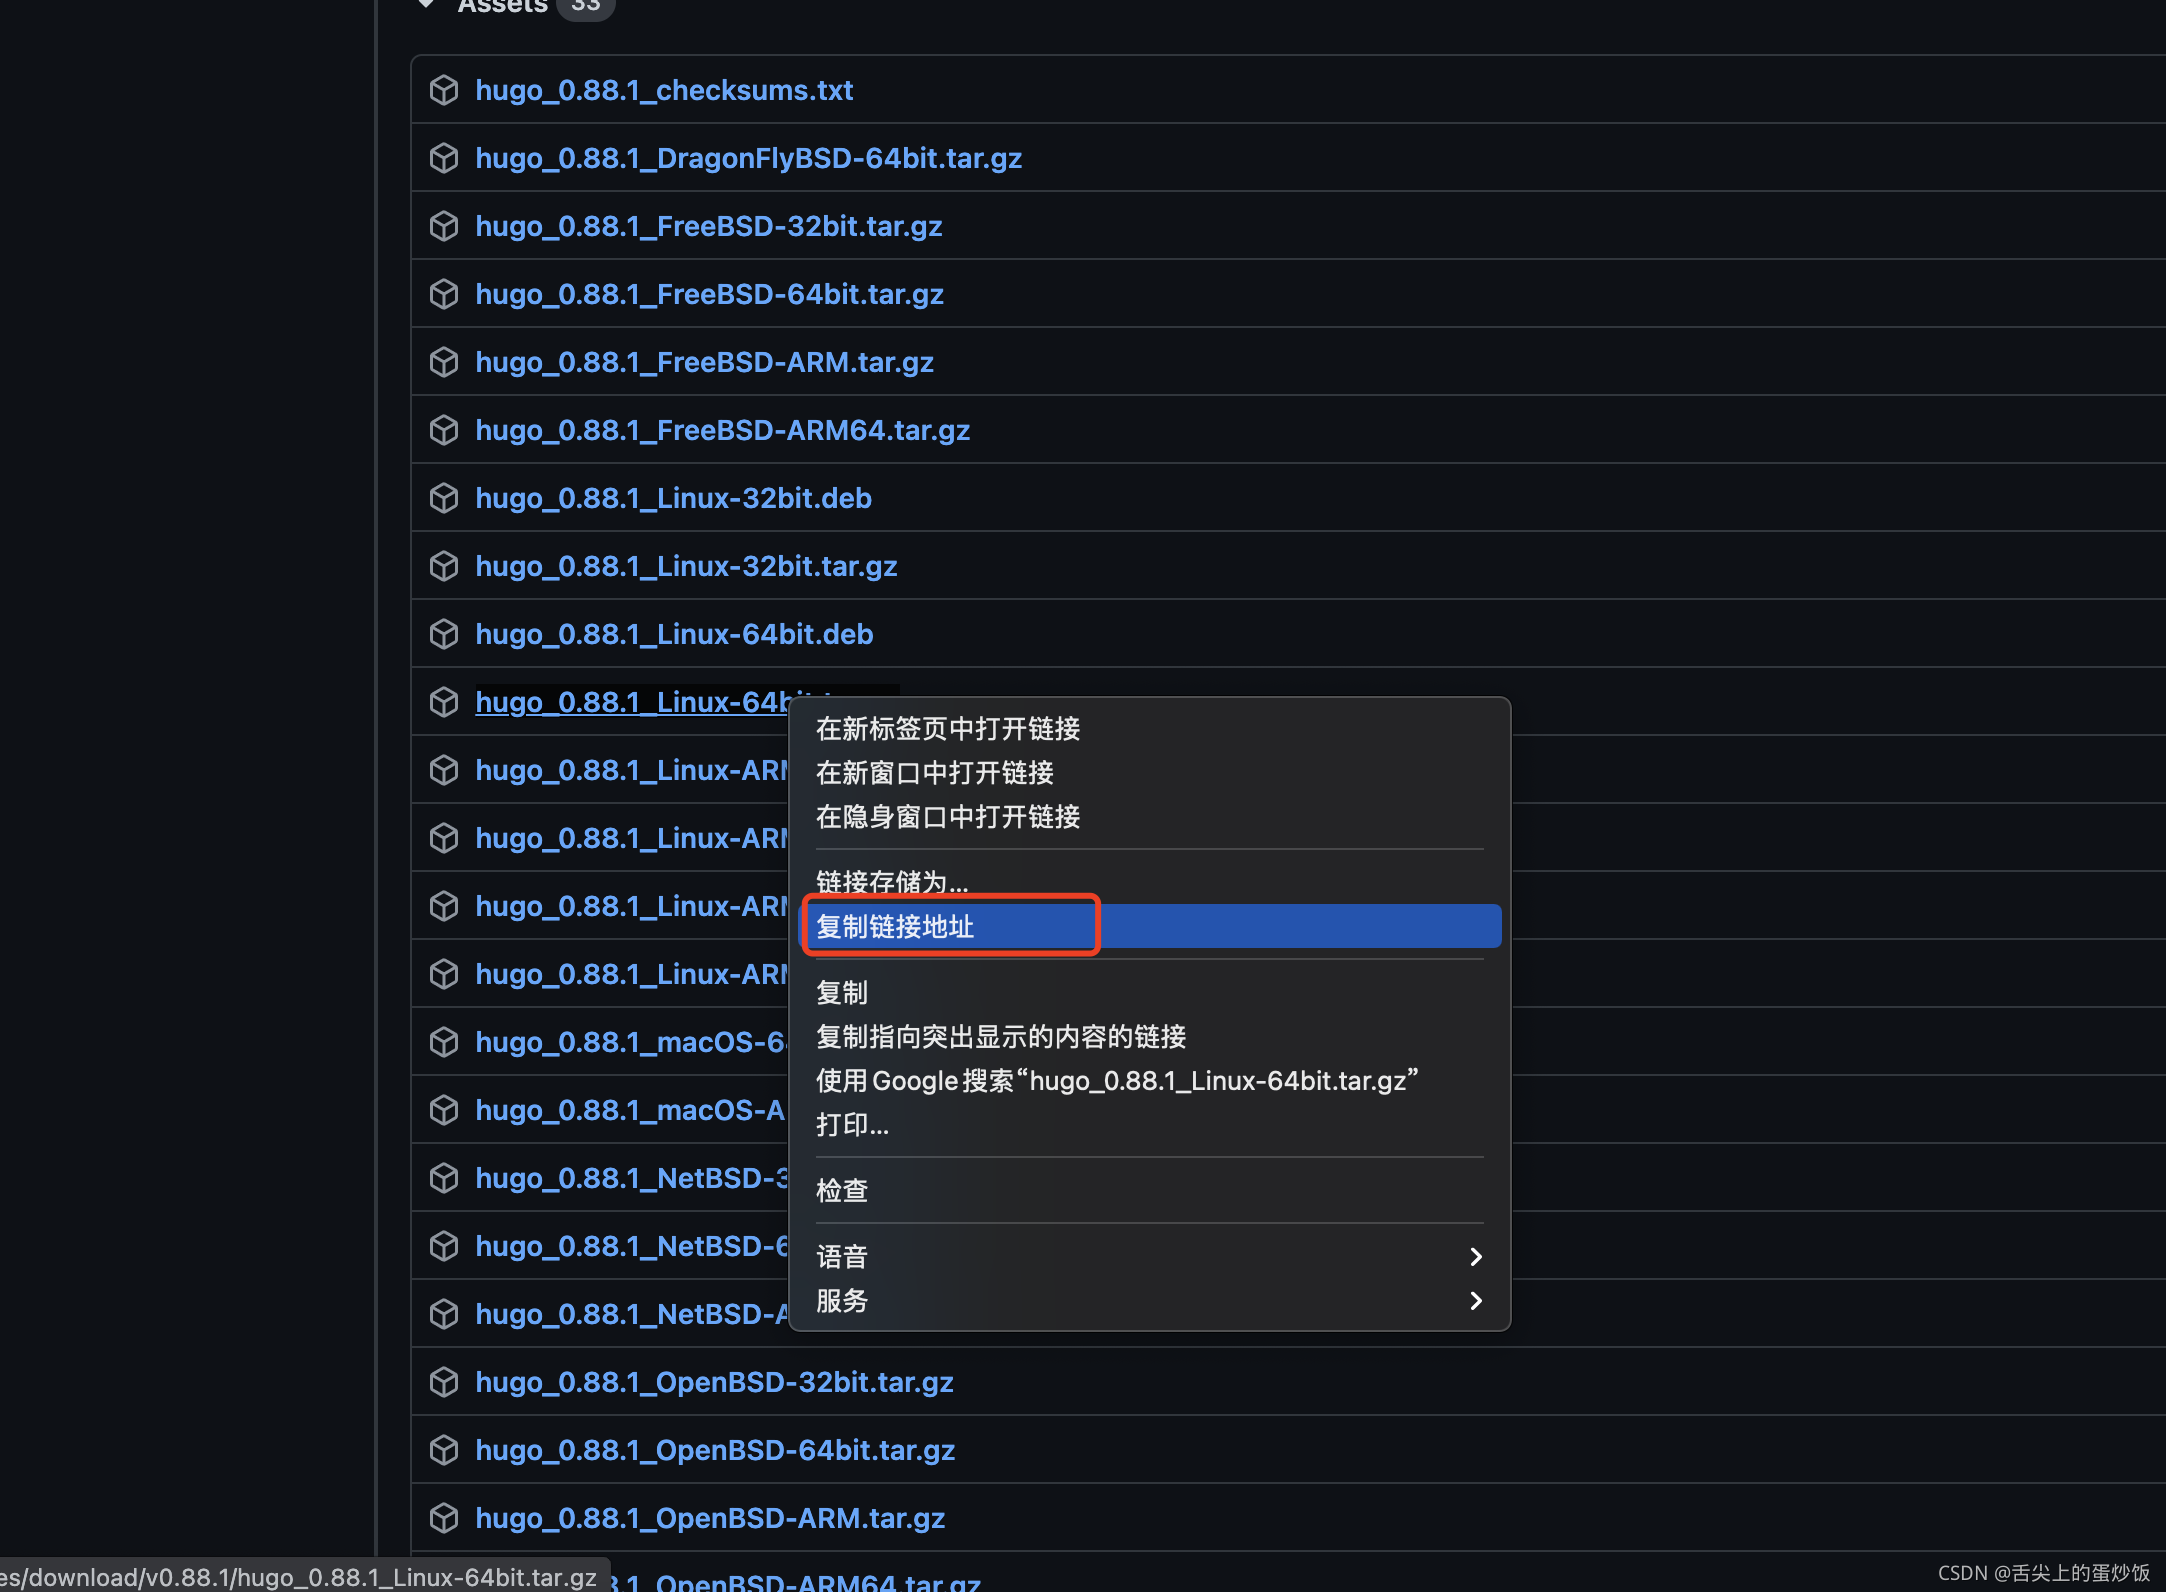
下载到云主机
[root@hecs-82454 local]# wget https://github.com/gohugoio/hugo/releases/download/v0.88.1/hugo_0.88.1_Linux-64bit.tar.gz
下载时间可能比较长,等待一下
接下来解压下载下来的压缩包
[root@hecs-82454 local]# tar -zxvf hugo_0.88.1_Linux-64bit.tar.gz -C /usr/local/bin
LICENSE
README.md
hugo
生成网站站点
创建博客位置
[root@hecs-82454 bin]# hugo new site myBlog
Congratulations! Your new Hugo site is created in /usr/local/bin/myBlog.

Just a few more steps and you're ready to go:

1. Download a theme into the same-named folder.
   Choose a theme from https://themes.gohugo.io/ or
   create your own with the "hugo new theme <THEMENAME>" command.
2. Perhaps you want to add some content. You can add single files
   with "hugo new <SECTIONNAME>/<FILENAME>.<FORMAT>".
3. Start the built-in live server via "hugo server".

Visit https://gohugo.io/ for quickstart guide and full documentation.
[root@hecs-82454 bin]#
来看一下生成了什么
[root@hecs-82454 bin]# cd /usr/local/bin/myBlog
[root@hecs-82454 myBlog]# ls
archetypes  config.toml  content  data  layouts  static  themes
[root@hecs-82454 myBlog]#
新的博客是没有主题的,但是hugo没有主题是不能用的
下载主题
下载主题,比如我喜欢这个,emmm,其实不是我喜欢,而是尝试了很多其他的都不可以,然后就用了这个
下载主题到themes文件夹下
[root@hecs-82454 themes]# cd /usr/local/bin/myBlog/themes/
[root@hecs-82454 themes]# git clone https://github.com/htr3n/hyde-hyde.git
Cloning into 'themes/hyde-hyde'...
remote: Enumerating objects: 2260, done.
remote: Counting objects: 100% (6/6), done.
remote: Compressing objects: 100% (6/6), done.
remote: Total 2260 (delta 0), reused 2 (delta 0), pack-reused 2254
Receiving objects: 100% (2260/2260), 8.72 MiB | 4.74 MiB/s, done.
Resolving deltas: 100% (1342/1342), done.
emmmm,下载速度太慢了,重试了好几次,好在最后下载下来了。
hugo的一大便利就是主题里已经为你准备好了例子站点,这样就省去你自己配置了,这里就是例子站点
[root@hecs-82454 exampleSite]# pwd
/usr/local/bin/myBlog/themes/hyde-hyde/exampleSite
[root@hecs-82454 exampleSite]# ls
config.toml  content  layouts  static
[root@hecs-82454 exampleSite]#
配置主题
我们需要把config.toml和content文件夹复制到我们的新建的站点目录下,这里就是为什么选择这个主题的原因,很多下载下来的主题的配置文件都是yaml格式的,好像不太可以,也懒得试了,就他吧
[root@hecs-82454 exampleSite]# cp -r config.toml content /usr/local/bin/myBlog/
修改配置文件
[root@hecs-82454 exampleSite]# cd /usr/local/bin/myBlog/
[root@hecs-82454 myBlog]# ls
archetypes  config.toml  content  data  layouts  LICENSE  public  README.md  resources  static  themes
[root@hecs-82454 myBlog]# vim config.toml
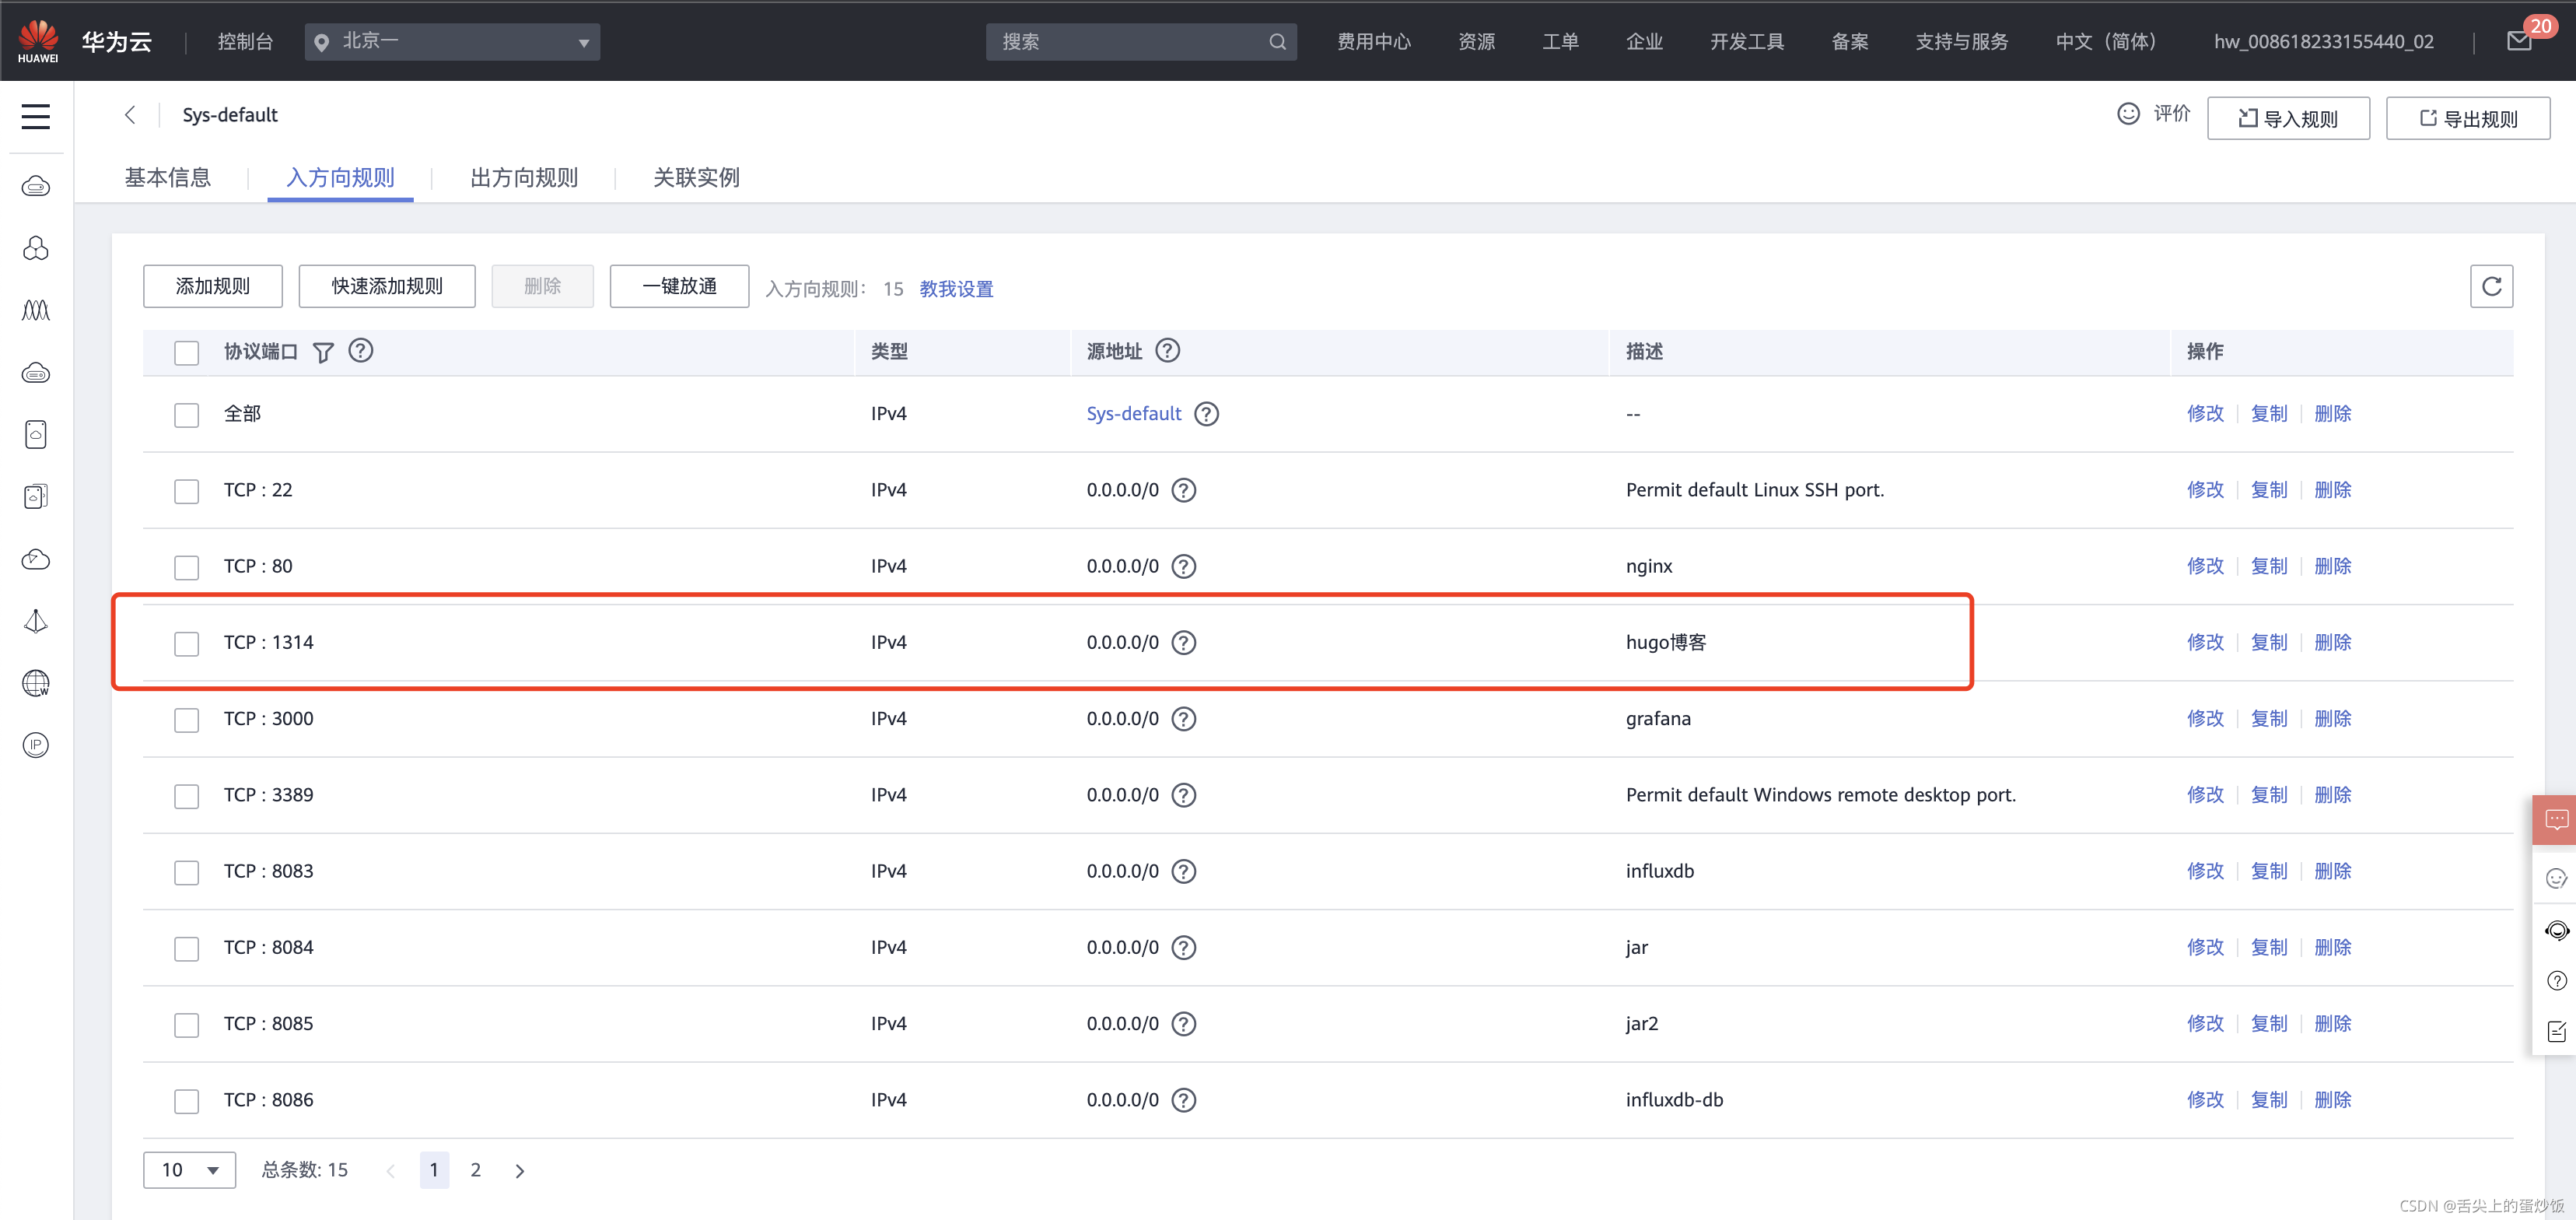
将最上面的这个baseurl替换成你自己的站点,要么域名要么ip+端口/
比如我的,就开放了1314端口给它,最后保存提交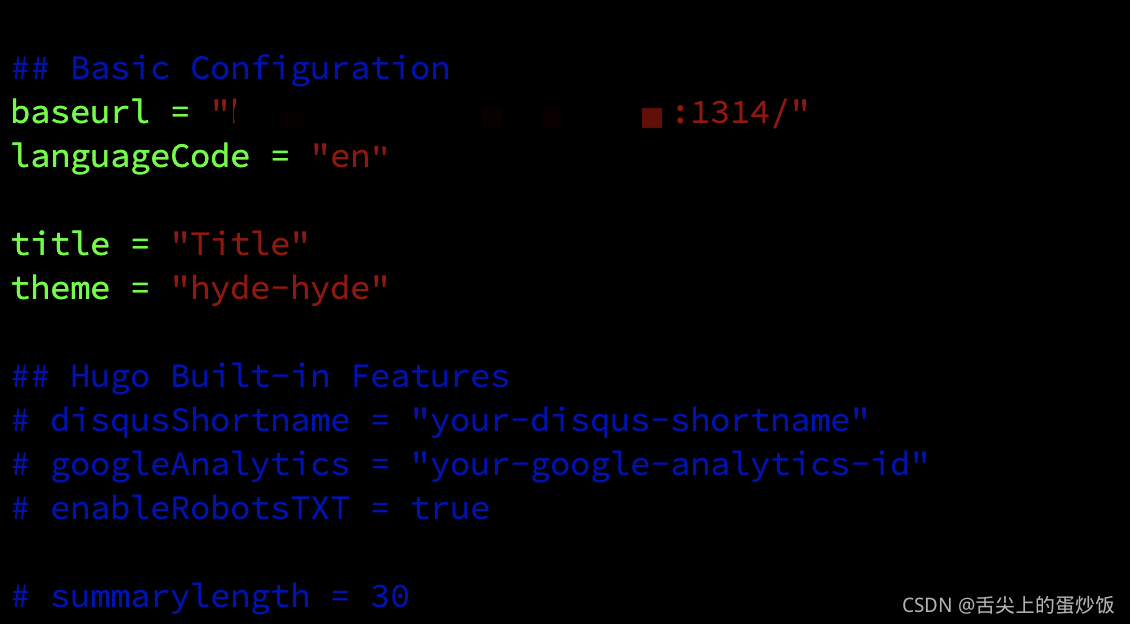
生成静态页面
然后我们来生成hugo的静态页面,很简单,直接执行hugo命令即可
[root@hecs-82454 myBlog]# hugo
Start building sites …
hugo v0.88.1-5BC54738 linux/amd64 BuildDate=2021-09-04T09:39:19Z VendorInfo=gohugoio
Error: Error building site: "/usr/local/bin/myBlog/content/post/rich-content/index.md:38:1": failed to extract shortcode: template for shortcode "bilibili" not found
Total in 31 ms
发现报错了,那我们就把报错的文件删除,并把已经生成的public文件删除即可。再重新执行hugo命令
[root@hecs-82454 myBlog]# hugo
Start building sites …
hugo v0.88.1-5BC54738 linux/amd64 BuildDate=2021-09-04T09:39:19Z VendorInfo=gohugoio
Error: Error building site: failed to render pages: render of "page" failed: execute of template failed: template: _default/single.html:3:7: executing "header" at <partial "header.html" .>: error calling partial: execute of template failed: template: partials/header.html:8:7: executing "partials/header.html" at <partial "header/meta.html" .>: error calling partial: execute of template failed: template: _internal/opengraph.html:37:17: executing "_internal/opengraph.html" at <index $siteSeries ($name | urlize)>: error calling index: index of untyped nil
Total in 176 ms
还有报错,不过不影响博客的使用,接下来我们配置看一下public里都有啥
[root@hecs-82454 myBlog]# cd public/
[root@hecs-82454 public]# ls
about  apple-touch-icon-144-precomposed.png  categories  css  favicon.png  img  index.html  page  portfolio  post  posts  scss  tags
接下来我们配置nginx
配置nginx
    server {
        listen       1314;
        server_name  localhost;

        location / {
            root   /usr/local/bin/myBlog/public;
            index  index.html;
        }
    }
将上面的内容配知道nginx.conf里,开放1314端口给博客使用,保存后重新加载nginx服务
[root@hecs-82454 conf]# cd ../sbin
[root@hecs-82454 sbin]# ls
nginx
[root@hecs-82454 sbin]# ./nginx -s reload
开放云主机端口
本地访问
http://ip:1314/
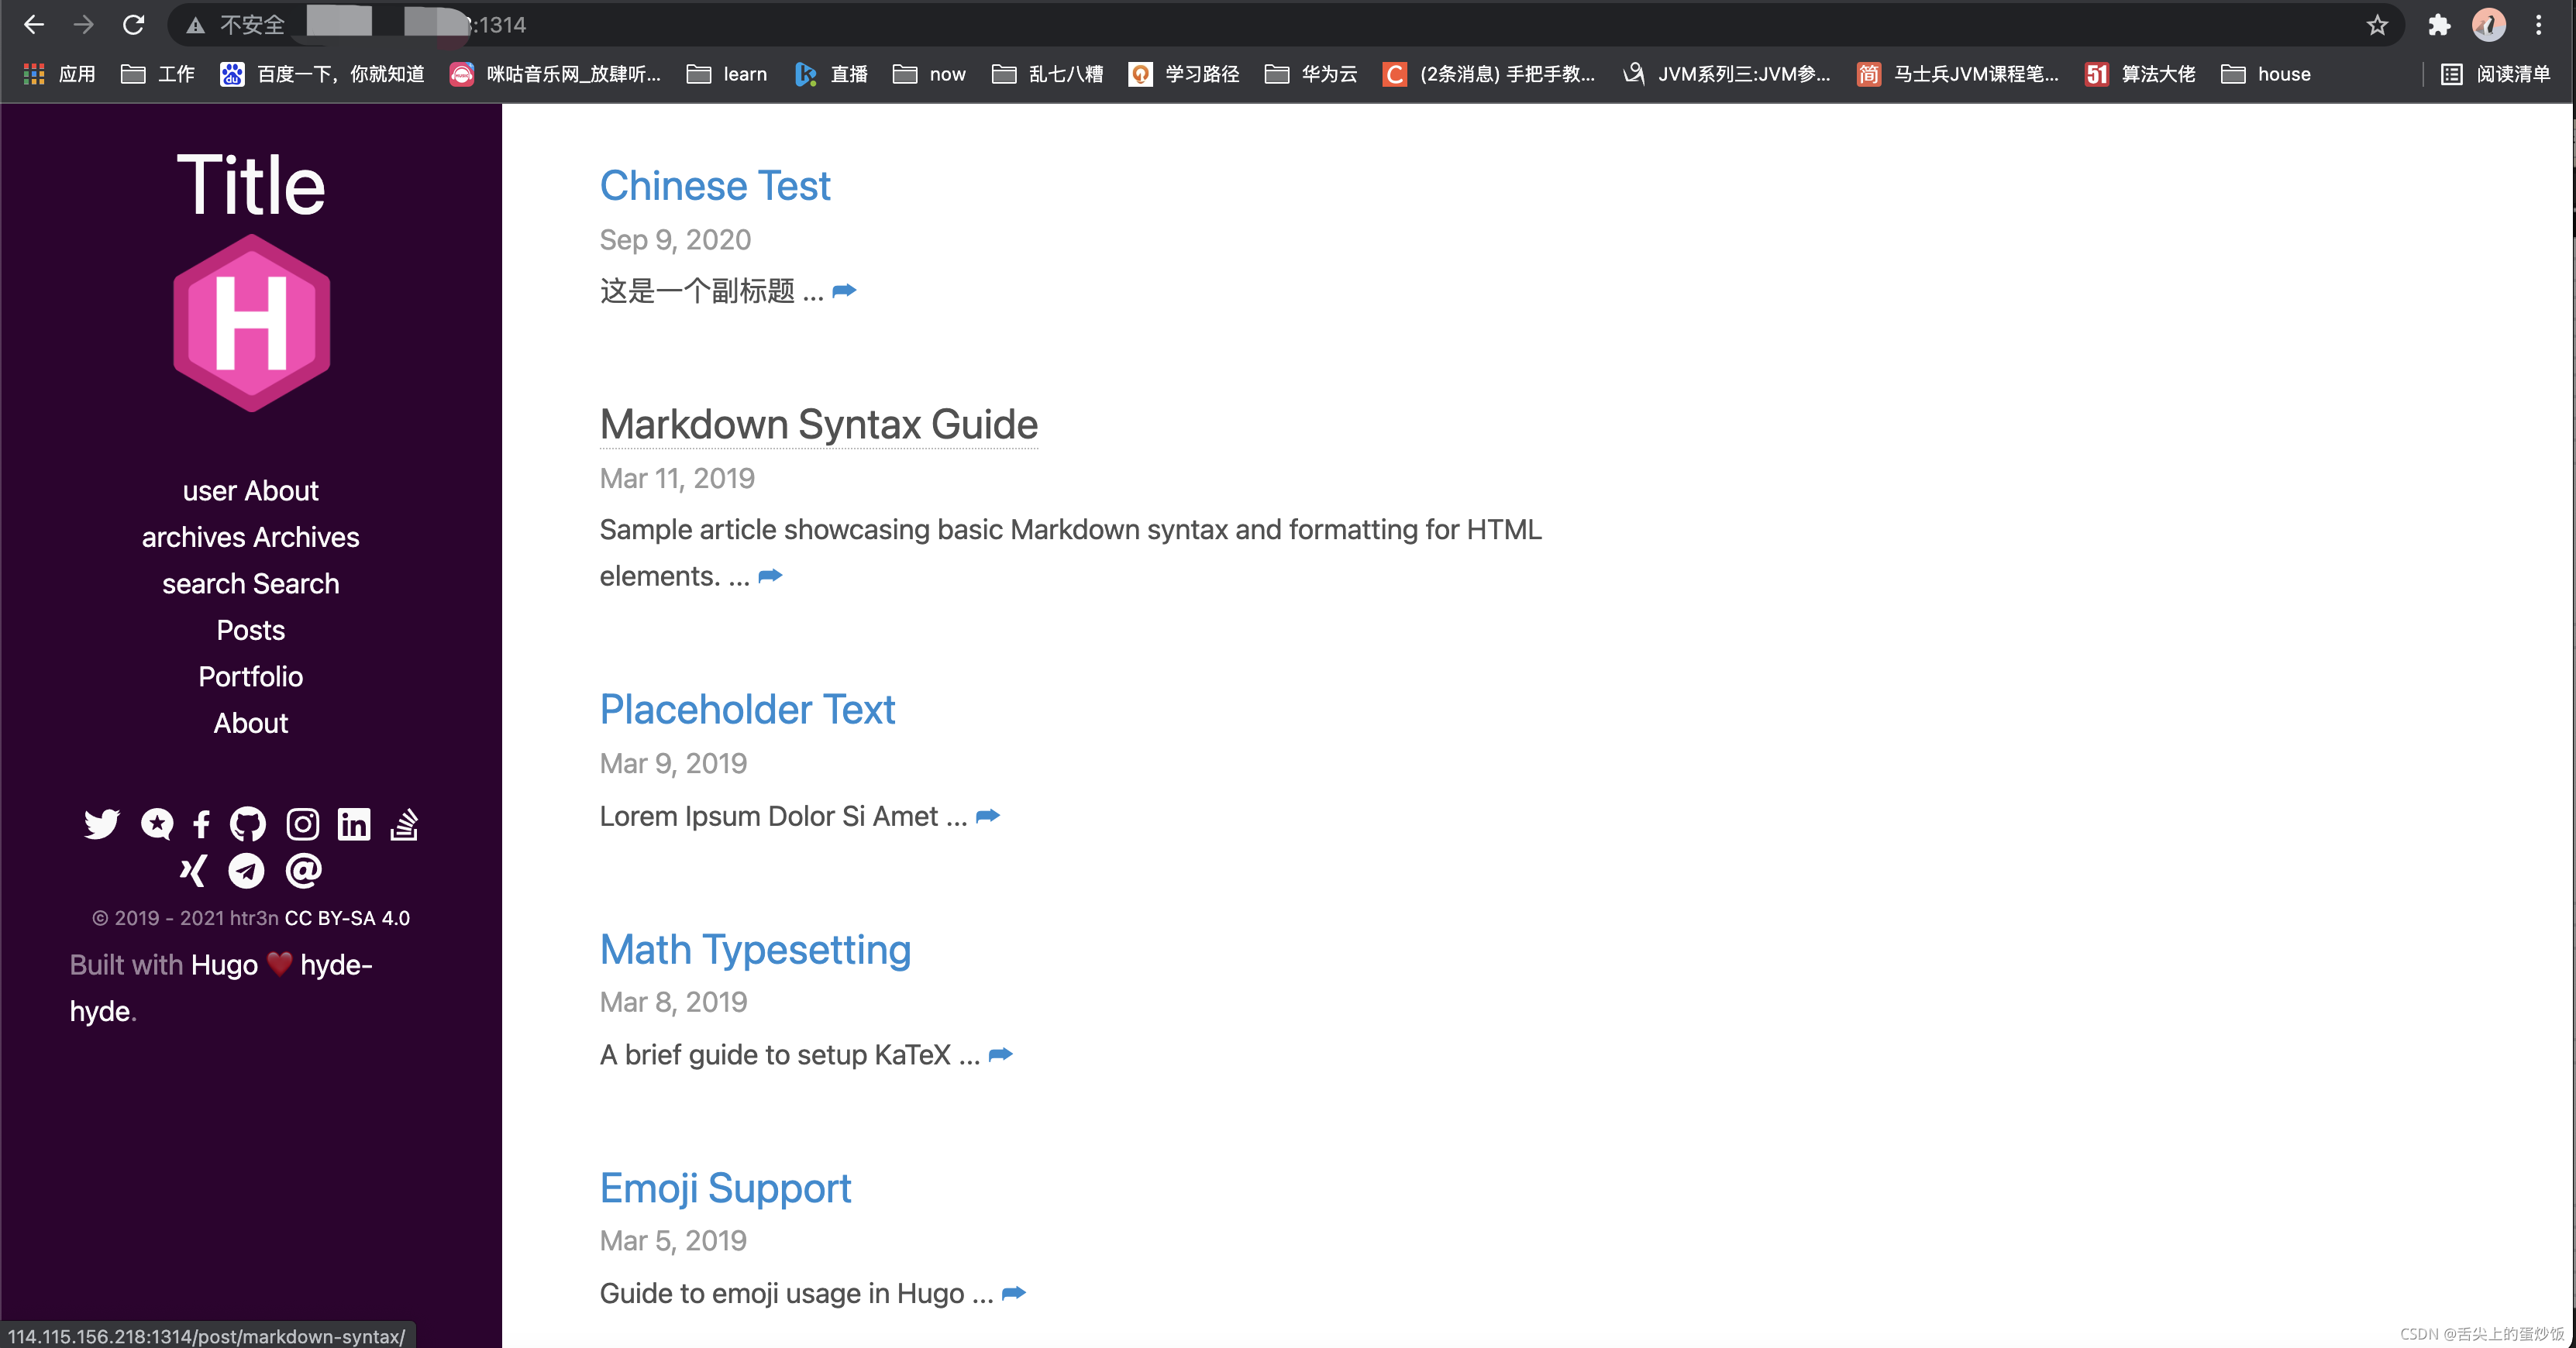
搭建至此完成,后续优化,再说

华为开发者空间,是为全球开发者打造的专属开发空间,汇聚了华为优质开发资源及工具,致力于让每一位开发者拥有一台云主机,基于华为根生态开发、创新。
更多推荐


 1
1 0
0- 0


 已为社区贡献10条内容

所有评论(0)