uniapp开发微信小程序之上传图片的裁剪
uniapp微信小程序图片裁剪
·
开发需求:上传图片时将图片裁剪成统一的大小。
其实这种就像微信头像那样,选定图片或拍摄好图片,拖动裁剪框,将图片裁剪成自己需要的大小。这里介绍一下所用的插件:
首先在hbuilder插件市场下载插件,下载之后,插件所在的位置如图所示。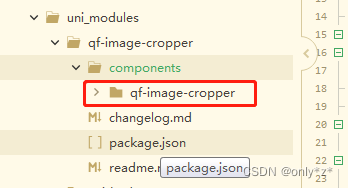
然后将components复制出来,如果是tabbar页面中引用,就放在根目录下;若是非tabbar页面就放到分包中,可以少占用主包的内存。
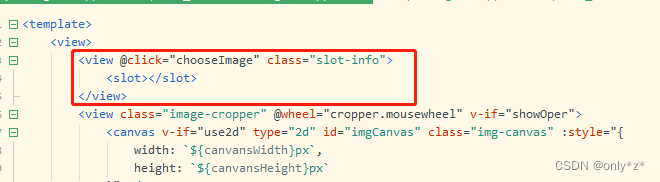
这个插件直接引用的话,在引用页面就直接展示的是裁剪框,点击裁剪框的选择图片按钮,才会调用相机/相册,选择图片。这和我要的效果有点出入,我要的效果是,在页面中点击按钮,调起相机/相册,然后再裁剪。这里就需要改造一下,在插件的Vue文件中写了一个插槽,给 class = " image-cropper " 样式里加一个 z-index,代码如下:
<view @click="chooseImage" class="slot-info">
			<slot></slot>
		</view>
最后页面中引用
<template>
	<view>
		<qf-image-cropper :width="winWidth" :height="winWidth" @crop="handleCrop">
			<!-- 这里放的就是插槽内容,图片、按钮等都可 -->
			<button>点我</button>
		</qf-image-cropper>
		<image :src="tempFilePath"></image>
		</view>
</template>

<script>
	import QfImageCropper from '@/components/qf-image-cropper/qf-image-cropper.vue';
		export default {
			components: {
				QfImageCropper
			},
			data() {
				const system = uni.getSystemInfoSync();
				const width = system.screenWidth;
				const height = system.screenHeight;
				return {
					tempFilePath: "",
					winWidth: width > height ? height : width
				}
			},
			methods: {
				handleCrop(e) {
					 // 裁剪后图片的本地地址
					this.tempFilePath = e.tempFilePath;
				}
	 		}
		}
</script>

<style>

</style>
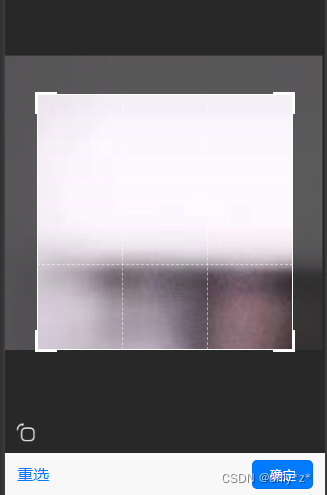
使用效果图: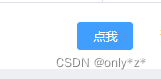
附上插件的地址:https://ext.dcloud.net.cn/plugin?id=10333

华为开发者空间,是为全球开发者打造的专属开发空间,汇聚了华为优质开发资源及工具,致力于让每一位开发者拥有一台云主机,基于华为根生态开发、创新。
更多推荐


 2
2 0
0- 0


 已为社区贡献8条内容

所有评论(0)