android13 FLAG_BLUR_BEHIND 壁纸高斯模糊,毛玻璃背景方案设计-千里马framework实战
这个FLAG_BLUR_BEHIND属于LayoutParams注释就是说FLAG_BLUR_BEHIND就会让在该window下面的window进行模糊具体如果要使用:其实就是对window的LayoutParams设置这个flag同时还有另一个方法setBlurBehindRadius大家都知道高斯模糊都有一个模糊滤镜,这代表模糊的程度,一般mBlurBehindRadius越大模糊层度越厉害
hi,粉丝朋友们!
今天有个学员朋友,问到了一个高斯模糊相关问题,这个高斯模糊相关的需求我相对还是比较熟悉,下面来重点讲解一下新版本高斯模糊相关的实现。
更多framework干货知识手把手教学
Log.i("qq群",“422901085”);
1、高斯模糊应用场景

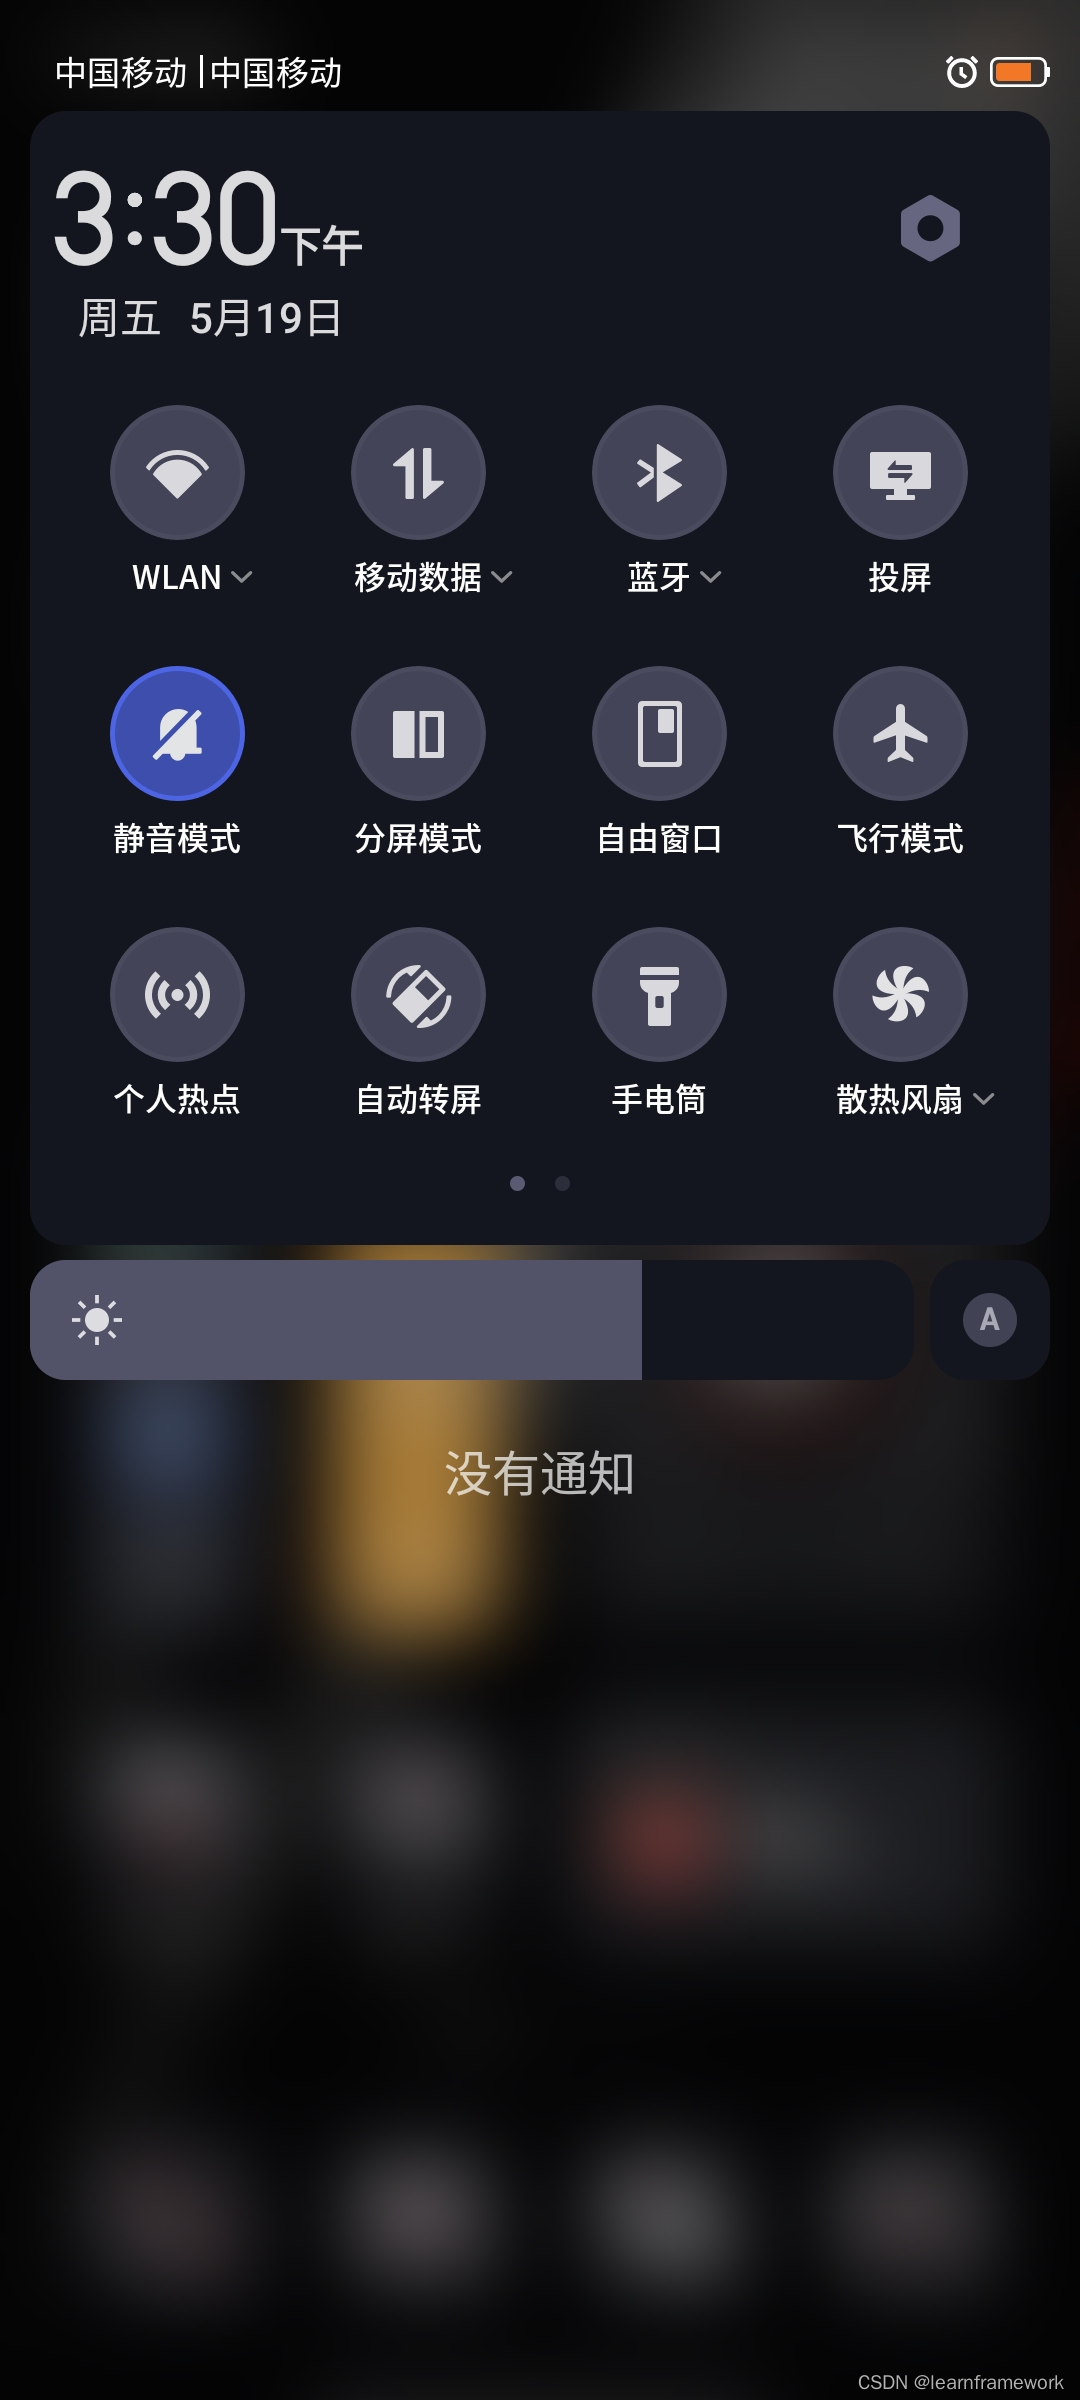
状态栏下拉时候可以看到桌面的画面作为背景,但是这个时候桌面的画面却是被高斯模糊的,这样给人交互体验上就有一个很大提升,美观层度和主次分明,就像拍照时候的人物一样,会把背景等模糊,把人物作为重点。
2、高斯模糊实现方案

方案1 截图这种属于最为常规的方案,以前都采用该方案,主要实现原理也很简单:
对背景截图 —》 对截图bitmap进行高斯模糊图像处理 —》把处理后的bitmap作为背景展示
优点:方案简单,属于所有模糊等都是自己控制,控制灵活性大
缺点:因为截图,所以没办法搞成实时模糊,实现功能修改逻辑较多
方案2 这个是新版本android才有的自带方法,它的实现原理,对某一个window进行flag的设置,如果设置了FLAG_BLUR_BEHIND,那么它后面的window层就会被设置成模糊,属于surfaceflinger层面实现了,在渲染时候layer处理,这个模糊属于实时的,即后面画面哪怕在动,高斯模糊也跟着动
优点:属于系统提供的接口相关,简单设置即可以,不需要自己额外操作,可以实时模糊
缺点:因为操作对象是window,只是窗口下面的会被模糊,导致一些窗口切换场景可能会有bug
下面我们就来重点介绍一下
3、重点介绍新方案2 FLAG_BLUR_BEHIND 使用
frameworks/base/core/java/android/view/WindowManager.java
   /** Window flag: enable blur behind for this window. */
    public static final int FLAG_BLUR_BEHIND        = 0x00000004;
这个FLAG_BLUR_BEHIND属于LayoutParams

注释就是说FLAG_BLUR_BEHIND就会让在该window下面的window进行模糊
具体如果要使用:
其实就是对window的LayoutParams设置这个flag
 getWindow().setFlags(WindowManager.LayoutParams.FLAG_BLUR_BEHIND,
                WindowManager.LayoutParams.FLAG_BLUR_BEHIND);
同时还有另一个方法setBlurBehindRadius
 public void setBlurBehindRadius(@IntRange(from = 0) int blurBehindRadius) {
            mBlurBehindRadius = blurBehindRadius;
        }
大家都知道高斯模糊都有一个模糊滤镜,这代表模糊的程度,一般mBlurBehindRadius越大模糊层度越厉害。代码如下:
 @Override
    protected void onResume() {
        super.onResume();

        getWindow().setFlags(WindowManager.LayoutParams.FLAG_BLUR_BEHIND,
                WindowManager.LayoutParams.FLAG_BLUR_BEHIND);
        getWindow().getAttributes().setBlurBehindRadius(100);//设置大一点为100,看的明显
    }
模糊前后效果对比如下:
模糊前:

模糊后:

4、原理源码分析
设置了FLAG_BLUR_BEHIND后,最后在WindowState会进行读取和相关业务处理:
frameworks/base/services/core/java/com/android/server/wm/WindowState.java
    private boolean shouldDrawBlurBehind() {
        return (mAttrs.flags & FLAG_BLUR_BEHIND) != 0
            && mWmService.mBlurController.getBlurEnabled();
    }
然后在applyDims方法中根据这个进行相关的执行:
    private void applyDims() {
        if (!mAnimatingExit && mAppDied) {
            mIsDimming = true;
            getDimmer().dimAbove(getSyncTransaction(), this, DEFAULT_DIM_AMOUNT_DEAD_WINDOW);
        } else if (((mAttrs.flags & FLAG_DIM_BEHIND) != 0 || shouldDrawBlurBehind())
                   && isVisibleNow() && !mHidden) {
            // Only show the Dimmer when the following is satisfied:
            // 1. The window has the flag FLAG_DIM_BEHIND or blur behind is requested
            // 2. The WindowToken is not hidden so dims aren't shown when the window is exiting.
            // 3. The WS is considered visible according to the isVisible() method
            // 4. The WS is not hidden.
            mIsDimming = true;
            final float dimAmount = (mAttrs.flags & FLAG_DIM_BEHIND) != 0 ? mAttrs.dimAmount : 0;
            final int blurRadius = shouldDrawBlurBehind() ? mAttrs.getBlurBehindRadius() : 0;
            getDimmer().dimBelow(getSyncTransaction(), this, dimAmount, blurRadius);
        }
    }
下面来看这个 getDimmer().dimBelow方法执行:
 void dimBelow(SurfaceControl.Transaction t, WindowContainer container, float alpha,
                  int blurRadius) {
        dim(t, container, -1, alpha, blurRadius);//调用dim方法
    }
      private void dim(SurfaceControl.Transaction t, WindowContainer container, int relativeLayer,
            float alpha, int blurRadius) {
        final DimState d = getDimState(container);//这里比较关键需要创建对应EffectLayer

        if (d == null) {
            return;
        }

        if (container != null) {
            // The dim method is called from WindowState.prepareSurfaces(), which is always called
            // in the correct Z from lowest Z to highest. This ensures that the dim layer is always
            // relative to the highest Z layer with a dim.
            t.setRelativeLayer(d.mDimLayer, container.getSurfaceControl(), relativeLayer);
        } else {
            t.setLayer(d.mDimLayer, Integer.MAX_VALUE);
        }
        t.setAlpha(d.mDimLayer, alpha);
        t.setBackgroundBlurRadius(d.mDimLayer, blurRadius);//对这个图层进行BlurRadius设置

        d.mDimming = true;
    }
这里来重点看看getDimState看看是怎么创建的:
 /**
     * Retrieve the DimState, creating one if it doesn't exist.
     */
    private DimState getDimState(WindowContainer container) {
        if (mDimState == null) {
            try {
                final SurfaceControl ctl = makeDimLayer();//这里又调用makeDimLayer创建
                mDimState = new DimState(ctl);
                /**
                 * See documentation on {@link #dimAbove} to understand lifecycle management of
                 * Dim's via state resetting for Dim's with containers.
                 */
                if (container == null) {
                    mDimState.mDontReset = true;
                }
            } catch (Surface.OutOfResourcesException e) {
                Log.w(TAG, "OutOfResourcesException creating dim surface");
            }
        }

        mLastRequestedDimContainer = container;
        return mDimState;
    }
  private SurfaceControl makeDimLayer() {
        return mHost.makeChildSurface(null)
                .setParent(mHost.getSurfaceControl())//这里host就是我们activity的task
                .setColorLayer()//注意是这种类型的layer
                .setName("Dim Layer for - " + mHost.getName())
                .setCallsite("Dimmer.makeDimLayer")
                .build();
    }
上面代码层面分析后,来看看SurfaceFlinger相关图层有啥变化

更多推荐
 已为社区贡献52条内容


所有评论(0)