wepy2.x 和vant-weapp UI 搭建小程序详细步骤
基于wepy2.x 和vant-weapp 搭建小程序详细步骤
·
基于wepy2.x 和vant-weapp 搭建小程序详细步骤
在wepy框架中如何使用开源组件,以有赞的vant组件为例,学会了这个其它的开源组件引入使用方式都一个道理。
步骤
1. 安装 wepy
本项目基于wepy开发,参考这里
$ npm install @wepy/cli -g # 全局安装 WePY CLI 工具
$ wepy init standard myproj # 使用 standard 模板初始化项目
$ cd myproj # 进入到项目目录
$ npm install # 安装项目依赖包
$ npm run dev # 监听并且编译项目
根据提示输入
 Project name myproj
 AppId touristappid
 Project description A WePY project
 Author xxxxxx
 Use ESLint to lint your code? Yes
 Choose a state container Vuex
使用开发者工具导入 myproj 根目录,预览效果
2. 安装vant-weapp 及配置
1.安装
# 通过 npm 安装
npm i @vant/weapp -S --production

# 通过 yarn 安装
yarn add @vant/weapp --production
2.修改 project.config.json
{
  ...
  "setting": {
    ...
    "packNpmManually": true,
    "packNpmRelationList": [
      {
        "packageJsonPath": "./package.json",
        "miniprogramNpmDistDir": "./"
      }
    ]
  }
}
3.构建npm
打开微信开发者工具,点击 工具 -> 构建 npm,构建完成后,在根目录下回生成miniprogram_npm文件夹。
4.引用组件
按需在页面usingComponents中引用组件
 usingComponents: {
      panel: '~@/components/panel',
      "van-button": "module:@vant/weapp/dist/button/index"
    }
 <panel>
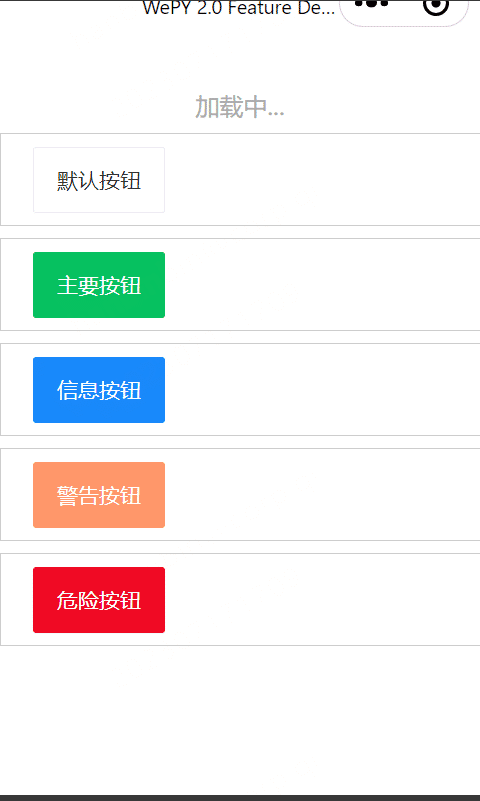
      <van-button type="default">默认按钮</van-button>
      <van-button type="primary">主要按钮</van-button>
      <van-button type="info">信息按钮</van-button>
      <van-button type="warning">警告按钮</van-button>
      <van-button type="danger">危险按钮</van-button>
    </panel>

3. 编译源代码
npm run build
4.发布
更多推荐
 已为社区贡献1条内容


所有评论(0)