【Vue教程九】获取服务器api接口数据
获取服务器api接口数据有下面几种方法:方法1:axios(https://github.com/axios/axios)看文档使用,与react引用方式相同。方法2:vue-resource (https://github.com/pagekit/vue-resource/blob/develop/docs/http.md)使用实例如下:<!DOCTYPE ......
获取服务器api接口数据有下面几种方法:
方法1:axios(https://github.com/axios/axios)
看文档使用,与react引用方式相同。
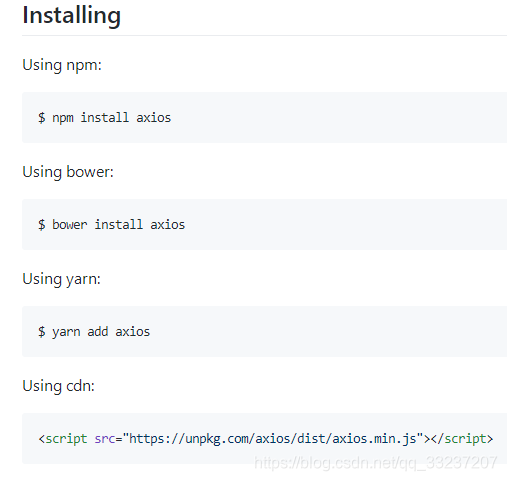
1、安装axios模块【cnpm install axios --save】 / 【npm install axios --save】
2、在哪里使用就在哪里引入 import axios from 'axios'
3、看文档使用
var url = 'http://www.phonegap100.com/appapi.php?a=getPortalList&catid=20';//接口后台允许跨域了,否则获取不到数据
axios.get(url)
    .then((response) => {
        console.log(response,response.data.result);
    })
    .catch(function (error) {
        console.log(error);
    });
方法2:vue-resource (vue-resource/http.md at develop · pagekit/vue-resource · GitHub)
使用实例如下:
<!DOCTYPE html>
<html lang="en">

<head>
    <meta charset="UTF-8">
    <meta name="viewport" content="width=device-width, initial-scale=1.0">
    <meta http-equiv="X-UA-Compatible" content="ie=edge">
    <title>Document</title>
    <script src="js/vue.min.js"></script>
    <!-- vue-resource包依赖vue.js -->
    <script src="js/vue-resource.js"></script>
</head>

<body>
    <div id="app">
        <button @click='getInfo'>点击进行get请求接口</button>
        <button @click='postInfo'>点击进行post请求接口</button>
    </div>
    <script>
        new Vue({
            el: '#app',
            methods: {
                getInfo() {
                    var url = 'http://www.phonegap100.com/appapi.php?a=getPortalList&catid=20';
                    this.$http.get(url).then(response => {
                        console.log("response===", response.body);
                    }, response => {
                        // error callback
                    });
                },
                postInfo() {
                    // 手动发起的post请求,默认没有表单格式
                    //通过post的第三个参数:emulateJSON: true,设置提交的内容类型为普通表单数据格式
                    var url = 'http://www.phonegap100.com/appapi.php';
                    this.$http.post(url, { a: 'getPortalList', catid: 20 }, { emulateJSON: true }).then(response => {
                        console.log("response===", response.body);
                    }, response => {
                        // error callback
                    });
                },
            }
        })
    </script>
</body>

</html>
从上面代码可以看到,主要是执行 this.$http.get、this.$http.post 来实现网络请求,vue-resource是依赖vue的,所以网络请求方法需要放在vue实例中,如果直接放在<script></script>标签中,会报“Uncaught TypeError: Cannot read property 'get' of undefined”的错误。
全局设置根域名
如果要设置全局根域名,可以用 Vue.http.options.root = 'http://xxx'; 的方式,在发起请求的时候,url路径应该以相对路径开头,前面不能带"/" !!!
上面 get 的请求可以改造成下面:
...
    <script>
        //如果配置了全局接口根域名,在发起请求的时候,url路径应该以相对路径开头,前面不能带"/"
        Vue.http.options.root = 'http://www.phonegap100.com';
        new Vue({
            el: '#app',
            methods: {
                getInfo() {
                    // var url = 'http://www.phonegap100.com/appapi.php?a=getPortalList&catid=20';
                    var url = 'appapi.php?a=getPortalList&catid=20';
                    this.$http.get(url).then(response => {
                        console.log("response===", response.body);
                    }, response => {
                        // error callback
                    });
                },
        })
    </script>
全局设置post请求为表单请求
如果每次进行post请求都需要传第3个参数(即 { emulateJSON: true } )也挺麻烦的,可以用Vue.http.options.emulateJSON = true;
上面 post 的请求可以改造成下面:
...
    <script>
        Vue.http.options.emulateJSON = true;
        new Vue({
            el: '#app',
            methods: {
                postInfo() {
                    var url = 'http://www.phonegap100.com/appapi.php';
                    this.$http.post(url, { a: 'getPortalList', catid: 20 }).then(response => {
                        console.log("response===", response.body);
                    }, response => {
                        // error callback
                    });
                },
            }
        })
    </script>
为开发者提供学习成长、分享交流、生态实践、资源工具等服务,帮助开发者快速成长。
更多推荐


 7
7 0
0- 0


 已为社区贡献3条内容

所有评论(0)