vue动态路由/静态路由
/history需要修改config/index.js下的assetsSubDirectoryhistory'static'hash为默认'/'.path'/list/id',//url的名称,在浏览器地址栏的输入内容。使用示例localhost/8080/localhost/8080/list。path'/list',//url的名称,在浏览器地址栏的输入内容。name'list',//路由的名
1.静态路由:在路由对象中写死的资源。固定路由的路径在index.js中的routes数组中,如login,index,404.;基本格式示例如下
{
path: '/list',//url的名称,在浏览器地址栏的输入内容
name: 'list',//路由的名称
meta:{ //需要给路由定义自定义属性时,必须写在这个对象中
isLogin:true
},
component: list //路由指向的组件
//component:()=>import("@/views/router/home.vue")
使用示例:localhost/8080/ localhost/8080/list
2.动态路由的定义:
一般配合权限使用,后端获取到路由数据通过router.addrouter()方法添加。
{
path: '/list/:id',//url的名称,在浏览器地址栏的输入内容
name: 'list',//路由的名称
meta:{ //需要给路由定义自定义属性时,必须写在这个对象中
isLogin:true
},
component: list //路由指向的组件
//component:()=>import("@/views/router/home.vue")
},
在静态路由的基础上加上“ : ”就是动态路由
3.定义路由响应的变化:
watch:{
$route(to,from){
this.name=to.params.name;
}
}
4.定义嵌套路由:
{
path: '/routerView/home',
name: 'routerViewHome',
component: () => import(/* webpackChunkName: "about" */ '../views/router/routerView/home.vue'),
children:[
{
path: '/hm',
name: 'hm',
component: () => import(/* webpackChunkName: "about" */ '../views/router/routerView/hm.vue'),
children:[
]
},
},
5.路由的使用
<router-link :to=""index'" tag="li" active-class="activeClass">Home</router-link>等同于
this.$router.push({ name: "list" });
6.路由的两种模式默认 hash/history
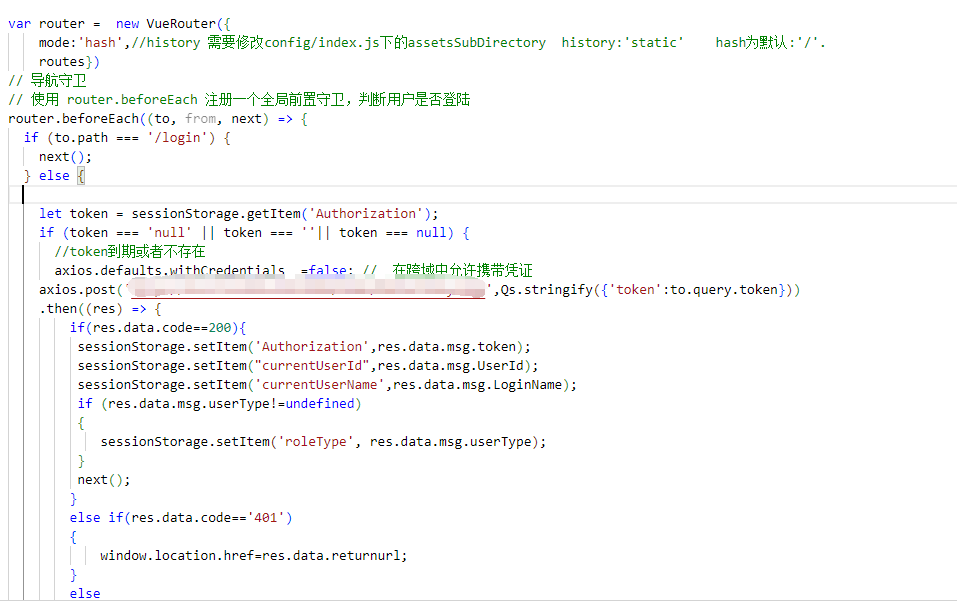
var router = new VueRouter({
mode:'hash',
//history 需要修改config/index.js下的assetsSubDirectory history:'static' hash为默认:'/'.
routes})
7.路由守卫
// 使用 router.beforeEach 注册一个全局前置守卫,判断用户是否登陆。防止别人猜到网址的hash值后直接跳过登录就可以查看数据
to : 到哪里去
from : 从哪里来
next : 放行函数 next():放行 , next(false):不放行
router.beforeEach((to, from, next) => {
if (to.path === '/login') {
next();
} else {
let token = sessionStorage.getItem('Authorization');
if (token === 'null' || token === ''|| token === null) {
//token到期或者不存在
axios.defaults.withCredentials =false; // 在跨域中允许携带凭证
axios.post('http://xxxxxx:8100/Home/DoPostYwSystem',Qs.stringify({'token':to.query.token}))
.then((res) => {
if(res.data.code==200){
sessionStorage.setItem('Authorization',res.data.msg.token);
sessionStorage.setItem("currentUserId",res.data.msg.UserId);
sessionStorage.setItem('currentUserName',res.data.msg.LoginName);
if (res.data.msg.userType!=undefined)
{
sessionStorage.setItem('roleType', res.data.msg.userType);
}
next();
}
else if(res.data.code=='401')
{
window.location.href=res.data.returnurl;
}
else
{
next('/login');
}
}).catch(error => {
console.log(error);
next('/login');
});
} else {
next();
}
}
});
//过程: 1、请求一个路径:如:/Index 2、经历前置守卫 决定了能去哪个路径 3、根据去的路径,找对应component(路由配置) 4、经过后置守卫 5、创建组件
后置守卫:路由跳转后, 触发的函数叫 路由后置守卫。跳转到某个页面之前要做的事。比如登录页跳首页关闭loading。
to : 到哪里去
from : 从哪里来
router.afterEach((to,from)=>{ //全局后置守卫业务 })
//组件内部钩子
beforeRouteEnter (to, from, next) {//前置
// 不!能!获取组件实例 `this`
// 因为当守卫执行前,组件实例还没被创建
},
beforeRouteUpdate (to, from, next) {
// 在当前路由改变,但是该组件被复用时调用
// 举例来说,对于一个带有动态参数的路径 /foo/:id,在 /foo/1 和 /foo/2 之间跳转的时候,
// 由于会渲染同样的 Foo 组件,因此组件实例会被复用。而这个钩子就会在这个情况下被调用。
// 可以访问组件实例 `this`
},
beforeRouteLeave (to, from, next) {//后置
// 导航离开该组件的对应路由时调用
// 可以访问组件实例 `this`
}
8.axios拦截器
// 添加请求拦截器,在请求头中加token
axios.interceptors.request.use(
config => {
var aa= Request["loginName"];
if (sessionStorage.getItem('Authorization')) {
config.headers.token = sessionStorage.getItem('Authorization');
}
return config;
},
error => {
return Promise.reject(error);
});
//在 response 拦截器实现
axios.interceptors.response.use(
res => {
const status = res.data.code;
//如果是未登录
if(status==401 || status=="401"){
app.$alert('登录已超时,请重新登录', '提示', {
confirmButtonText: '确定',
type:'warning',
closeOnClickModal:false,
callback: action => {
app.$router.push('/login');
return;
}
});
}
// if(status=='10010'){
// app.$router.push('/login');
// //window.location.href="http://localhost:8080";
// }
return res;
}, error => {
return Promise.reject(error);
});
导航守卫和axios拦截器的区别
导航守卫就是路由守卫,想进入一个页面时,判断是否有权限访问(有token,就有权限,没有就返回),但并不能判断是否失效。axios拦截器是发送请求判断token的有效性,如果有就将token放在请求头里。导航守卫和axios拦截器一起使用,进而来确保登录的状态。
更多推荐
 已为社区贡献3条内容


所有评论(0)