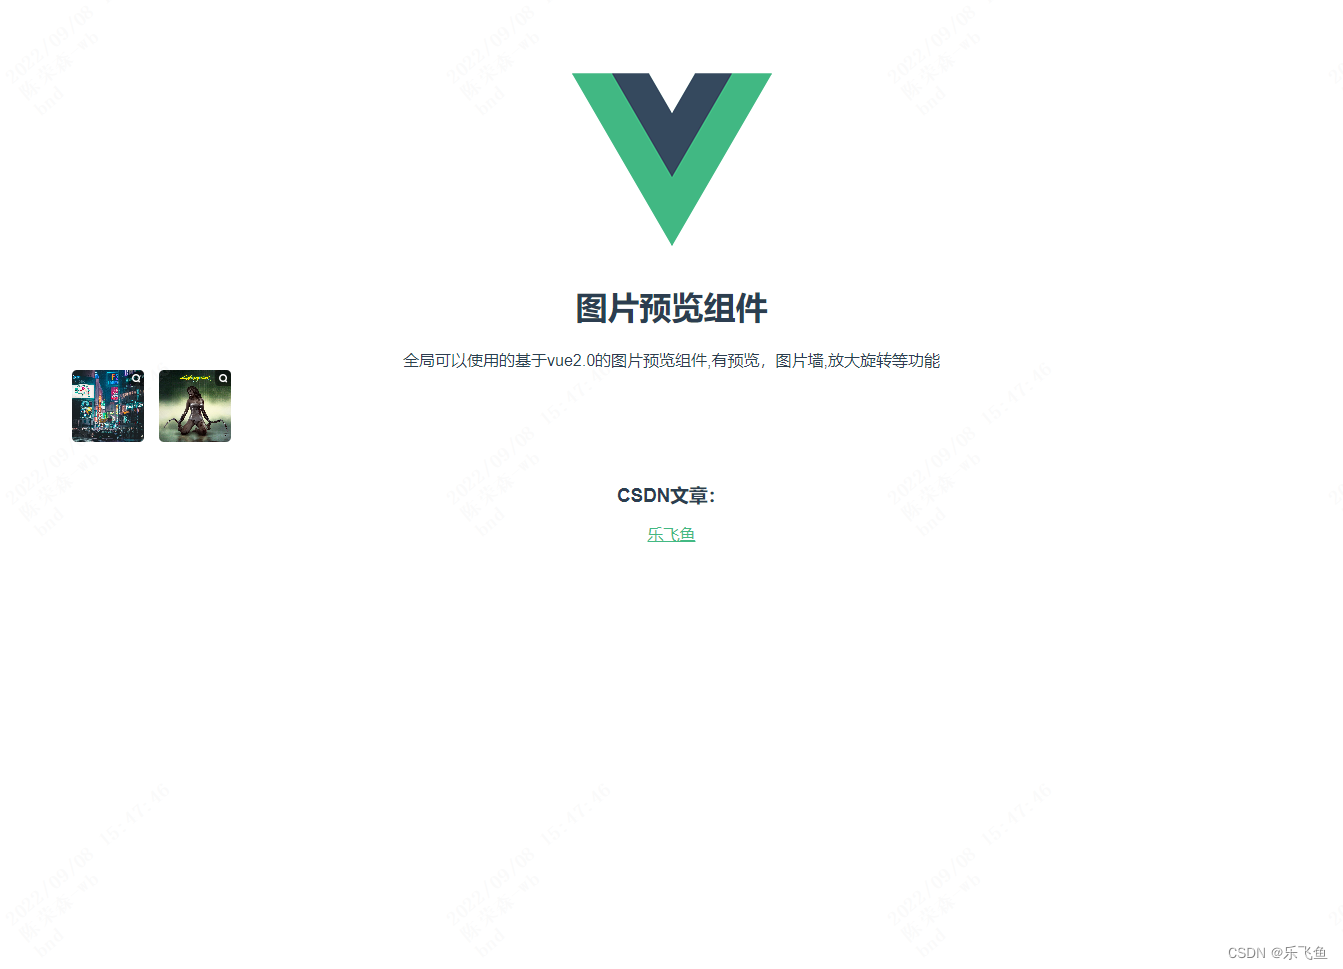
基于vue的图片预览组件-图片列表
图片列表与图片预览墙
·
不多说,开局一张图:

主要的使用方法也简单,在控制台执行npm install sen-preview-photo --save然后在
import senPreviewPhoto from 'sen-preview-photo'
Vue.use(senPreviewPhoto )
直接在vue页面上输入 this.viewImage(imgUrl, index) 其中 imgUrl为图片的地址数组,示例:
imageUrl: [
'https://fuss10.elemecdn.com/8/27/f01c15bb73e1ef3793e64e6b7bbccjpeg.jpeg',
'https://fuss10.elemecdn.com/1/8e/aeffeb4de74e2fde4bd74fc7b4486jpeg.jpeg'
],
以下是的调用图片列表
PreviewImg.vue
<template>
<div class="images">
    <div v-for="(item,index) in imgUrl" :key="index" :style="{ backgroundImage: `url(${getImageUrl(item)})` }" @click="previewImage(index)">
        <i class="searchImage"></i>
    </div>
</div>
</template>
<script>
export default {
    name:'PreviewImg',
    props: {
       imgUrl:{
        type:Array
       }
    },
    data() {
      return {

      };
    },
    watch: {

    },
    methods: {
      // 查看图片-全局启用viewI
      previewImage(index) {
            const imgUrl = [ ]
            this.imgUrl.map(url => {
                imgUrl.push(this.getImageUrl(url))
            })
            this.viewImage(imgUrl, index)
      },
    },
    created(){

    }
  };
</script>
<style scoped lang="scss">
 .images{
    display: flex;
    div {
        width: 72px;
        height: 72px;
        background-color: #fff;
        background-repeat: no-repeat;
        background-position: center;
        background-size: cover;
        border-radius: 5px;
        margin-right:  15px;
        position: relative;
        cursor: pointer;
        .searchImage{
            position: absolute;
            right: 0;
            top:0;
            width: 16px;
            height: 16px;
            background-position: 0 0;
            background: url(@/assets/images/image-viewer/search.png) no-repeat;
            background-size: 16px 16px;
        }
    }
}
</style>

为开发者提供学习成长、分享交流、生态实践、资源工具等服务,帮助开发者快速成长。
更多推荐


 0
0 0
0- 0


 已为社区贡献2条内容

所有评论(0)