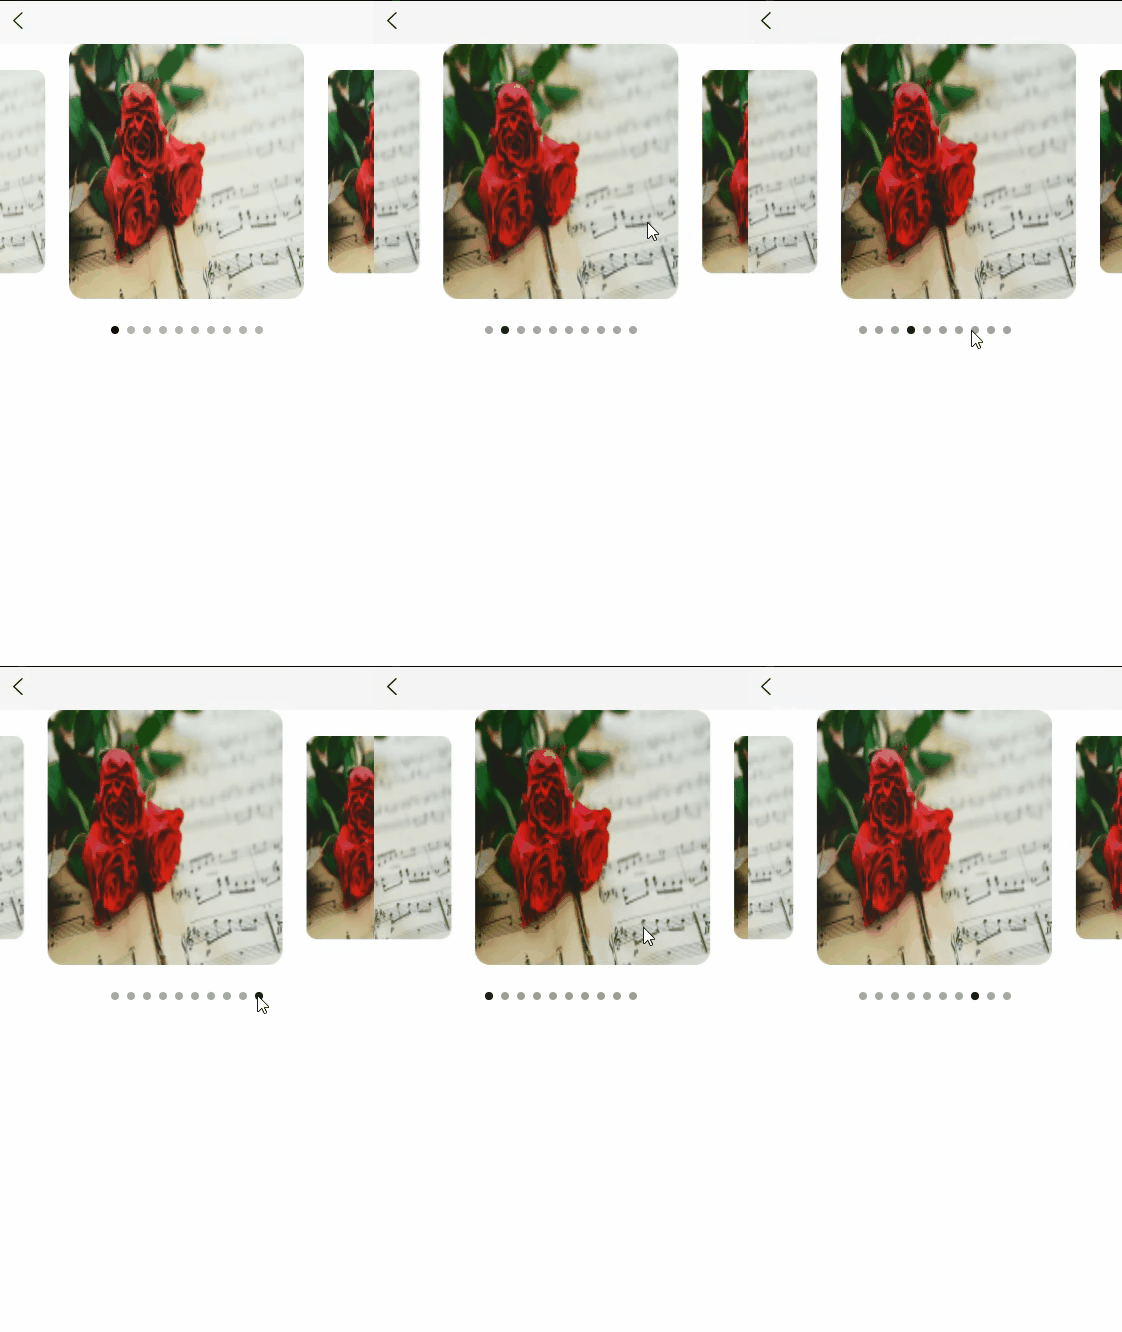
uniapp轮播图
这边介绍下在使用uniapp开发时非常常见的两种轮播图,代码粘过去就可以直接运行第一种。
·
这边介绍下在使用uniapp开发时非常常见的两种轮播图,代码粘过去就可以直接运行
第一种
第一种

代码如下:
<template>
	<view>
		<!-- previous-margin指的是当前图片的左边框距离屏幕最左边的距离 -->
		<swiper style="height: 600rpx;" previous-margin="140rpx" next-margin="140rpx" @change="handlechange" :current="mycurrent"   :indicator-dots="true"  :circular="true" :interval="3000" :duration="1000">
			<swiper-item v-for="i,index in 10" :key="i">
				<view :class="['swiper-item',index==mycurrent ? 'active' : '']">
					<img src="https://s2.loli.net/2022/05/11/rHeUj2V7pWg6MyQ.jpg" style="width: 100%;height: 100%;"  alt="" srcset="">
				</view>
			</swiper-item>
		</swiper>
	</view>
</template>

<script>
	export default {
		data() {
			return {
				mycurrent:0
			}
		},
		methods: {
			handlechange(e){
				this.mycurrent=e.detail.current
			}
		}
	}
</script>

<style lang="scss">
	.swiper-item{
		border-radius: 30rpx;
		overflow: hidden;
		// 像这种多张轮播图同时出现在一屏的情况下就不要指定width了,不然你会发现previous-margin和 next-margin会出现想不到的效果
		// 如果想要设置宽每一张轮播图的宽度,只需要设置previous-margin和next-margin就可以了,想要设置高度直接改下面的height就可以了
		// width: 450rpx;
		height: 85%;
		transform: scale(0.8);
		transition:all 0.5s ease;
		text-align: center;
		transition: all 0.5s ease-in-out;
		&.active{
			transform: scale(1);
		}
	}
</style>
第二种
代码如下:

<template>
	<swiper :display-multiple-items="2" previous-margin="250rpx" @change="swiperchange" :current="current" :indicator-dots="true"  :circular="true" :interval="3000" :duration="1000">
		<swiper-item v-for="i,index in 10" :key="i">
			<view  :class="['swiper-item',index==current ? 'active' : '']">
				<img src="https://s2.loli.net/2022/05/11/rHeUj2V7pWg6MyQ.jpg" style="width: 100%;height: 100%;" alt="" srcset="">
			</view>
		</swiper-item>
	</swiper>
</template>

<script>
	export default{
		data(){
			return {
				current:1,
			}
		},
		methods:{
			swiperchange(e){
				this.current=e.detail.current
			}
		}
	}
</script>

<style lang="scss">
	.swiper-item{
		height: 70%;
		transform: scale(0.8);
		transition:all 0.5s ease;
		text-align: center;
		transition: all 0.5s ease-in-out;
		&.active{
			transform: scale(1);
		}
	}

</style>
更多推荐
 已为社区贡献8条内容


所有评论(0)