docker 部署 xxl-job、引用外部配置文件、连接宿主机 Mysql
docker 部署 xxl-job、引用外部配置文件、连接宿主机 Mysql
·
出于学习的目的(瞎折腾)。想使用 Docker 部署一下 xxl-job。并使用外部配置文件,方便后续更新。使用宿主机已经安装好的 Mysql。
1. 拉取 xxl- job 源码
git clone https://gitee.com/xuxueli0323/xxl-job.git2. 使用IDEA打开,打包
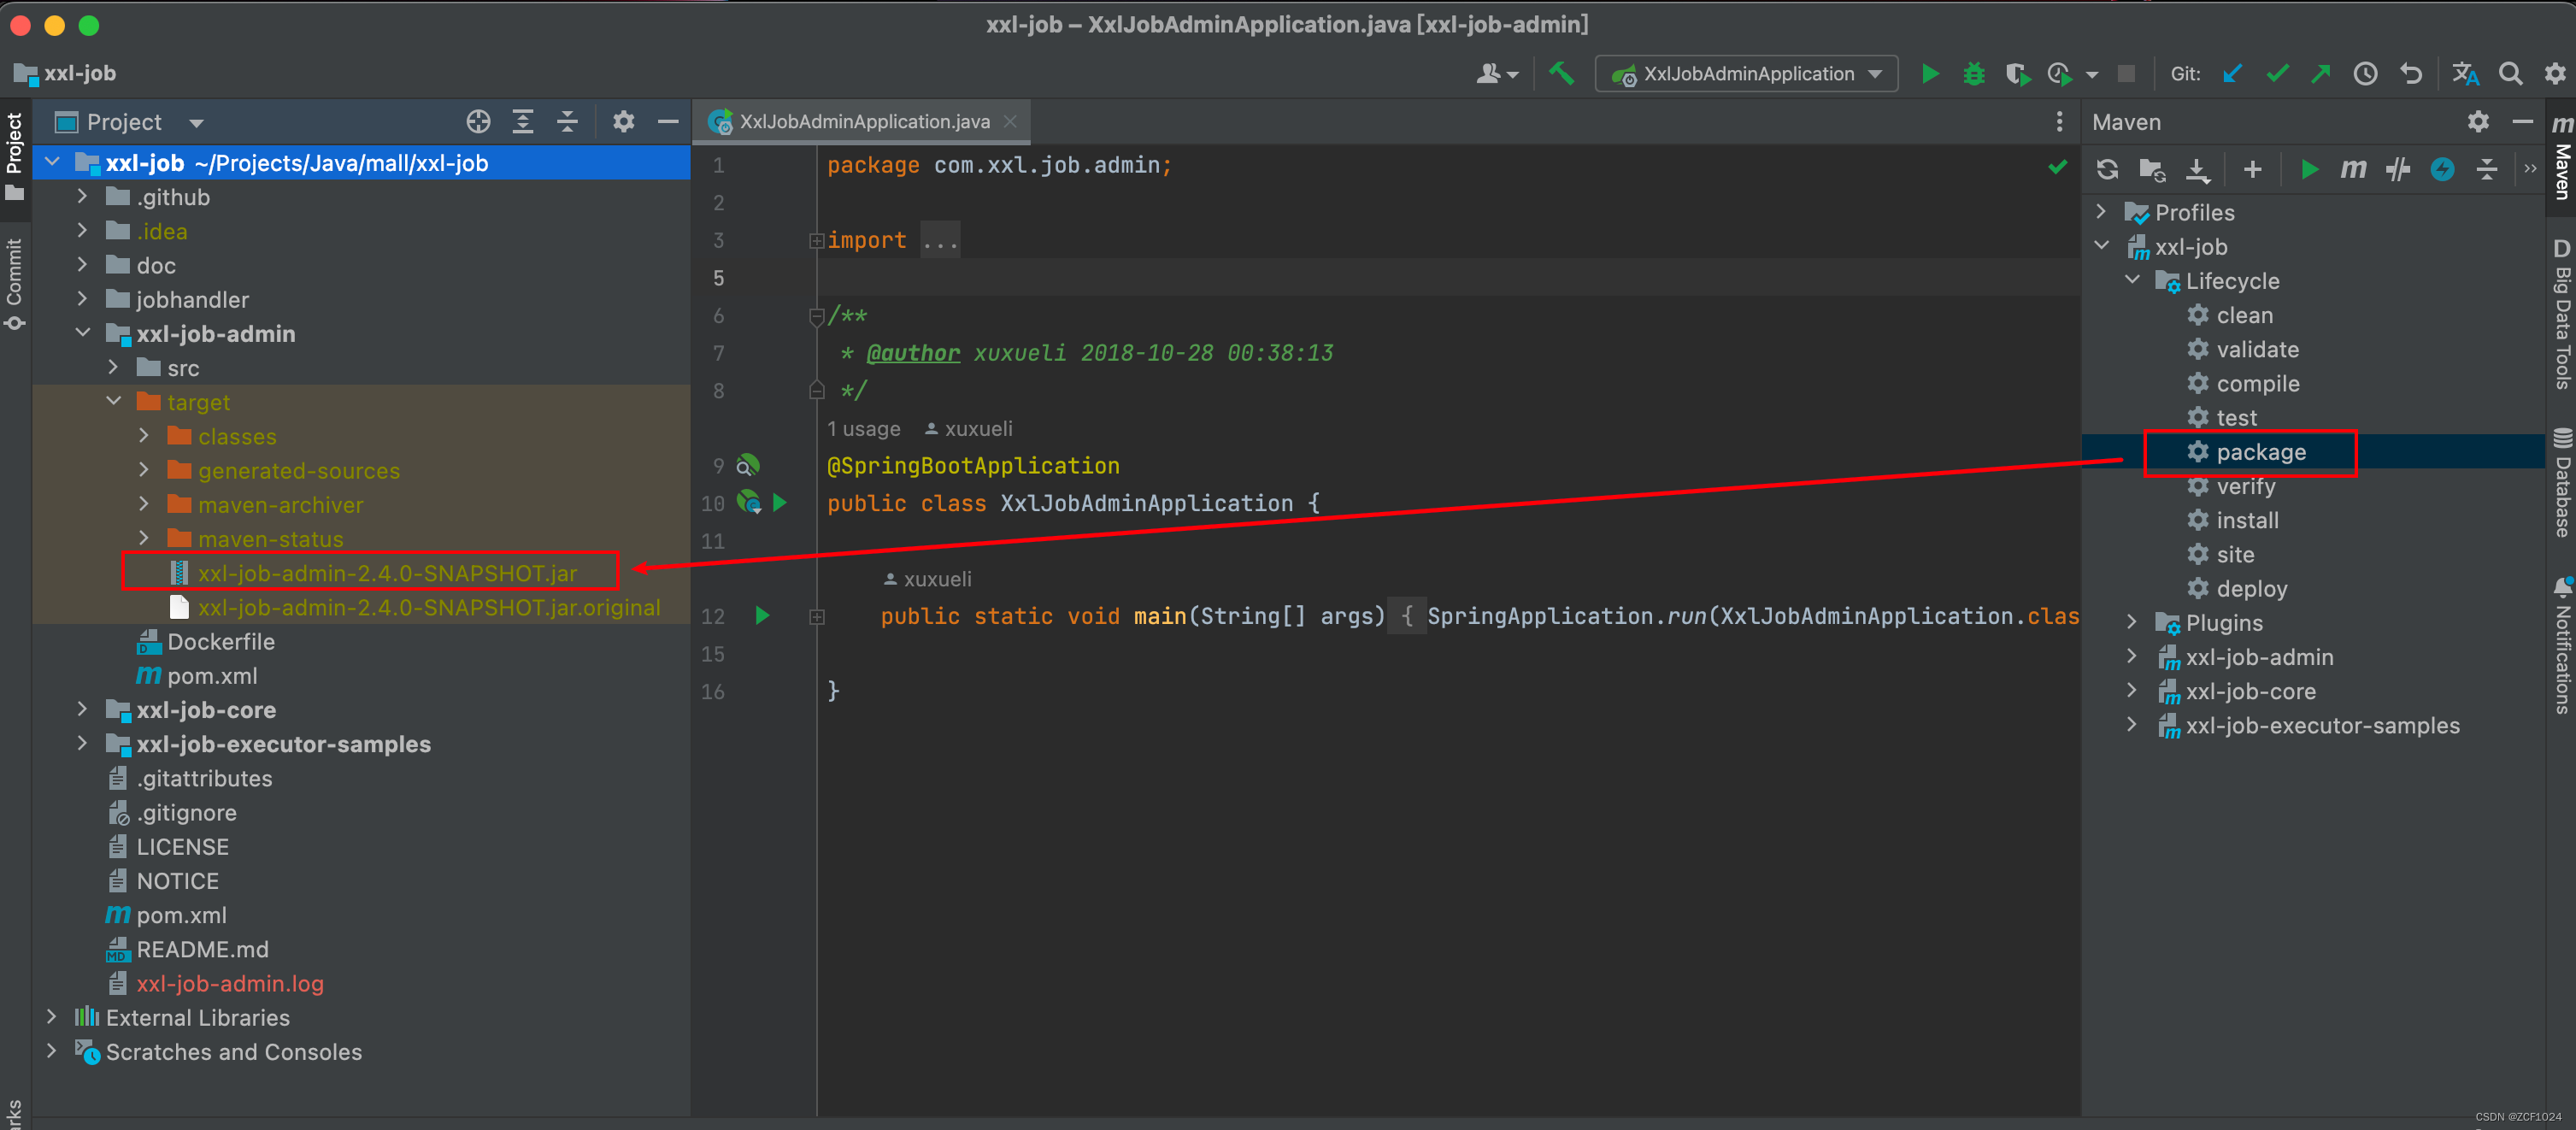
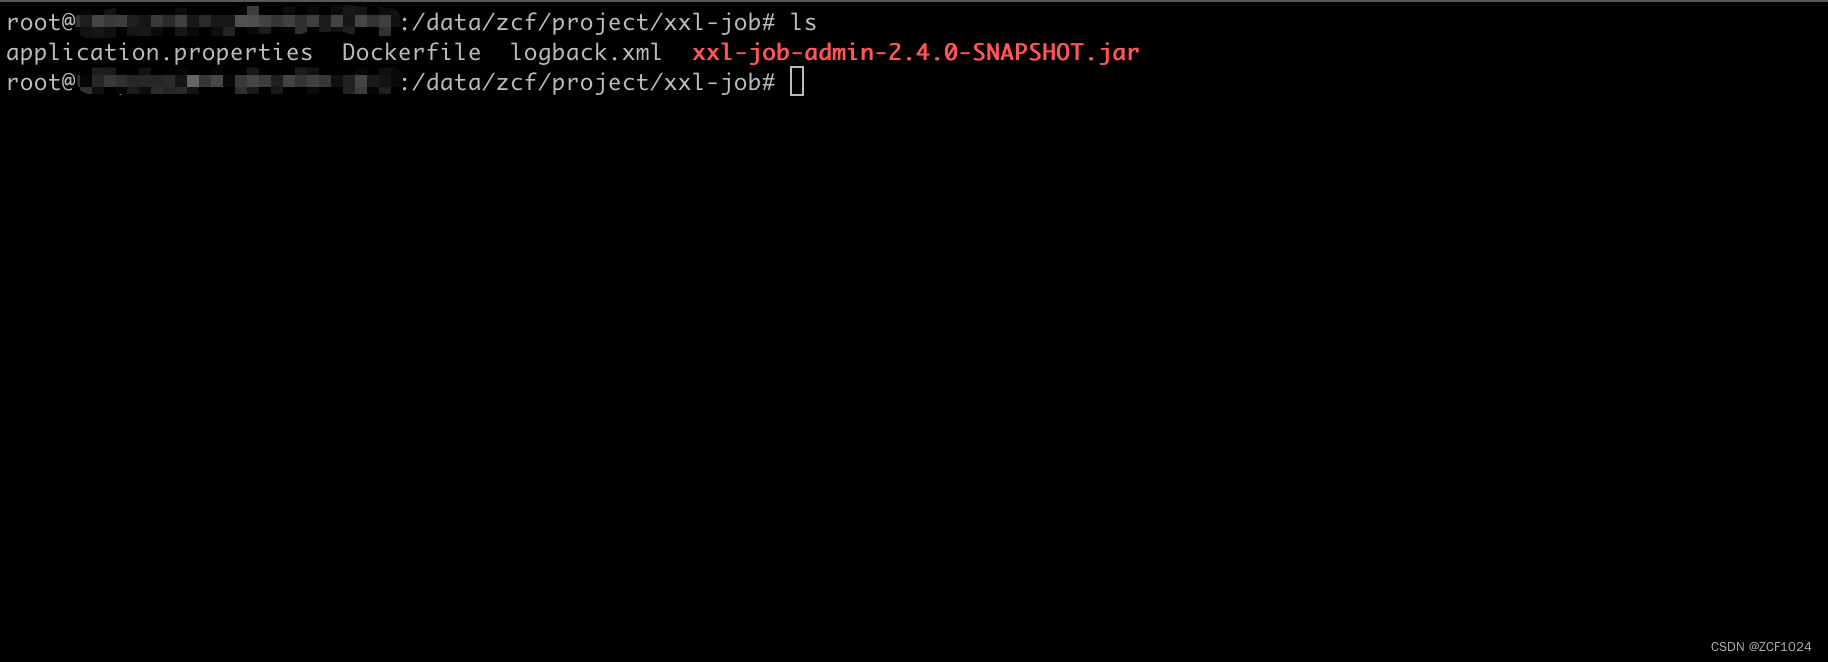
3. 复制 jar 包、配置文件、Dockerfile 到 xxl-job 目录下
4. 修改 Dockerfile
FROM openjdk:8-jre-slim
MAINTAINER xuxueli

ENV PARAMS=""

# 设置外部配置文件路径(必须,否则无法加载到此配置文件)
ENV JAVA_OPTS="-Dspring.config.location=/xxl-job/application.properties"

# 复制配置文件到容器中
COPY ./application.properties /xxl-job/application.properties
COPY ./logback.xml /xxl-job/logback.xml

ENV TZ=PRC
RUN ln -snf /usr/share/zoneinfo/$TZ /etc/localtime && echo $TZ > /etc/timezone

ADD xxl-job-admin-*.jar /xxl-job/app.jar

ENTRYPOINT ["sh","-c","java -jar $JAVA_OPTS /xxl-job/app.jar $PARAMS"]
5. 配置连接宿主机数据库
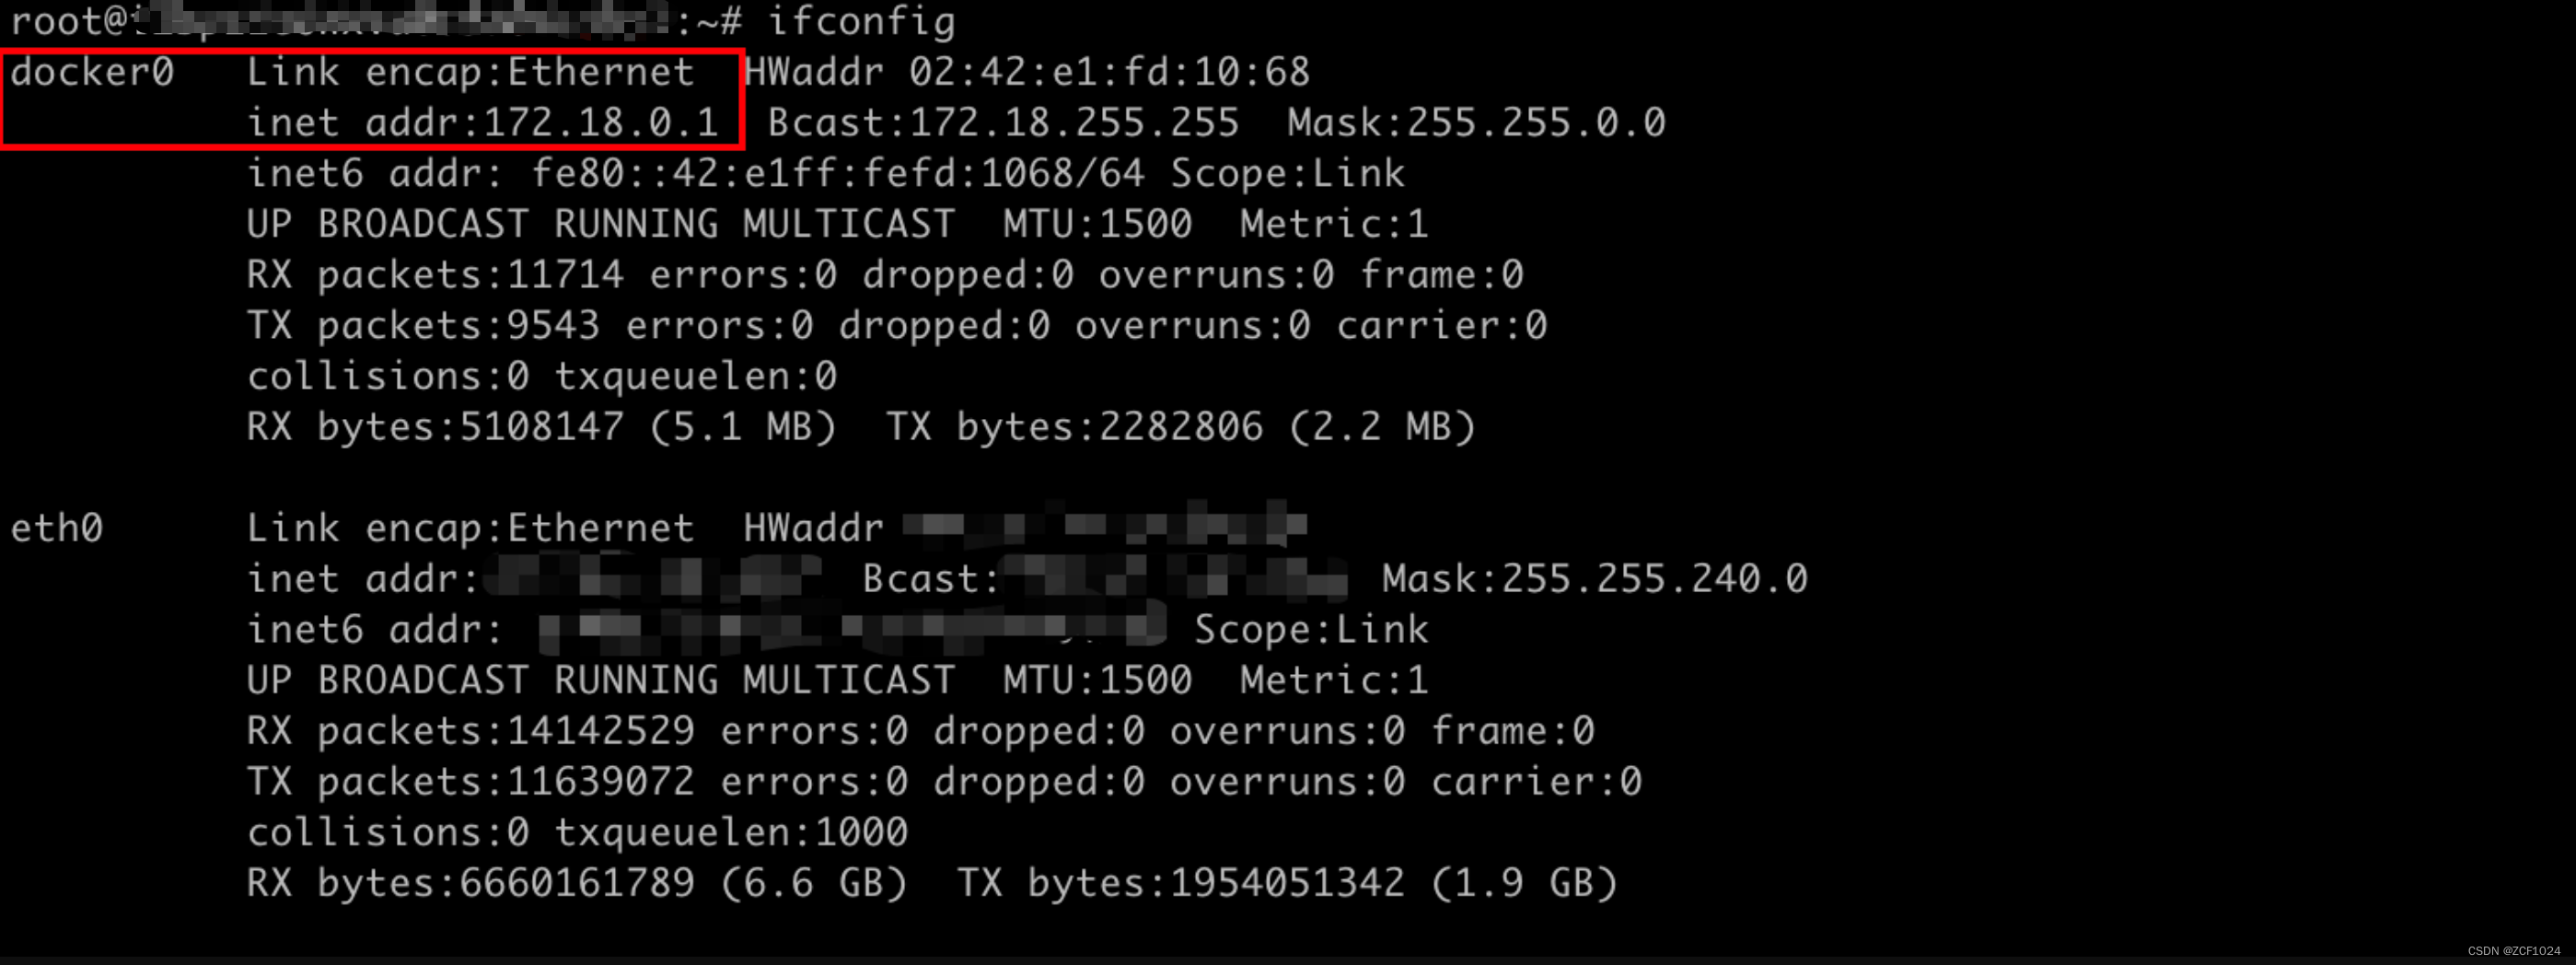
5.1 先找到宿主机IP
主要修改数据库连接信息。宿主机在与容器同一局域网,所以需要先找到宿主机此局域网的 ip。ifconfig 命令找到 docker0 网卡信息,IP为 172.18.0.1
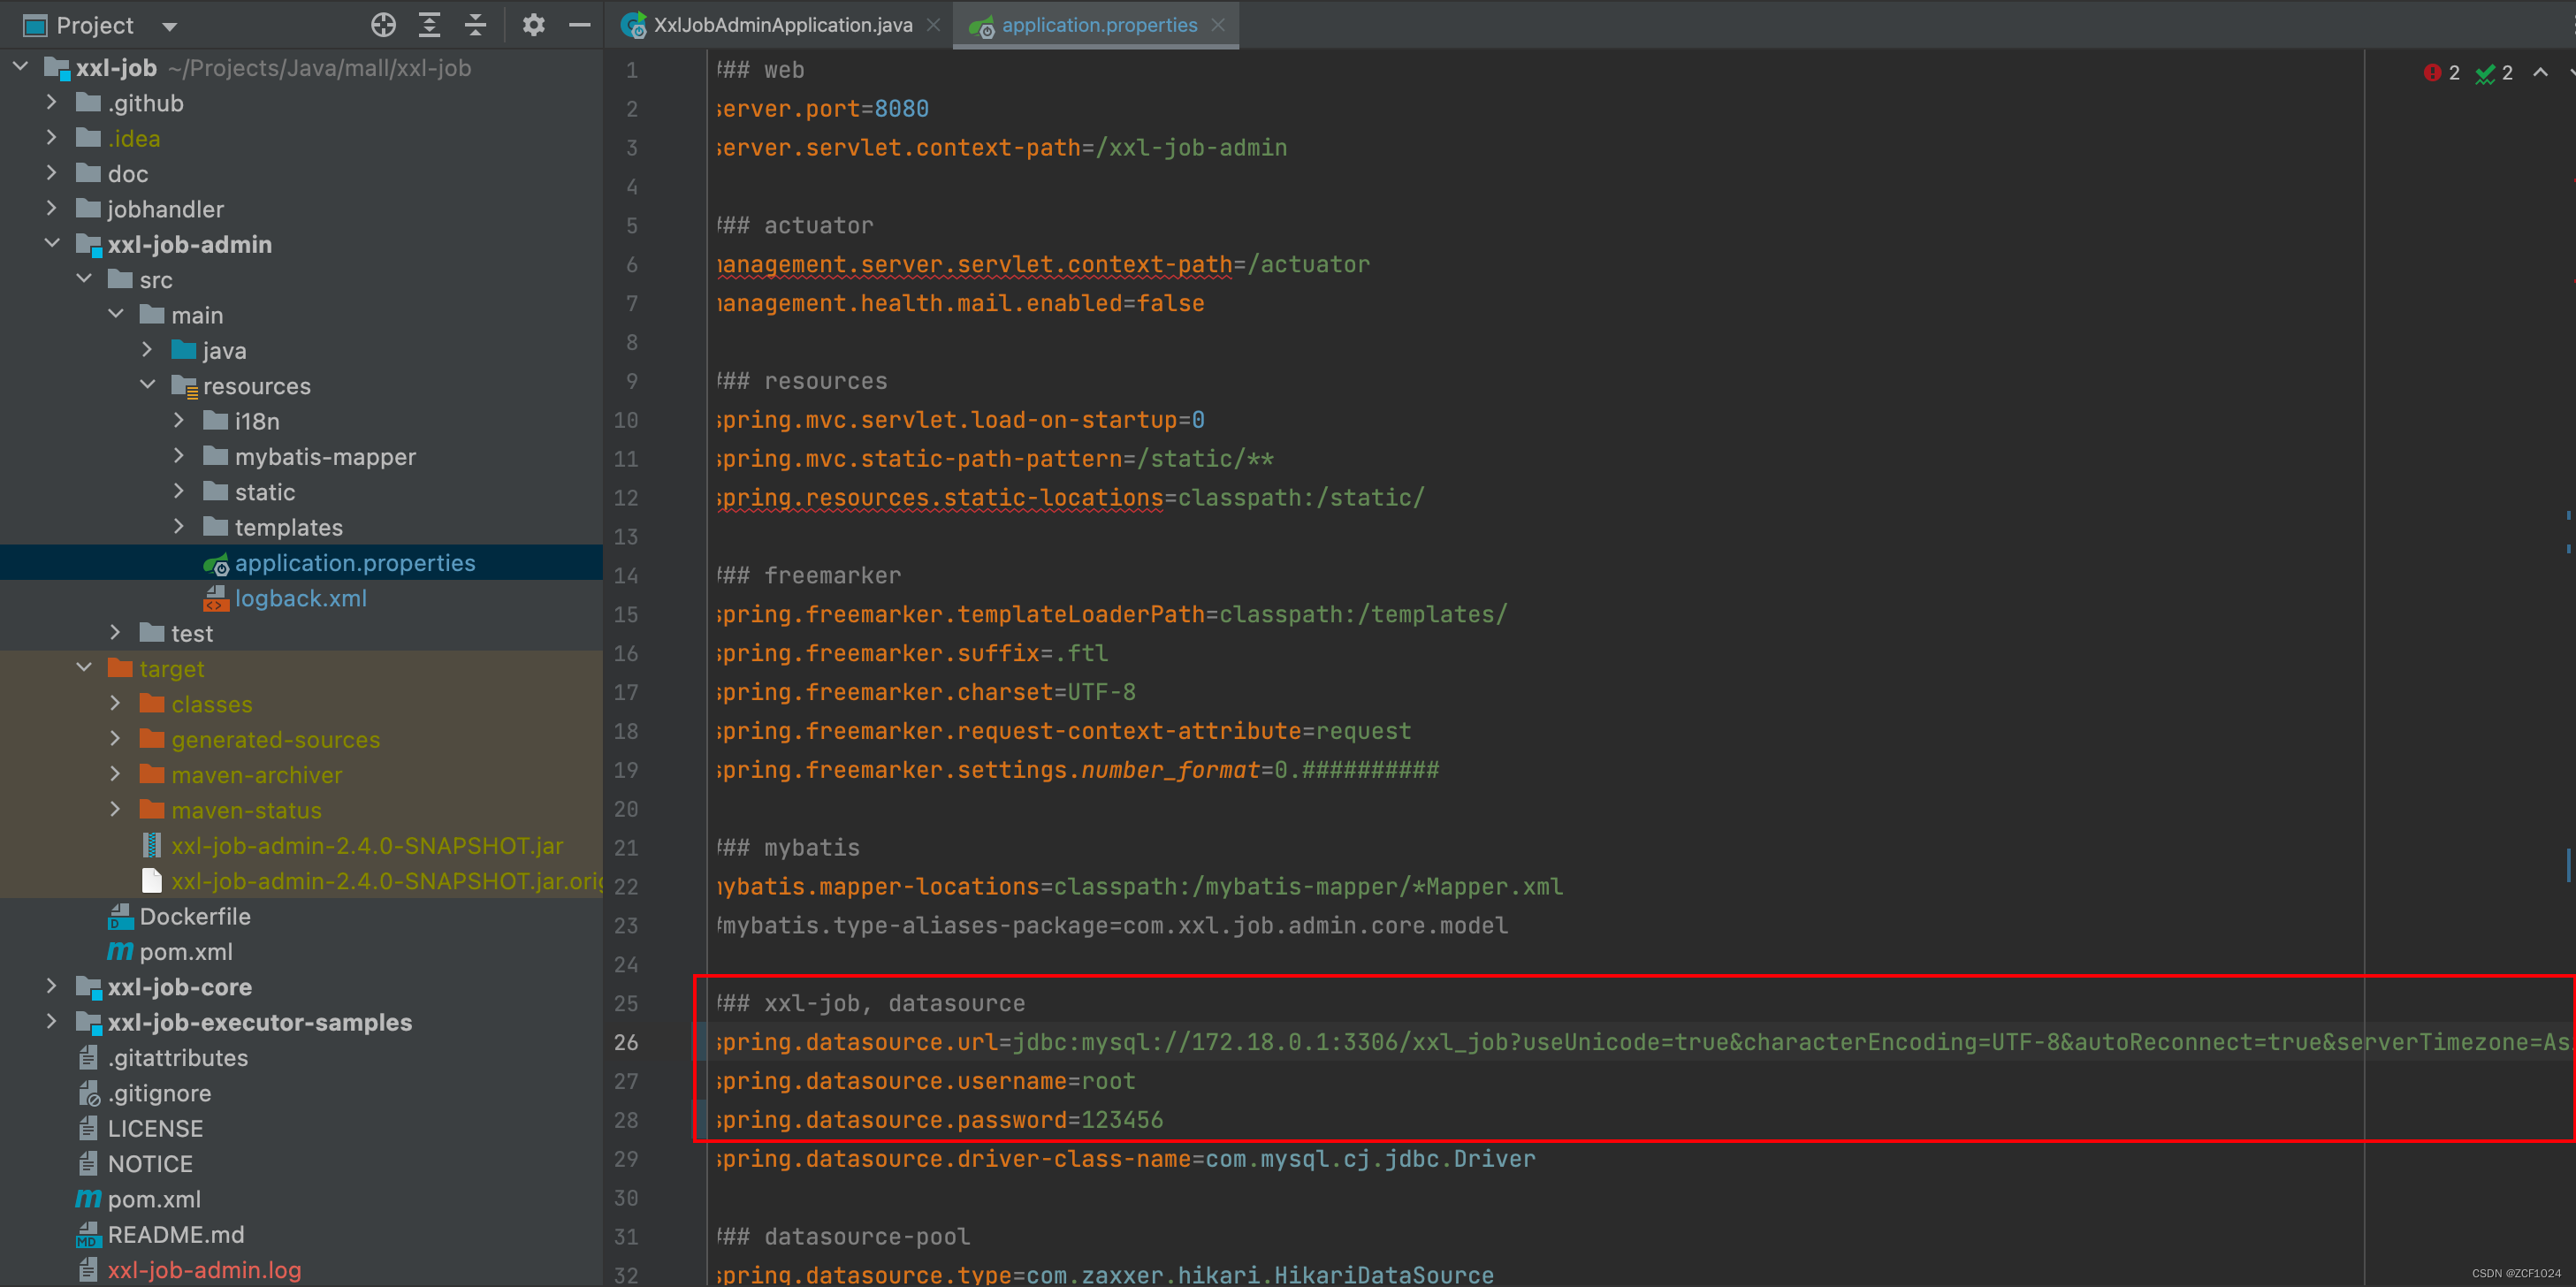
5.2 修改 application.properties 中的数据库连接信息
### web
server.port=8080
server.servlet.context-path=/xxl-job-admin

### actuator
management.server.servlet.context-path=/actuator
management.health.mail.enabled=false

### resources
spring.mvc.servlet.load-on-startup=0
spring.mvc.static-path-pattern=/static/**
spring.resources.static-locations=classpath:/static/

### freemarker
spring.freemarker.templateLoaderPath=classpath:/templates/
spring.freemarker.suffix=.ftl
spring.freemarker.charset=UTF-8
spring.freemarker.request-context-attribute=request
spring.freemarker.settings.number_format=0.##########

### mybatis
mybatis.mapper-locations=classpath:/mybatis-mapper/*Mapper.xml
#mybatis.type-aliases-package=com.xxl.job.admin.core.model

### xxl-job, datasource
spring.datasource.url=jdbc:mysql://172.18.0.1:3306/xxl_job?useUnicode=true&characterEncoding=UTF-8&autoReconnect=true&serverTimezone=Asia/Shanghai
spring.datasource.username=root
spring.datasource.password=123456
spring.datasource.driver-class-name=com.mysql.cj.jdbc.Driver

### datasource-pool
spring.datasource.type=com.zaxxer.hikari.HikariDataSource
spring.datasource.hikari.minimum-idle=10
spring.datasource.hikari.maximum-pool-size=30
spring.datasource.hikari.auto-commit=true
spring.datasource.hikari.idle-timeout=30000
spring.datasource.hikari.pool-name=HikariCP
spring.datasource.hikari.max-lifetime=900000
spring.datasource.hikari.connection-timeout=10000
spring.datasource.hikari.connection-test-query=SELECT 1
spring.datasource.hikari.validation-timeout=1000

### xxl-job, email
spring.mail.host=smtp.qq.com
spring.mail.port=25
spring.mail.username=184248697@qq.com
spring.mail.from=184248697@qq.com
spring.mail.password=roxdezsngxuvbjii
spring.mail.properties.mail.smtp.auth=true
spring.mail.properties.mail.smtp.starttls.enable=true
spring.mail.properties.mail.smtp.starttls.required=true
spring.mail.properties.mail.smtp.socketFactory.class=javax.net.ssl.SSLSocketFactory

### xxl-job, access token
xxl.job.accessToken=default_token

### xxl-job, i18n (default is zh_CN, and you can choose "zh_CN", "zh_TC" and "en")
xxl.job.i18n=zh_CN

## xxl-job, triggerpool max size
xxl.job.triggerpool.fast.max=200
xxl.job.triggerpool.slow.max=100

### xxl-job, log retention days
xxl.job.logretentiondays=30
6. 构建镜像
docker build -t xxl-job-admin .7. 运行容器
docker run -d -p 8181:8080 xxl-job-admin8. 访问

华为开发者空间,是为全球开发者打造的专属开发空间,汇聚了华为优质开发资源及工具,致力于让每一位开发者拥有一台云主机,基于华为根生态开发、创新。
更多推荐

 0
0 0
0- 0


 已为社区贡献3条内容

所有评论(0)