springboot对接支付宝支付接口(详细开发步骤总结)
最近需要对接支付宝的支付接口,官方文档写得内容有点分散,整理了一下发布出来,用作记录,同时也希望对不了解情况的人有所帮助,这里以电脑端的网页支付为例。开发主要分为三个步骤:一、生成私钥公钥。二、建立应用。三、沙箱环境。四、接口开发一、生成私钥公钥生成密钥的官网文档:官网文档官方文档讲得已经很详细,按照步骤来即可,记得保存好公钥与私钥,下面需要用到二、建立应用1.首先进入蚂蚁金服开放平台的首页,通过
最近需要对接支付宝的支付接口,官方文档写得内容有点分散,整理了一下发布出来,用作记录,同时也希望对不了解情况的人有所帮助,这里以电脑端的网页支付为例。
开发主要分为三个步骤:一、生成私钥公钥。二、建立应用。三、沙箱环境。四、接口开发
一、生成私钥公钥
官方文档讲得已经很详细,按照步骤来即可,记得保存好公钥与私钥,下面需要用到
二、建立应用
1.首先进入蚂蚁金服开放平台的首页,通过支付宝账户登录,登录的时候要选择一个身份,这个选自研开发者吧,反正后面可以拓展
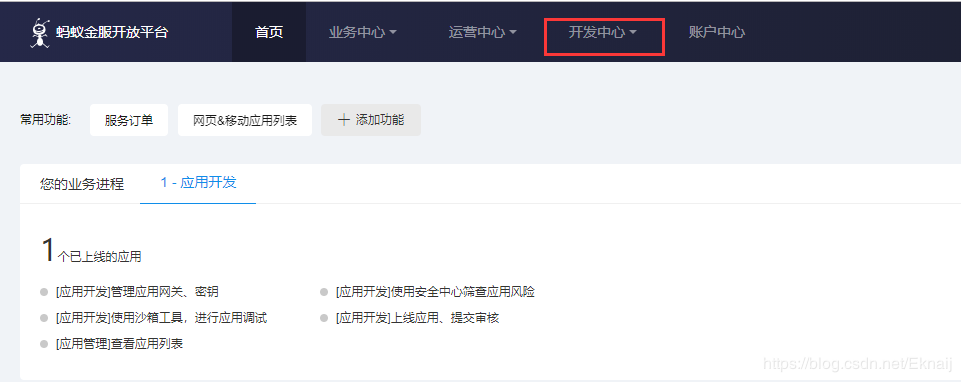
2.在蚂蚁金服的首页的头像旁边进入管理中心,然后点击“开发中心”:
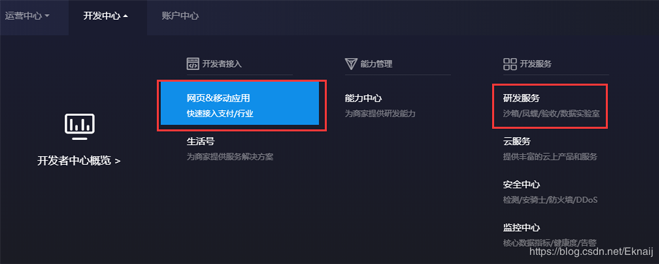
然后选择网页和移动应用快速接入支付/行业,注意旁边的“研发服务”,接下来我们会用到:
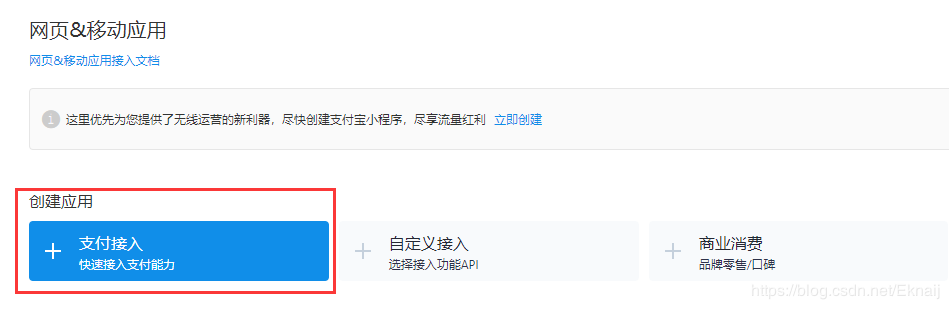
进入之后选择“支付接入”创建一个用于接入支付的应用:
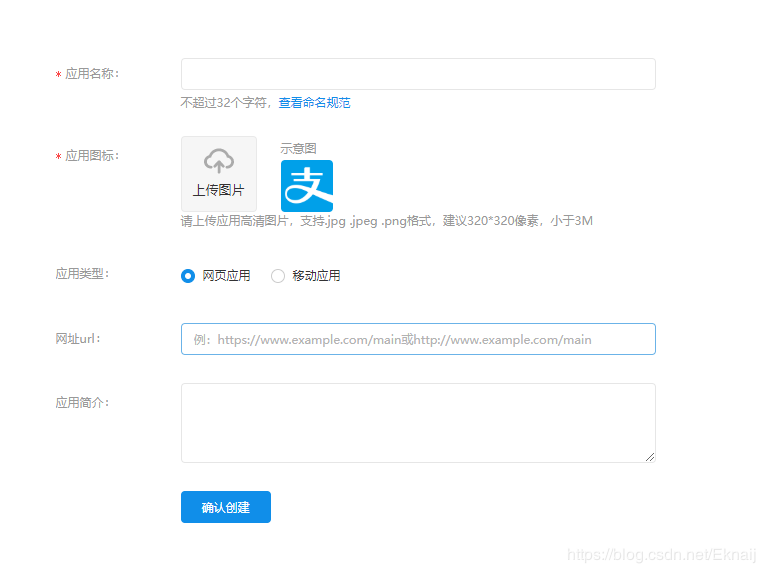
然后输入相关的信息后点击确认创建:
创建成功之后可以看到如下页面:
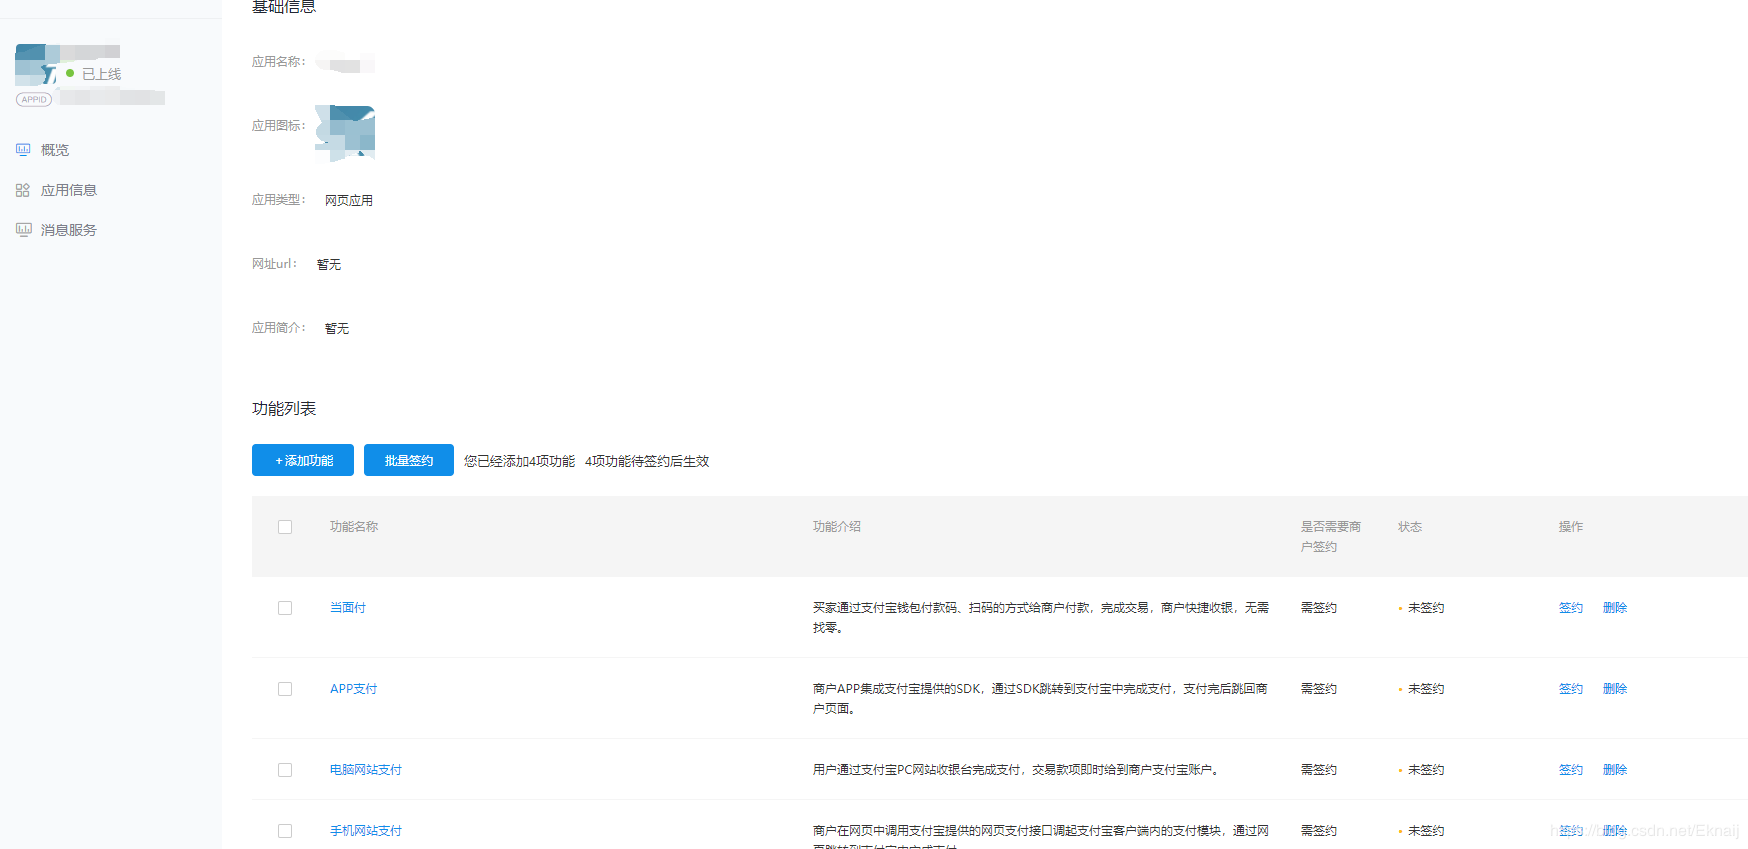
可以在功能列表选择自己需要的功能。
开发设置中可以填入自己需要的信息,其中加密方式建议选择RSA(SHA256)密钥,公钥填写之前生成的公钥。
注:输入公钥时验证会失败,但是对我们的开发没有影响,暂时可以不管
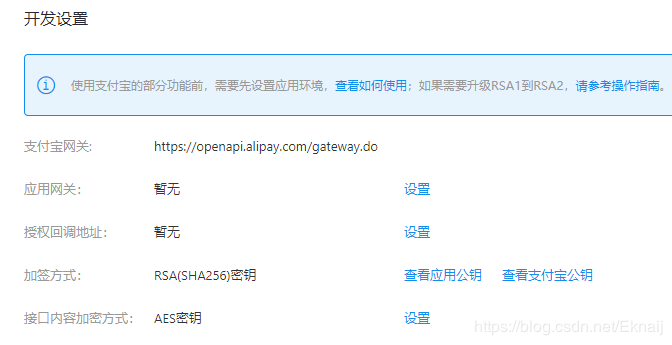
填写完之后,提交审核,审核按钮在页面上方= =,审核过程大概一个小时左右吧。实际生产环境的应用需要等待这个审核,但是我们开发可以运用沙箱环境来进行。
三、沙箱环境
什么是沙箱环境?
沙箱环境实际上跟真实的生产环境差不多,开发的时候我们用沙箱进行,测试bug,到了生产环境中,我们只要替换APPID和支付宝网关就可以了,非常方便。
在网页上端,点击开发平台,进入沙箱:
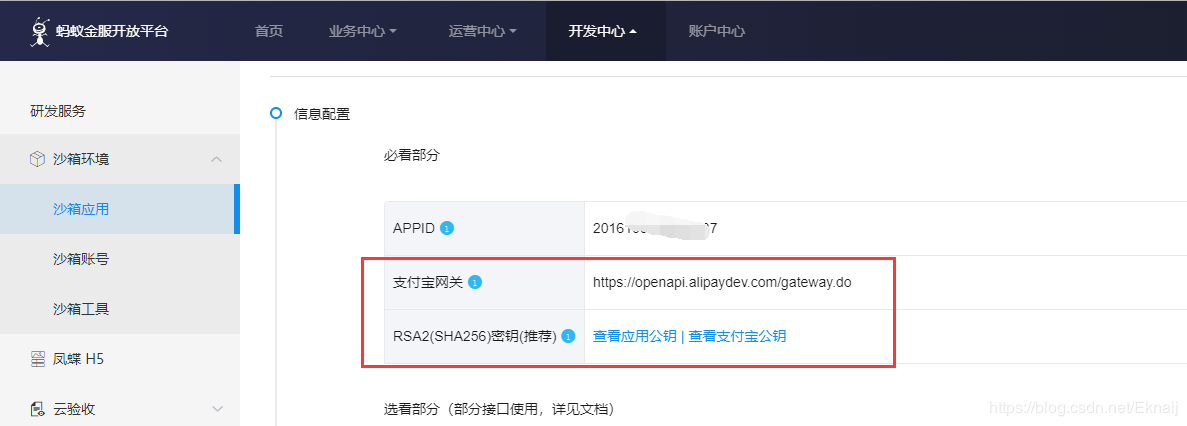
在这里需要注意两个地方:
- 沙箱环境下的支付宝网关
- 配置好自己的公钥
沙箱账号
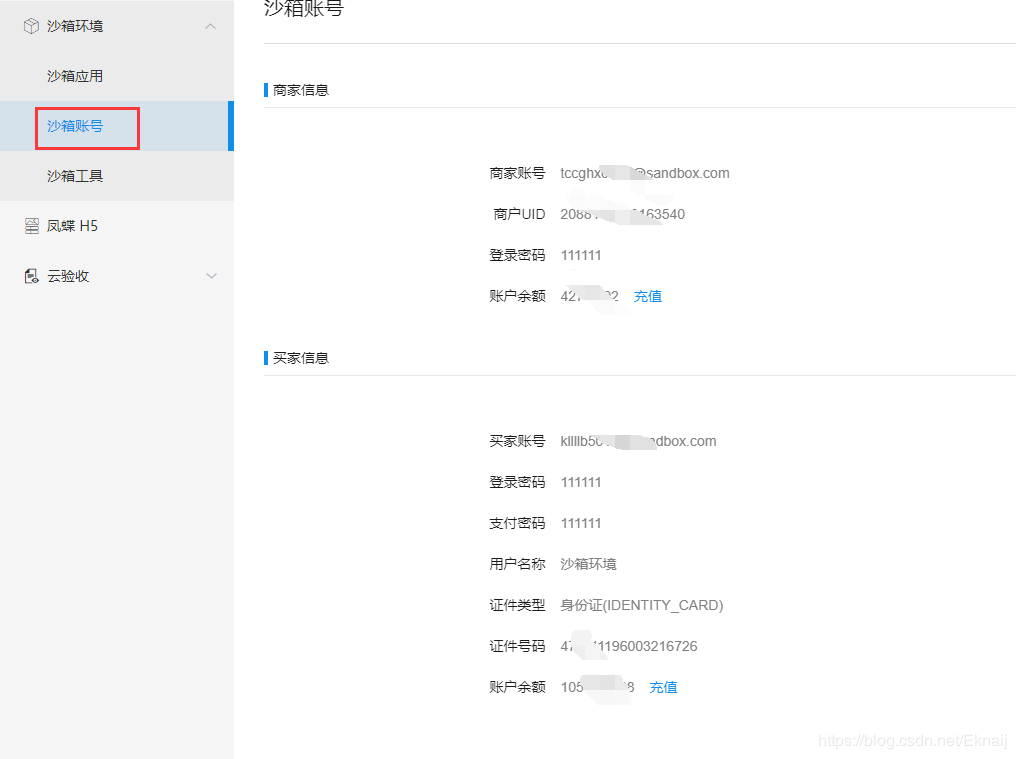
这个账号用来模拟真实的支付宝账户,毕竟我们开发进行支付时不会使用自己的真实支付宝进行支付。
后面还有什么沙箱账号以及沙箱工具什么的,就自己看了。
准备得差不多了,接下来说说怎么开发接口
四、接口开发
我用的开发语言是JAVA,工具为IDEA,一个简单的springboot工程
1.构建一个普通的springboot工程,引入支付宝SDK的maven依赖:
<dependency>

     <groupId>com.alipay.sdk</groupId>

     <artifactId>alipay-sdk-java</artifactId>

     <version>3.0.0</version>

   </dependency>
新建一个AlipayConfig类,用于配置支付的相关配置:
public class AlipayConfig {


  // 应用ID,您的APPID,收款账号既是您的APPID对应支付宝账号,开发时使用沙箱提供的APPID,生产环境改成自己的APPID

  public static String APP_ID = "你的沙箱APPID";


  // 商户私钥,您的PKCS8格式RSA2私钥

  public static String APP_PRIVATE_KEY = "你自己的私钥";


  // 支付宝公钥,查看地址:https://openhome.alipay.com/platform/keyManage.htm 对应APPID下的支付宝公钥。

  public static String ALIPAY_PUBLIC_KEY = "你自己的支付宝公钥,注意是支付宝公钥,不是应用公钥";


  // 服务器异步通知页面路径 需http://格式的完整路径,不能加?id=123这类自定义参数,必须外网可以正常访问

  public static String notify_url = "http://localhost:8080/alipay.trade.page.pay-JAVA-UTF-8/notify_url.jsp";


  // 页面跳转同步通知页面路径 需http://格式的完整路径,不能加?id=123这类自定义参数,必须外网可以正常访问(其实就是支付成功后返回的页面)

  public static String return_url = "http://localhost:8080/alipay.trade.page.pay-JAVA-UTF-8/return_url.jsp";


  // 签名方式

  public static String sign_type = "RSA2";


  // 字符编码格式

  public static String CHARSET = "utf-8";


  // 支付宝网关,这是沙箱的网关

  public static String gatewayUrl = "https://openapi.alipaydev.com/gateway.do";


  // 支付宝网关

  public static String log_path = "C:\\";


//↑↑↑↑↑↑↑↑↑↑请在这里配置您的基本信息↑↑↑↑↑↑↑↑↑↑↑↑↑↑↑


  /**

   * 写日志,方便测试(看网站需求,也可以改成把记录存入数据库)

   * @param sWord 要写入日志里的文本内容

   */

  public static void logResult(String sWord) {

    FileWriter writer = null;

    try {

      writer = new FileWriter(log_path + "alipay_log_" + System.currentTimeMillis()+".txt");

      writer.write(sWord);

    } catch (Exception e) {

      e.printStackTrace();

    } finally {

      if (writer != null) {

        try {

          writer.close();

        } catch (IOException e) {

          e.printStackTrace();

        }

      }

    }

  }
3.新建一个controller包,用于存放Action,新建一个PayController类,编写一个用于支付的接口/pay
@RestController

public class PayController {


  @RequestMapping("/pay")

  public void payController(HttpServletRequest request, HttpServletResponse response) throws IOException {

    //获得初始化的AlipayClient

    AlipayClient alipayClient = new DefaultAlipayClient(AlipayConfig.gatewayUrl, AlipayConfig.APP_ID, AlipayConfig.APP_PRIVATE_KEY, "json", AlipayConfig.CHARSET, AlipayConfig.ALIPAY_PUBLIC_KEY, AlipayConfig.sign_type);


    //设置请求参数

    AlipayTradePagePayRequest alipayRequest = new AlipayTradePagePayRequest();

    alipayRequest.setReturnUrl(AlipayConfig.return_url);

    alipayRequest.setNotifyUrl(AlipayConfig.notify_url);


    //商户订单号,商户网站订单系统中唯一订单号,必填

    String out_trade_no = new String(request.getParameter("WIDout_trade_no").getBytes("ISO-8859-1"),"UTF-8");

    //付款金额,必填

    String total_amount = new String(request.getParameter("WIDtotal_amount").getBytes("ISO-8859-1"),"UTF-8");

    //订单名称,必填

    String subject = new String(request.getParameter("WIDsubject").getBytes("ISO-8859-1"),"UTF-8");

    //商品描述,可空

    String body = new String(request.getParameter("WIDbody").getBytes("ISO-8859-1"),"UTF-8");


    alipayRequest.setBizContent("{\"out_trade_no\":\""+ out_trade_no +"\","

        + "\"total_amount\":\""+ total_amount +"\","

        + "\"subject\":\""+ subject +"\","

        + "\"body\":\""+ body +"\","

        + "\"product_code\":\"FAST_INSTANT_TRADE_PAY\"}");


    //若想给BizContent增加其他可选请求参数,以增加自定义超时时间参数timeout_express来举例说明

    //alipayRequest.setBizContent("{\"out_trade_no\":\""+ out_trade_no +"\","

    //      + "\"total_amount\":\""+ total_amount +"\","

    //      + "\"subject\":\""+ subject +"\","

    //      + "\"body\":\""+ body +"\","

    //      + "\"timeout_express\":\"10m\","

    //      + "\"product_code\":\"FAST_INSTANT_TRADE_PAY\"}");

    //请求参数可查阅【电脑网站支付的API文档-alipay.trade.page.pay-请求参数】章节


    //请求

    String form="";

    try {

      form = alipayClient.pageExecute(alipayRequest).getBody(); //调用SDK生成表单

    } catch (AlipayApiException e) {

      e.printStackTrace();

    }

    response.setContentType("text/html;charset=" + AlipayConfig.CHARSET);

    response.getWriter().write(form);//直接将完整的表单html输出到页面

    response.getWriter().flush();

    response.getWriter().close();

  }
新建一个HTML页面,用于模拟提交订单
首先要添加相关依赖:
<?xml version="1.0" encoding="UTF-8"?>
<project xmlns="http://maven.apache.org/POM/4.0.0" xmlns:xsi="http://www.w3.org/2001/XMLSchema-instance"
		 xsi:schemaLocation="http://maven.apache.org/POM/4.0.0 https://maven.apache.org/xsd/maven-4.0.0.xsd">
	<modelVersion>4.0.0</modelVersion>
	<parent>
		<groupId>org.springframework.boot</groupId>
		<artifactId>spring-boot-starter-parent</artifactId>
		<version>2.4.5</version>
		<relativePath/> <!-- lookup parent from repository -->
	</parent>
	<groupId>com.chill</groupId>
	<artifactId>alipay</artifactId>
	<version>0.0.1-SNAPSHOT</version>
	<name>alipay</name>
	<description>Demo project for Spring Boot</description>
	<properties>
		<java.version>1.8</java.version>
	</properties>
	<dependencies>
		<dependency>
			<groupId>org.springframework.boot</groupId>
			<artifactId>spring-boot-starter-web</artifactId>
		</dependency>
		<dependency>
			<groupId>org.projectlombok</groupId>
			<artifactId>lombok</artifactId>
			<optional>true</optional>
		</dependency>
		<dependency>
			<groupId>org.springframework.boot</groupId>
			<artifactId>spring-boot-starter-test</artifactId>
			<scope>test</scope>
		</dependency>
		<!-- https://mvnrepository.com/artifact/com.alipay.sdk/alipay-easysdk -->
		<dependency>
			<groupId>com.alipay.sdk</groupId>
			<artifactId>alipay-easysdk</artifactId>
			<version>2.2.0</version>
		</dependency>
		<dependency>
			<groupId>com.alipay.sdk</groupId>
			<artifactId>alipay-sdk-java</artifactId>
			<version>3.0.0</version>
		</dependency>
		<dependency>
			<groupId>org.springframework.boot</groupId>
			<artifactId>spring-boot-starter-thymeleaf</artifactId>
		</dependency>
	</dependencies>
	<build>
		<plugins>
			<plugin>
				<groupId>org.springframework.boot</groupId>
				<artifactId>spring-boot-maven-plugin</artifactId>
				<configuration>
					<excludes>
						<exclude>
							<groupId>org.projectlombok</groupId>
							<artifactId>lombok</artifactId>
						</exclude>
					</excludes>
				</configuration>
			</plugin>
		</plugins>
	</build>
</project>
index.html:
<!DOCTYPE html>
<html lang="en">
<head>
    <meta charset="UTF-8">
    <title>确认订单</title>
</head>
<body>
<div>
    <form action="/pay" method="post">
        订单号:<input type="text" name="WIDout_trade_no" required><br/>
        订单名称:<input type="text" name="WIDsubject" required><br/>
        付款金额:<input type="text" name="WIDtotal_amount" required><br/>
        WIDbody:<input type="text" name="WIDbody"><br/>
        <input type="submit" value="下单"> <input type="reset" value="重置">
    </form>
</div>
</body>
</html>
required保证提交的时候这两项内容非空
5. controller类添加跳转到jsp页面的映射:
@RequestMapping("/")

 public String toTest(){

   return "index";

 }
6.测试运行,启动项目,在浏览器输入:http://localhost:8080/
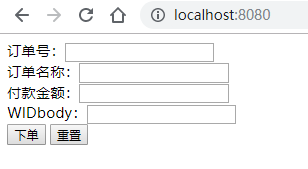
输入订单号,订单名称,金额,就可以跳转到支付宝的支付页面了:
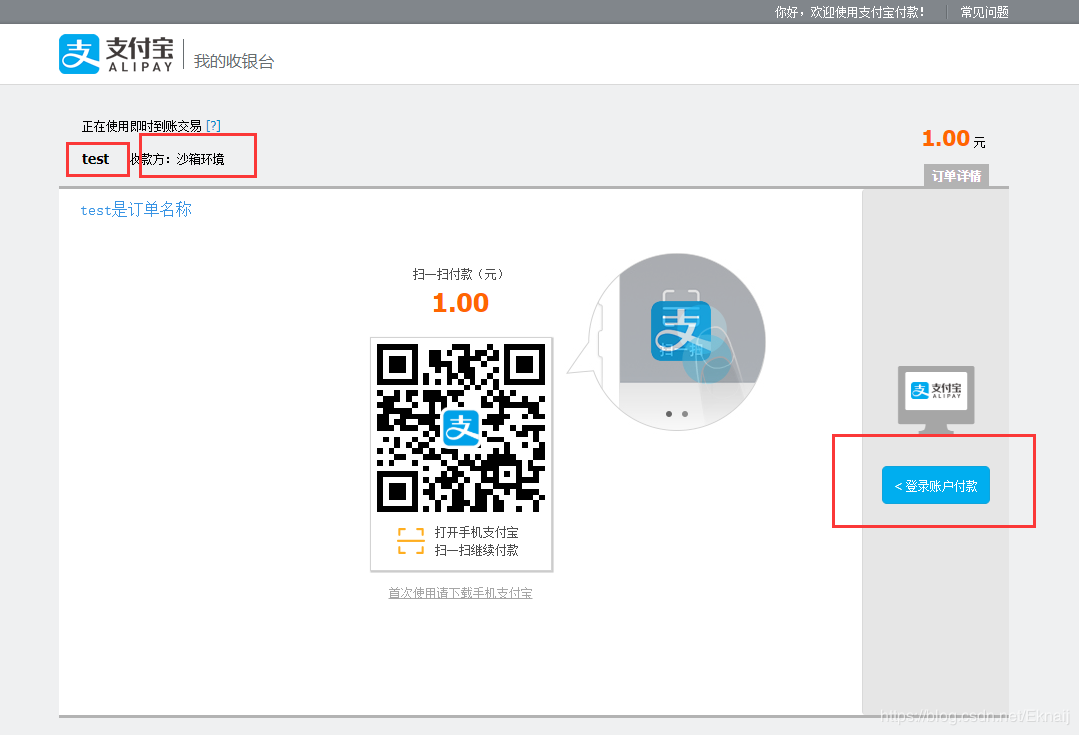
由于这个是沙箱环境,所以这个二维码无法识别,我们选择右边的登录支付宝账户付款
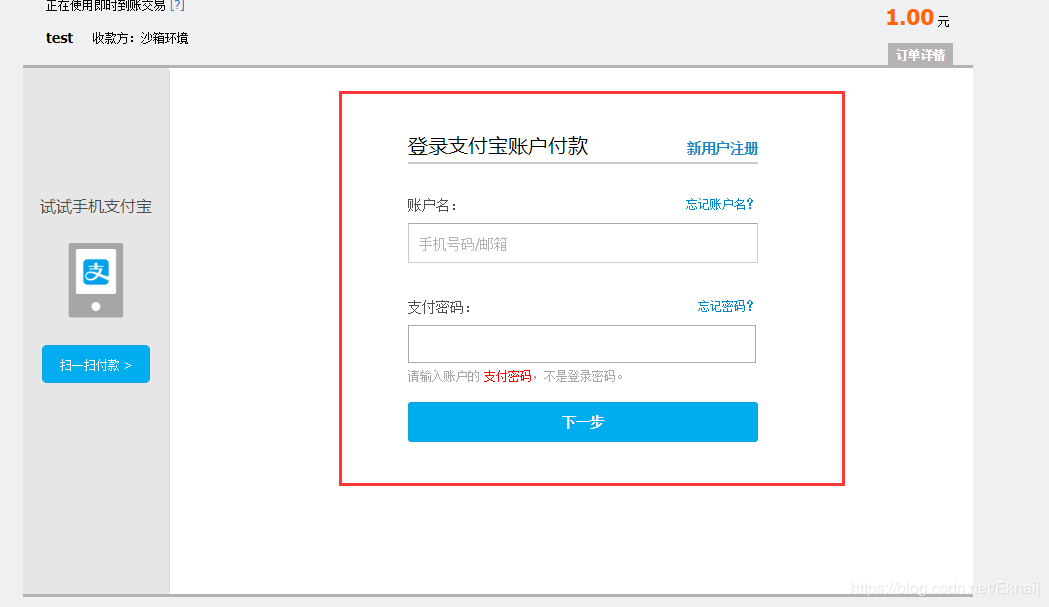
在这里我们输入的是之前沙箱账号和支付密码,输入之后就可以进入到支付页面,与实际中的操作是一样的:
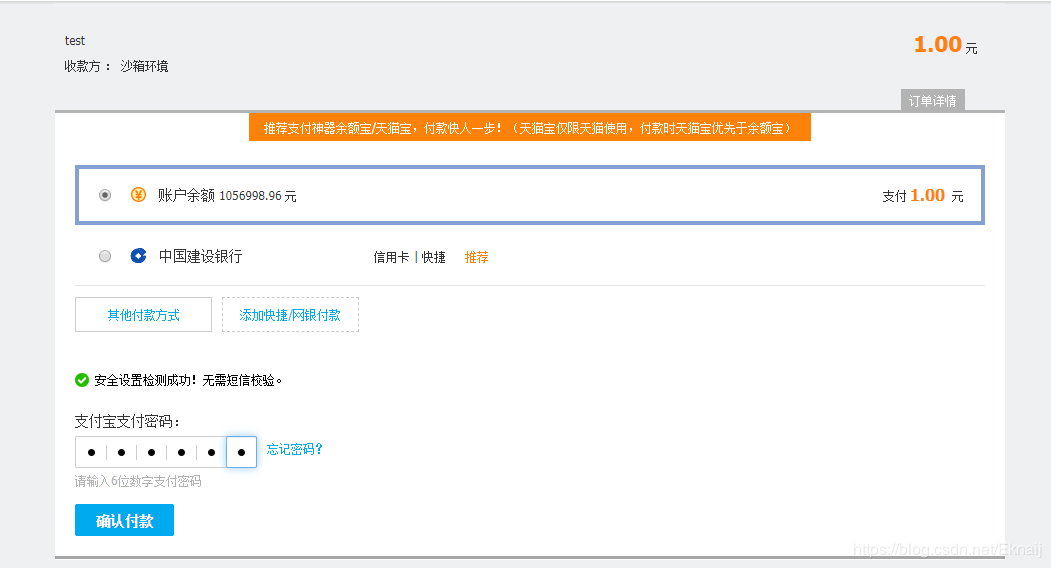
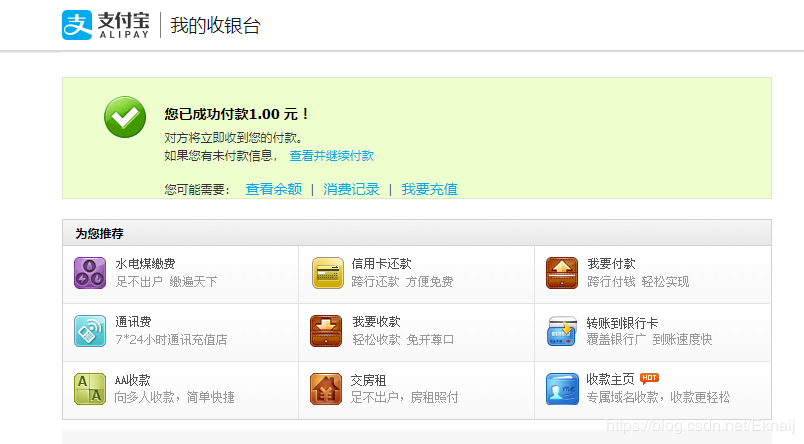
这里跳转回去的页面就是之前AlipayConfig类中的return_url 在这之前需要进入notify_url 接口进行验签,这两个接口就不演示了,先知道这回事,实际开发的时候再进行开发。


华为开发者空间,是为全球开发者打造的专属开发空间,汇聚了华为优质开发资源及工具,致力于让每一位开发者拥有一台云主机,基于华为根生态开发、创新。
更多推荐


 4
4 0
0- 0


 已为社区贡献3条内容

所有评论(0)