Spring Cloud OpenFeign简单使用以及开启https
Spring Cloud OpenFeign简单使用以及开启https前言之前的几篇博客中,微服务之间的调用是通过注入一个restTemplate对象,并且使用@LoadBalanced注解实现了负载均衡。其实Spring Cloud也提供了声明式的REST客户端:Feign,相对于直接注入restTemplate对象,Feign的使用更加简洁一些。本文主要记录了Spring Cloud Open
Spring Cloud OpenFeign简单使用以及开启https
前言
之前的几篇博客中,微服务之间的调用是通过注入一个restTemplate对象,并且使用@LoadBalanced注解实现了负载均衡。其实Spring Cloud也提供了声明式的REST客户端:Feign,相对于直接注入restTemplate对象,Feign的使用更加简洁一些。
本文主要记录了Spring Cloud OpenFeign如何开启https,对OpenFeign的基本使用也简单进行了整理。
测试工程
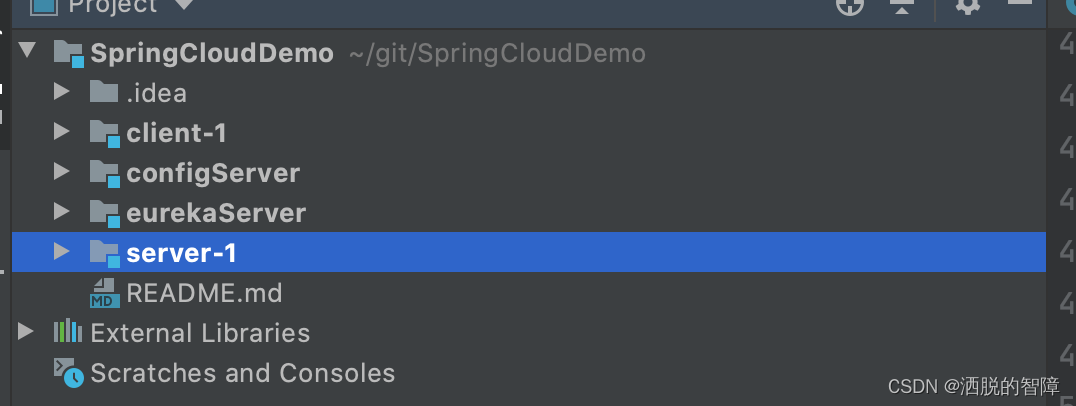
本次主要由三个工程,分别是eurekaServer,client-1,server-1。eurekaServer提供注册发现,client-1和server-1是两个eurekaClient,由client-1去调用server-1提供的服务。
项目添加openFeign的依赖
通过引入如下坐标添加openFeign的相关依赖:
<dependency>
		<groupId>org.springframework.cloud</groupId>
		<artifactId>spring-cloud-starter-openfeign</artifactId>
</dependency>
OpenFeign的使用
创建openFeign Client
-
创建一个接口,添加@FeignClient注解,设置value属性为需要调用服务的applicationName。这个会创建一个负载均衡的客户端,当然也可以直接使用url的新式。我这边设置为“eureka-server1”,是server-1注册到eureka上的实例名。
-
添加对应的请求方法,指定请求的类型,请求参数这些信息,和controller层一样。
/**
 * @author yuanzhihao
 * @since 2022/1/28
 */
@FeignClient(value = "eureka-server1")
public interface AccountFeignClient {
    @RequestMapping(value = "account/list", method = RequestMethod.GET)
    List<Account> getAccountList();

    @RequestMapping(value = "account/add", method = RequestMethod.POST, consumes = "application/json")
    String addAccount(Account account);
}
使用openFeign Client请求服务
-
在启动类上添加@EnableFeignClients注解,设置value值为openFeign Client的包名,程序启动的时候会去扫描该注解并创建对应的bean类。
@SpringBootApplication @EnableDiscoveryClient @EnableFeignClients("com.yzh.client1.feign") public class ClientApplication { public static void main(String[] args) { SpringApplication.run(ClientApplication.class, args); } } -
使用时可以直接注入一个openFeign Client,使用接口中定义的方法来实现对服务的请求。
/**
 * @author yuanzhihao
 * @since 2022/1/28
 */
@RequestMapping("/account")
@RestController
@Slf4j
public class AccountController {
    // 注入feignClient
    @Autowired
    private AccountFeignClient accountFeignClient;

    @GetMapping("/list")
    public List<Account> list() {
        return accountFeignClient.getAccountList();
    }

    @PostMapping("/add")
    public String insertAccount(@RequestBody Account account) {
        return accountFeignClient.addAccount(account);
    }
}
openFeign开启https
想要让openFeign支持https调用,首先需要覆盖openFeign自己定义的默认Client,同时如果希望还是开启负载均衡的话,微服务之间通过名称调用,需要注入一个LoadBalancerFeignClient类型的Client。
具体如下:
-
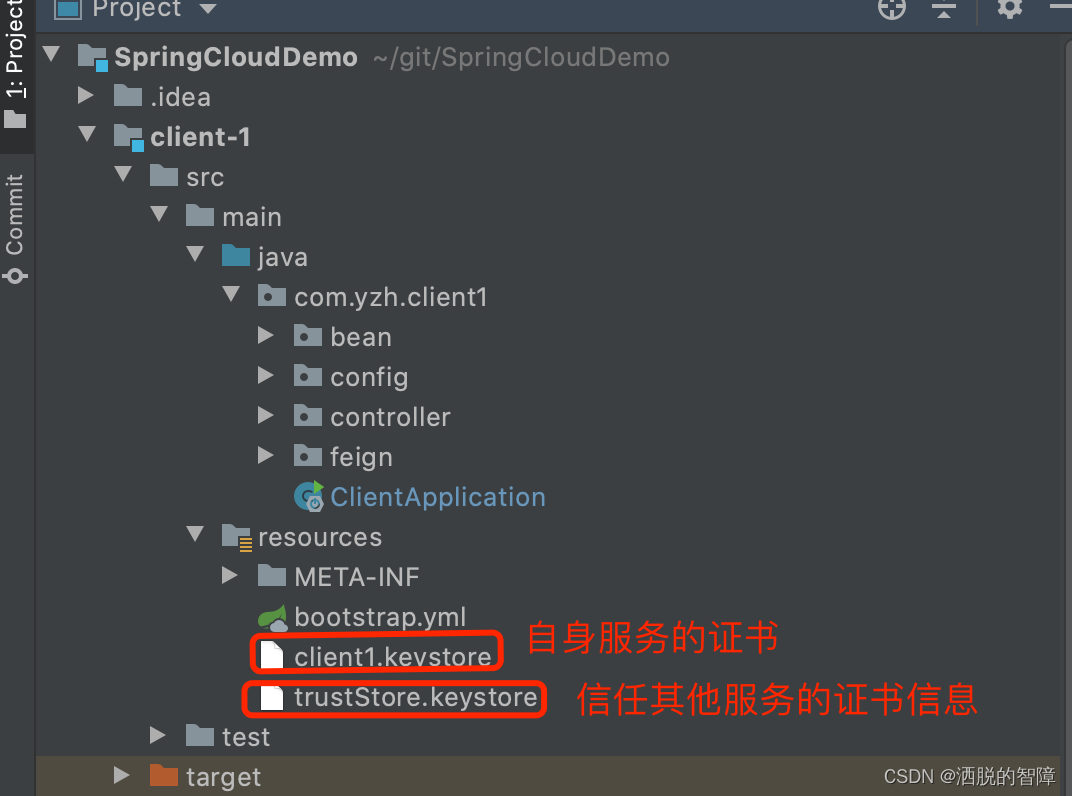
首先我们需要在配置文件中添加证书以及信任库的相关信息,之前的博客有整理过,关于证书如何配置,可以参考之前的博客。
证书以及信任库:
 配置文件:
配置文件:spring: application: name: eureka-client1 cloud: config: name: config # 指定读取配置文件的名称 uri: https://localhost:8888 # 指定config server的地址 profile: default # 指定配置文件版本 默认是default server: ssl: enabled: true # 开始ssl认证 key-alias: client1 # 证书别名 key-store: classpath:client1.keystore # 证书位置 key-store-type: JKS # 秘钥库存储类型 key-store-password: 123456 # 秘钥库口令 trust-store: classpath:trustStore.keystore # 信任库证书位置 trust-store-type: JKS # 信任库秘钥存储类型 trust-store-password: 123456 # 秘钥库口令 port: 7882 eureka: client: service-url: defaultZone: https://localhost:8761/eureka -
覆盖openFeign的默认配置,这边就是注入一个feign.Client类型的bean,主要要使用LoadBalancerFeignClient这种类型,不然会报主机名找不到(HostName not found)这类错误,然后加载需要信任的证书信息。
/**
 * SSLContext对象 设置了信任库信息
 *
 * @author yuanzhihao
 * @since 2021/11/26
 */
@Configuration
public class SSLContextConfig {
    @Value("${server.ssl.trust-store}")
    private String trustStorePath;

    @Value("${server.ssl.trust-store-password}")
    private String trustStorePassword;

    @Bean
    public SSLContext sslContext() throws Exception {
        return SSLContextBuilder.
                create().
                loadTrustMaterial(ResourceUtils.getFile(trustStorePath), trustStorePassword.toCharArray()).
                build();
    }
}
/** * 自定义feignClient * * @author yuanzhihao * @since 2022/1/28 */ @Configuration public class FeignConfiguration { @Autowired private SSLContext sslContext; // 注入一个feign.Client对象 加载信任库证书信息 覆盖openFeign默认的client @Bean public Client feignClient(@Qualifier("cachingLBClientFactory") CachingSpringLoadBalancerFactory lbClientFactory, SpringClientFactory clientFactory) { Client.Default client = new Client.Default(sslContext.getSocketFactory(), NoopHostnameVerifier.INSTANCE); return new LoadBalancerFeignClient(client, lbClientFactory, clientFactory); } } -
修改@feignClient注解中的value,添加“https://”的前缀,这样就开启了https的调用。
/**
 * @author yuanzhihao
 * @since 2022/1/28
 */
@FeignClient(value = "https://eureka-server1") // value修改为"https://{applicationName}"格式
public interface AccountFeignClient {
    @RequestMapping(value = "account/list", method = RequestMethod.GET)
    List<Account> getAccountList();

    @RequestMapping(value = "account/add", method = RequestMethod.POST, consumes = "application/json")
    String addAccount(Account account);
}
注意,开启https调用的话,同时也想要使用负载均衡,不能通过url参数来确定url,之前我在网上看到的大多数都是将地址写在了url参数里面,类似@FeignClient(value = “eureka-server1”, url = “https://eureka-server1”),导致使用https://{applicaitonName}一直不成功。
结语
参考链接:
https://stackoverflow.com/questions/37123061/feignclient-with-client-certificate-and-docker

为开发者提供学习成长、分享交流、生态实践、资源工具等服务,帮助开发者快速成长。
更多推荐


 5
5 0
0- 0


 已为社区贡献6条内容

所有评论(0)