shiro的登录 subject.login(token)中执行逻辑和流程
今天登录的时候一直没有记录当前用户信息下来,执行security.getsubject()时结果一直为空,遂看了下源码使用subject.login的登录场景:(controller层)@GetMappingpublic Result userLogin(@ApiParam(name="userId",value="用户学号",required=true)@RequestParam(value =
文章目录
今天登录的时候一直没有记录当前用户信息下来,执行security.getsubject()时结果一直为空,找到原因是自定义DefaultWebSecurityManager当中出现了问题,遂又看了下关于login流程的源码
官方文档中的介绍
第一步:收集用户身份和证明
//最常用的情况是 username/password 对:
UsernamePasswordToken token = new UsernamePasswordToken(username, password);
//”Remember Me” 功能是内建的
token.setRememberMe(true);
在这里我们使用 UsernamePasswordToken,支持所有常用的用户名/密码验证途径,这是一个 org.apache.shiro.authc.AuthenticationToken 接口的实现,这个接口被 Shiro 认证系统用来提交身份和证明。
你可以随自己喜欢构造和引用 AuthenticationToken 实例 – 这是协议无关的。
这个例子同样显示我们希望 Shiro 在尝试验证时执行 “Remember Me” 服务,这确保 Shiro 在用户今后返回系统时能记住他们的身份,我们会在以后的章节讨论 “Remember Me” 服务。
第二步:提交身份和证明
当身份和证明住处被收集并实例化为一个 AuthenticationToken (认证令牌)后,我们需要向Shiro 提交令牌以执行真正的验证尝试:
Subject currentUser = SecurityUtils.getSubject();
currentUser.login(token);
在获取当前执行的 Subject 后,我们执行一个单独的 login) 命令,将之前创建的AuthenticationToken 实例传给它。
调用 login 方法将有效地执行身份验证。
第三步:处理成功或失败
当login函数没有返回信息时表明验证通过了。程序可以继续运行,此时执行SecurityUtils.getSubject() 将返回验证后的 Subject 实例,subject.isAuthenticated()) 将返回true。
但是如果 login 失败了呢?例如,用户提供了一个错误的密码或者因访问系统次数过多而被锁定将会怎样呢?
Shiro拥有丰富的运行期异常AuthenticationException可以精确标明为何验证失败,你可以将login 放入到 try/catch 块中并捕获所有你想捕获的异常并对它们做出处理。例如:
try {
currentUser.login(token);
} catch ( UnknownAccountException uae ) { ...
} catch ( IncorrectCredentialsException ice ) { ...
} catch ( LockedAccountException lae ) { ...
} catch ( ExcessiveAttemptsException eae ) { ...
} ... 捕获你自己的异常 ...
} catch ( AuthenticationException ae ) {
//未预计的错误?
}
//没问题,继续
使用subject.login的登录场景:
(controller层)
   @GetMapping
    public Result userLogin(@ApiParam(name="userId",value="用户学号",required=true)
                            @RequestParam(value = "userId",required = true)String userId,
                            @ApiParam(name="userName",value="用户姓名",required=true)
    @RequestParam(value = "useName",required = true)String userName)
    {
  UsernamePasswordToken token = new UsernamePasswordToken(userName,userId,false);
        Subject subject = SecurityUtils.getSubject();
        try
        {
            subject.login(token);
            InowUser nowUser = (InowUser)subject.getPrincipal();
            return Result.success(nowUser);

        }
        catch (AuthenticationException e)
        {
            String msg = "用户或密码错误";
            if (StringUtils.isNotEmpty(e.getMessage()))
            {
                msg = e.getMessage();
            }
            return Result.fail(msg);
        }
}
方法源码:
void login(AuthenticationToken token) throws AuthenticationException;
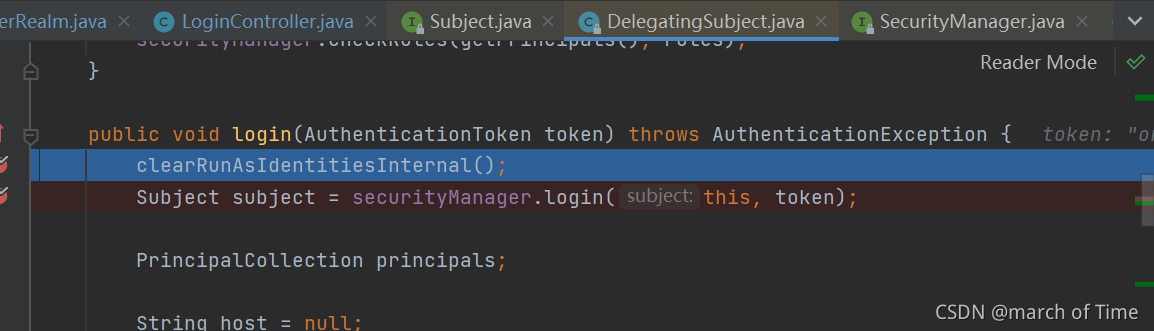
DelegatingSubject实现类中的login方法:
public void login(AuthenticationToken token) throws AuthenticationException {
clearRunAsIdentitiesInternal();
Subject subject = securityManager.login(this, token);
PrincipalCollection principals;
String host = null;
if (subject instanceof DelegatingSubject) {
DelegatingSubject delegating = (DelegatingSubject) subject;
//we have to do this in case there are assumed identities - we don't want to lose the 'real' principals:
principals = delegating.principals;
host = delegating.host;
} else {
principals = subject.getPrincipals();
}
if (principals == null || principals.isEmpty()) {
String msg = "Principals returned from securityManager.login( token ) returned a null or " +
"empty value. This value must be non null and populated with one or more elements.";
throw new IllegalStateException(msg);
}
this.principals = principals;
this.authenticated = true;
if (token instanceof HostAuthenticationToken) {
host = ((HostAuthenticationToken) token).getHost();
}
if (host != null) {
this.host = host;
}
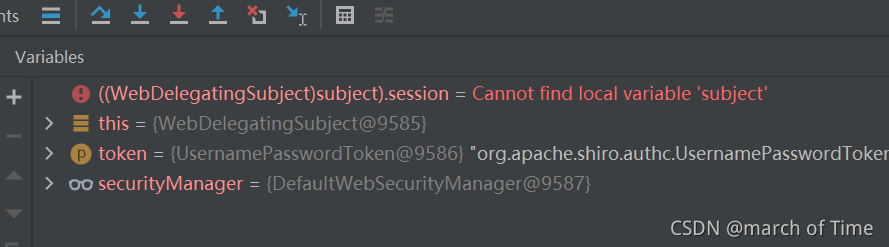
Session session = subject.getSession(false);
if (session != null) {
this.session = decorate(session);
} else {
this.session = null;
}
}
得到当前的用户的方法:
 private Object getPrimaryPrincipal(PrincipalCollection principals) {
        if (!isEmpty(principals)) {
            return principals.getPrimaryPrincipal();
        }
        return null;
    }

    /**
     * @see Subject#getPrincipal()
     */
    public Object getPrincipal() {
        return getPrimaryPrincipal(getPrincipals());
    }
现在执行一下登录过程调试,打断点:
原方法中有一句securityManager.login(this, token);
进入:
Subject login(Subject subject, AuthenticationToken authenticationToken) throws AuthenticationException;
点进去可以看到默认
DefaultSecurityManager extends SessionsSecurityManager实现类
DefaultSecurityManager
login方法:
首先验证 AuthenticationToken 参数,如果成功,则构造一个表示已验证帐户身份的 Subject 实例。
一旦构造完成,Subject 实例就会绑定到应用程序以供后续访问,然后再返回给调用者。
参数:
令牌 – 为登录尝试处理的 authenticationToken。
返回:
代表经过身份验证的用户的主题。
可能抛出:AuthenticationException – 如果对指定令牌进行身份验证时出现问题。
源码:
   public Subject login(Subject subject, AuthenticationToken token) throws AuthenticationException {
        AuthenticationInfo info;
        try {
            info = authenticate(token);
        } catch (AuthenticationException ae) {
            try {
                onFailedLogin(token, ae, subject);
            } catch (Exception e) {
                if (log.isInfoEnabled()) {
                    log.info("onFailedLogin method threw an " +
                            "exception.  Logging and propagating original AuthenticationException.", e);
                }
            }
            throw ae; //propagate
        }

        Subject loggedIn = createSubject(token, info, subject);

        onSuccessfulLogin(token, info, loggedIn);

        return loggedIn;
    }
AuthenticationInfo 方法:
    public AuthenticationInfo authenticate(AuthenticationToken token) throws AuthenticationException {
        return this.authenticator.authenticate(token);
    }
Authenticator 接口
`其中authenticator.authenticate(token);为一个接口,含有两个实现类:

进入AuthenticationInfo authenticate(AuthenticationToken token)
方法注释:
Authenticator 接口的实现,其功能如下:
调用模板 doAuthenticate 方法以执行实际身份验证行为的子类。
如果在 doAuthenticate 期间抛出 AuthenticationException,则将异常通知任何已注册的 AuthenticationListeners,然后传播该异常以供调用者处理。
如果没有抛出异常(表示登录成功),则将成功尝试通知任何已注册的 AuthenticationListeners。
返回 AuthenticationInfo
参数:令牌 – 提交的令牌,代表主体(用户)的登录主体和凭据。
返回:AuthenticationInfo 引用经过身份验证的用户的帐户数据。
可能抛出:AuthenticationException -
关键语句:
    public final AuthenticationInfo authenticate(AuthenticationToken token) throws AuthenticationException {

        if (token == null) {
   ...
        }


        AuthenticationInfo info;
        try {
            info = doAuthenticate(token);
            if (info == null) {
                String msg = ....";//源码中报错消息就省略不粘贴了
                throw new AuthenticationException(msg);
            }
        } catch (Throwable t) {
         ...
            try {
                notifyFailure(token, ae);
            } catch (Throwable t2) {
                if (log.isWarnEnabled()) {
                    String msg = "...";
                    log.warn(msg, t2);
                }
            }
            throw ae;
        }
        notifySuccess(token, info);

        return info;
    }
notifySuccess:
    protected void notifySuccess(AuthenticationToken token, AuthenticationInfo info) {
        for (AuthenticationListener listener : this.listeners) {
            listener.onSuccess(token, info);
        }
    }
总结
自己调试后流程如下:
1.DelegatingSubject的login()方法
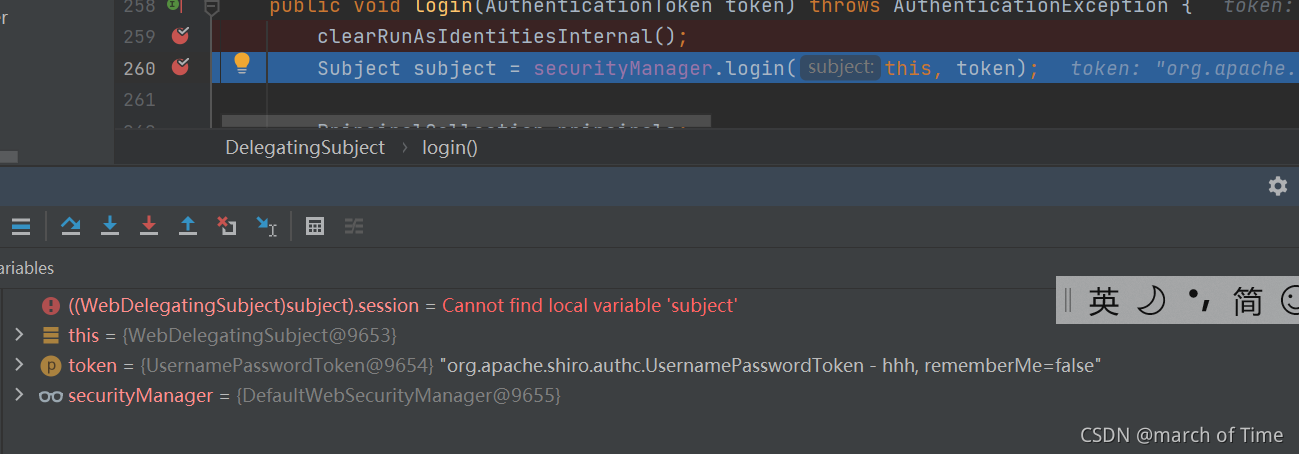
2.进入SecurityManager的login方法
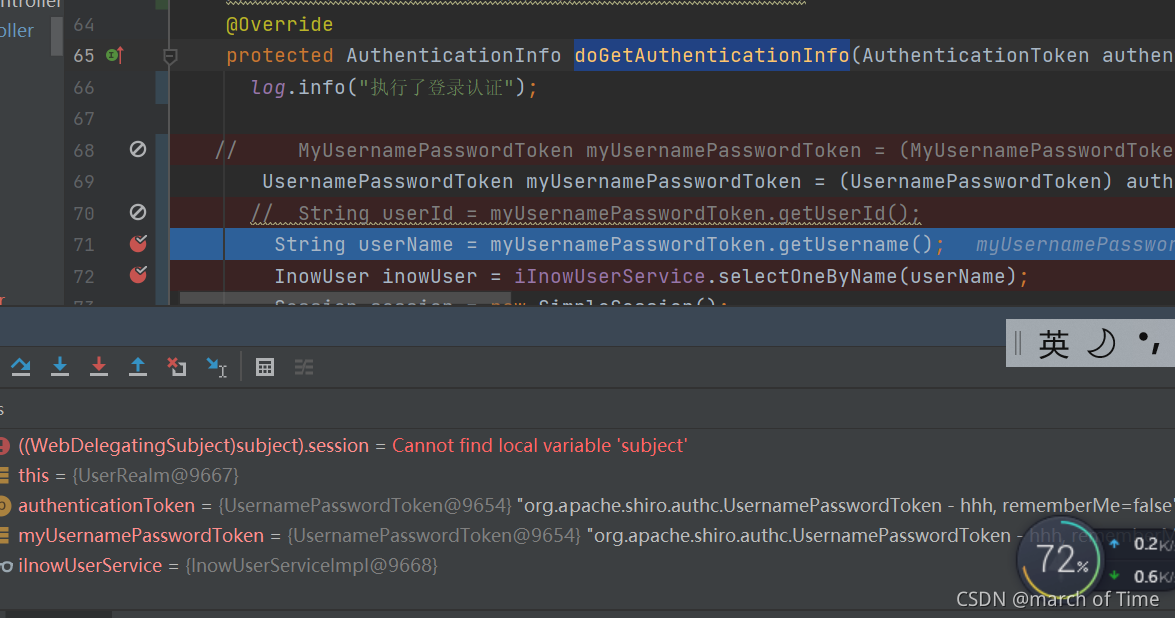
3.进入自定义UserRealm的doGetAuthenticationInfo进行登录认证:
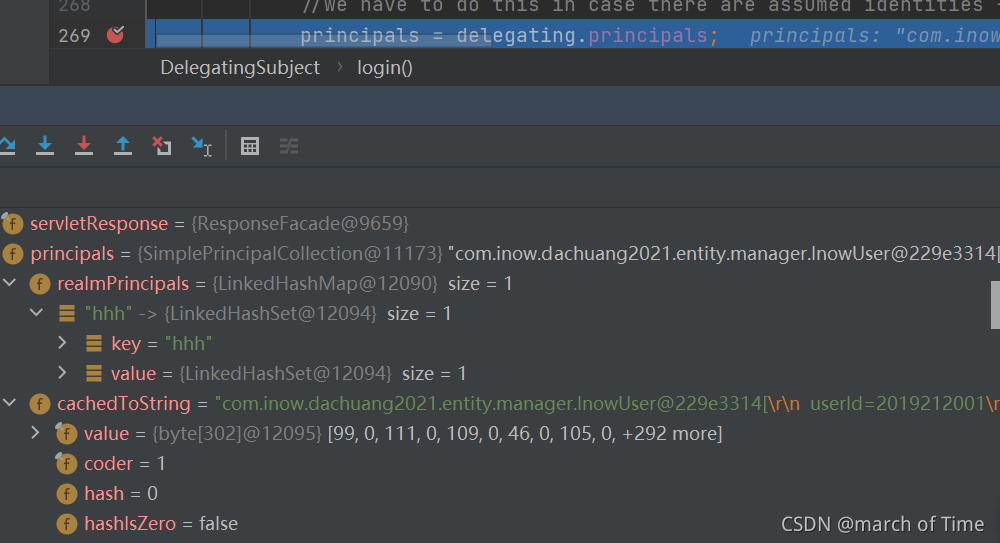
4. 进入DelegatingSubject的判断逻辑,确定当前principals
if (subject instanceof DelegatingSubject) {
DelegatingSubject delegating = (DelegatingSubject) subject;
//we have to do this in case there are assumed identities - we don’t want to lose the ‘real’ principals:
principals = delegating.principals;
host = delegating.host;
}

为开发者提供学习成长、分享交流、生态实践、资源工具等服务,帮助开发者快速成长。
更多推荐


 3
3 0
0- 0


 已为社区贡献14条内容

所有评论(0)