spring boot + vue通过文件流的方式实现文件的上传、预览、下载、删除。
spring boot + vue通过文件流的方式实现文件的上传、预览、下载、删除。
·
- 具体思路:
我的需求是前端上传文件可能是图片、pdf、word之类。
前端使用的是vue的Upload组件上传
后端使用MultipartFile去接收,并返回要预览的url
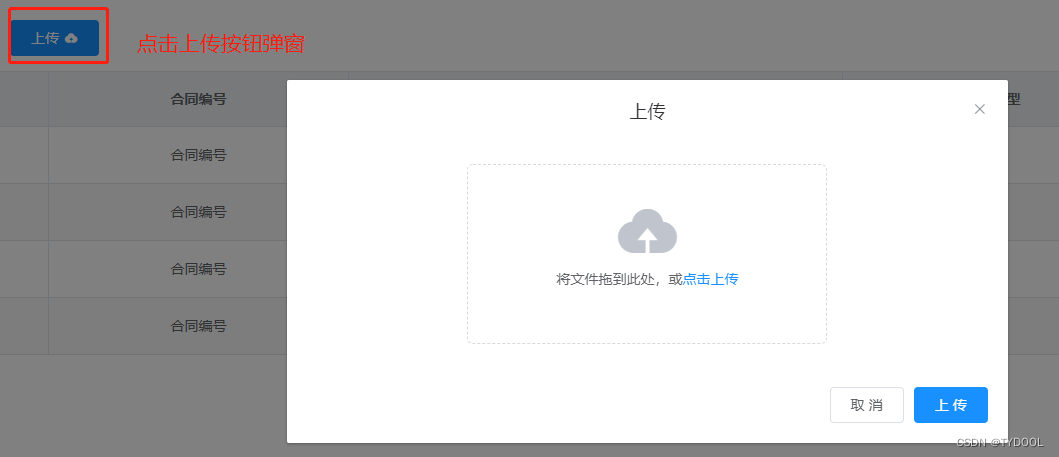
- 上传
- 前端
html:
<!-- 上传对话框 -->
<el-dialog title="上传" :visible.sync="dialogOfUpload" width="35%" style="text-align: center;">
  <el-upload class="upload-demo" action="#" drag multiple :headers="headers" :auto-upload="false"
    :file-list="fileList" :on-change="handleChange">
    <i class="el-icon-upload"></i>
    <div class="el-upload__text">将文件拖到此处,或<em>点击上传</em></div>
  </el-upload>
  <div slot="footer" class="dialog-footer">
    <el-button @click="dialogOfUpload = false">取 消</el-button>
    <el-button type="primary" @click="confirmUpload()">上 传</el-button>
  </div>
</el-dialog>
上传我是以弹窗的形式去上传文件–效果图:
由于涉及到了pdf文件所以我是使用了预览pdf的组件,我上一篇有关pdf文件的打印和预览也使用了该方式感兴趣的可以看一下
地址:https://blog.csdn.net/TYDOOL/article/details/127497344?spm=1001.2014.3001.5502
js:
import InformationApi from '@/api/sale/information'

//插件vue-pdf-signature
import pdf from "vue-pdf-signature";
import CMapReaderFactory from "vue-pdf-signature/src/CMapReaderFactory.js";

export default {
  components: {
  	pdf,
  },
  data() {
   return {
   	dialogOfUpload: false,	//该属性用来控制弹窗-true/开 false/关
    fileList: [],
    headers: {
      'Content-Type': 'multipart/form-data'
    },
   }
  },
  methods: {
    //当文件数量改变时触发该事件,我的需求是单个文件的上传所以使用了以下方法,如果你的需求涉及到多文件的上传请删掉根据自己的需求来。
    handleChange(file, fileList) {
	  this.fileList = fileList;
	  if (fileList.length > 0) {
	    this.fileList=[fileList[fileList.length-1]]
	  }
	},
	async confirmUpload() { //确认上传
      var param = new FormData();
      this.fileList.forEach(
        (val, index) => {
          param.append("file", val.raw);
        }
      );
      //该请求方法是自己封装的,根据自己的请求方式来,需要注意的地方后边会说明
      let res = await InformationApi.fileUpload(param);
      if (res.success) {
        this.$message({
          message: "上传成功!",
          duration: 1000
        });
        this.dialogOfUpload = false
        this.fileList = []	//单文件上传,上传成功清空文件列表
        this.getHtFile(this.bh);	//与改标题无关--刷新表格
      }
    },
  }
}
请求方法说明:
//文件上传请求
  upload(url, params) {
    return service.post(url, params, {
      headers: {	//重点
        'Content-Type': 'multipart/form-data'
      }
    })
  },
- 后端
  @Value("${files.upload.path}")
  private String fileUploadPath;	//该参数配置在yml文件中为你要存储文件的磁盘路径

    /**
     * #文件的保存地址
     * files:
     *   upload:
     *     path: D:/JavaProject/work/erp-system/src/main/resources/com/zhitong/sale/files/
     */

/**
  * 文件上传
  */
 @PostMapping("/fileUpload")
 public Result fileUpload(@RequestParam MultipartFile file) {
 	 //验证文件是否为空
     if (file.isEmpty()) {
         return Result.error().message("上传失败");
     }
     //获取文件名
     String originalFilename = file.getOriginalFilename();
     if (/* 根据自己需求验证上传文件格式是否正确 */) {
         File uploadParentFile = new File(fileUploadPath);
         if (uploadParentFile.exists()) {	//判断是否存在该路径
             uploadParentFile.mkdirs();	//如果不存在直接创建
         }
         String timeFileName = String.valueOf(System.currentTimeMillis());
         String fileName = timeFileName + originalFilename;	//设置新文件名
         File uploadFile =
                 new File(fileUploadPath + fileName);
         try {
             file.transferTo(uploadFile);	//将上传文件读取到服务器路径,参数为绝对路径
         } catch (IOException e) {
             e.printStackTrace();
         }
         //定义要返回的url
         String url = "http://localhost:8088/sale/contract/information/file/" + fileName;
         //下方我是要存入到数据库一份NewHttp()为实体类对象。没有该需求的可以不用。
         NewHttp newHttp = new NewHttp();
         newHttp.setHtbh(this.htBh);
         newHttp.setTp(url);
         if (contractInformationService.insertFileUpload(newHttp)) {
             return Result.ok(url).message("上传成功");
         } else {
             return Result.error().message("上传失败");
         }
     } else {
         return Result.error().message("该类型文件不支持上传!");
     }
 }
- 预览和下载
- 我的实现思路是统一返回文件流,然后前端根据不同的功能处理文件流,实现预览和下载。
- 后端
@PostMapping("/file")
    public void getFile(@RequestBody String fileName, HttpServletResponse response) throws IOException {
        ByteArrayOutputStream baos = null;	//输出流
        File uploadFile = new File(fileUploadPath + fileName);	//组装文件路径
        FileInputStream stream = new FileInputStream(uploadFile);	//读取上传文件流对象
        ServletOutputStream os = response.getOutputStream();
        // 坑,我第一次只设置了响应头和相应类型,但是后来前端发现获取response响应头中的Content-Disposition头中的文件名时为undefined.
        //去网上翻阅了一下发现原因是因为: 默认情况下,header 只有7种 simple response headers (简单响应首部)可以暴露给外部,其中不包括Content-Disposition,所以客户端只能是看得到吃不到
        //Access-Control-Expose-Headers 就是控制“暴露”的开关
        response.setHeader("Access-Control-Expose-Headers", "Content-Disposition");
        response.setHeader("Content-Disposition",
                "attachment;fileName=" + URLEncoder.encode(fileName, "UTF-8"));
        response.setContentType("application/octet-stream;charset=UTF-8");
        baos = new ByteArrayOutputStream();
        byte[] b = new byte[1024];
        int n;
        while ((n = stream.read(b)) != -1) {
            baos.write(b, 0, n);
        }
        os.write(baos.toByteArray());
        stream.close();
        baos.close();
        os.flush();
        os.close();
    }
查阅网址: https://juejin.cn/post/6993887179646697503
Access-Control-Expose-Headers详解: https://developer.mozilla.org/zh-CN/docs/Web/HTTP/Headers/Access-Control-Expose-Headers
-
返回文件流- 效果图
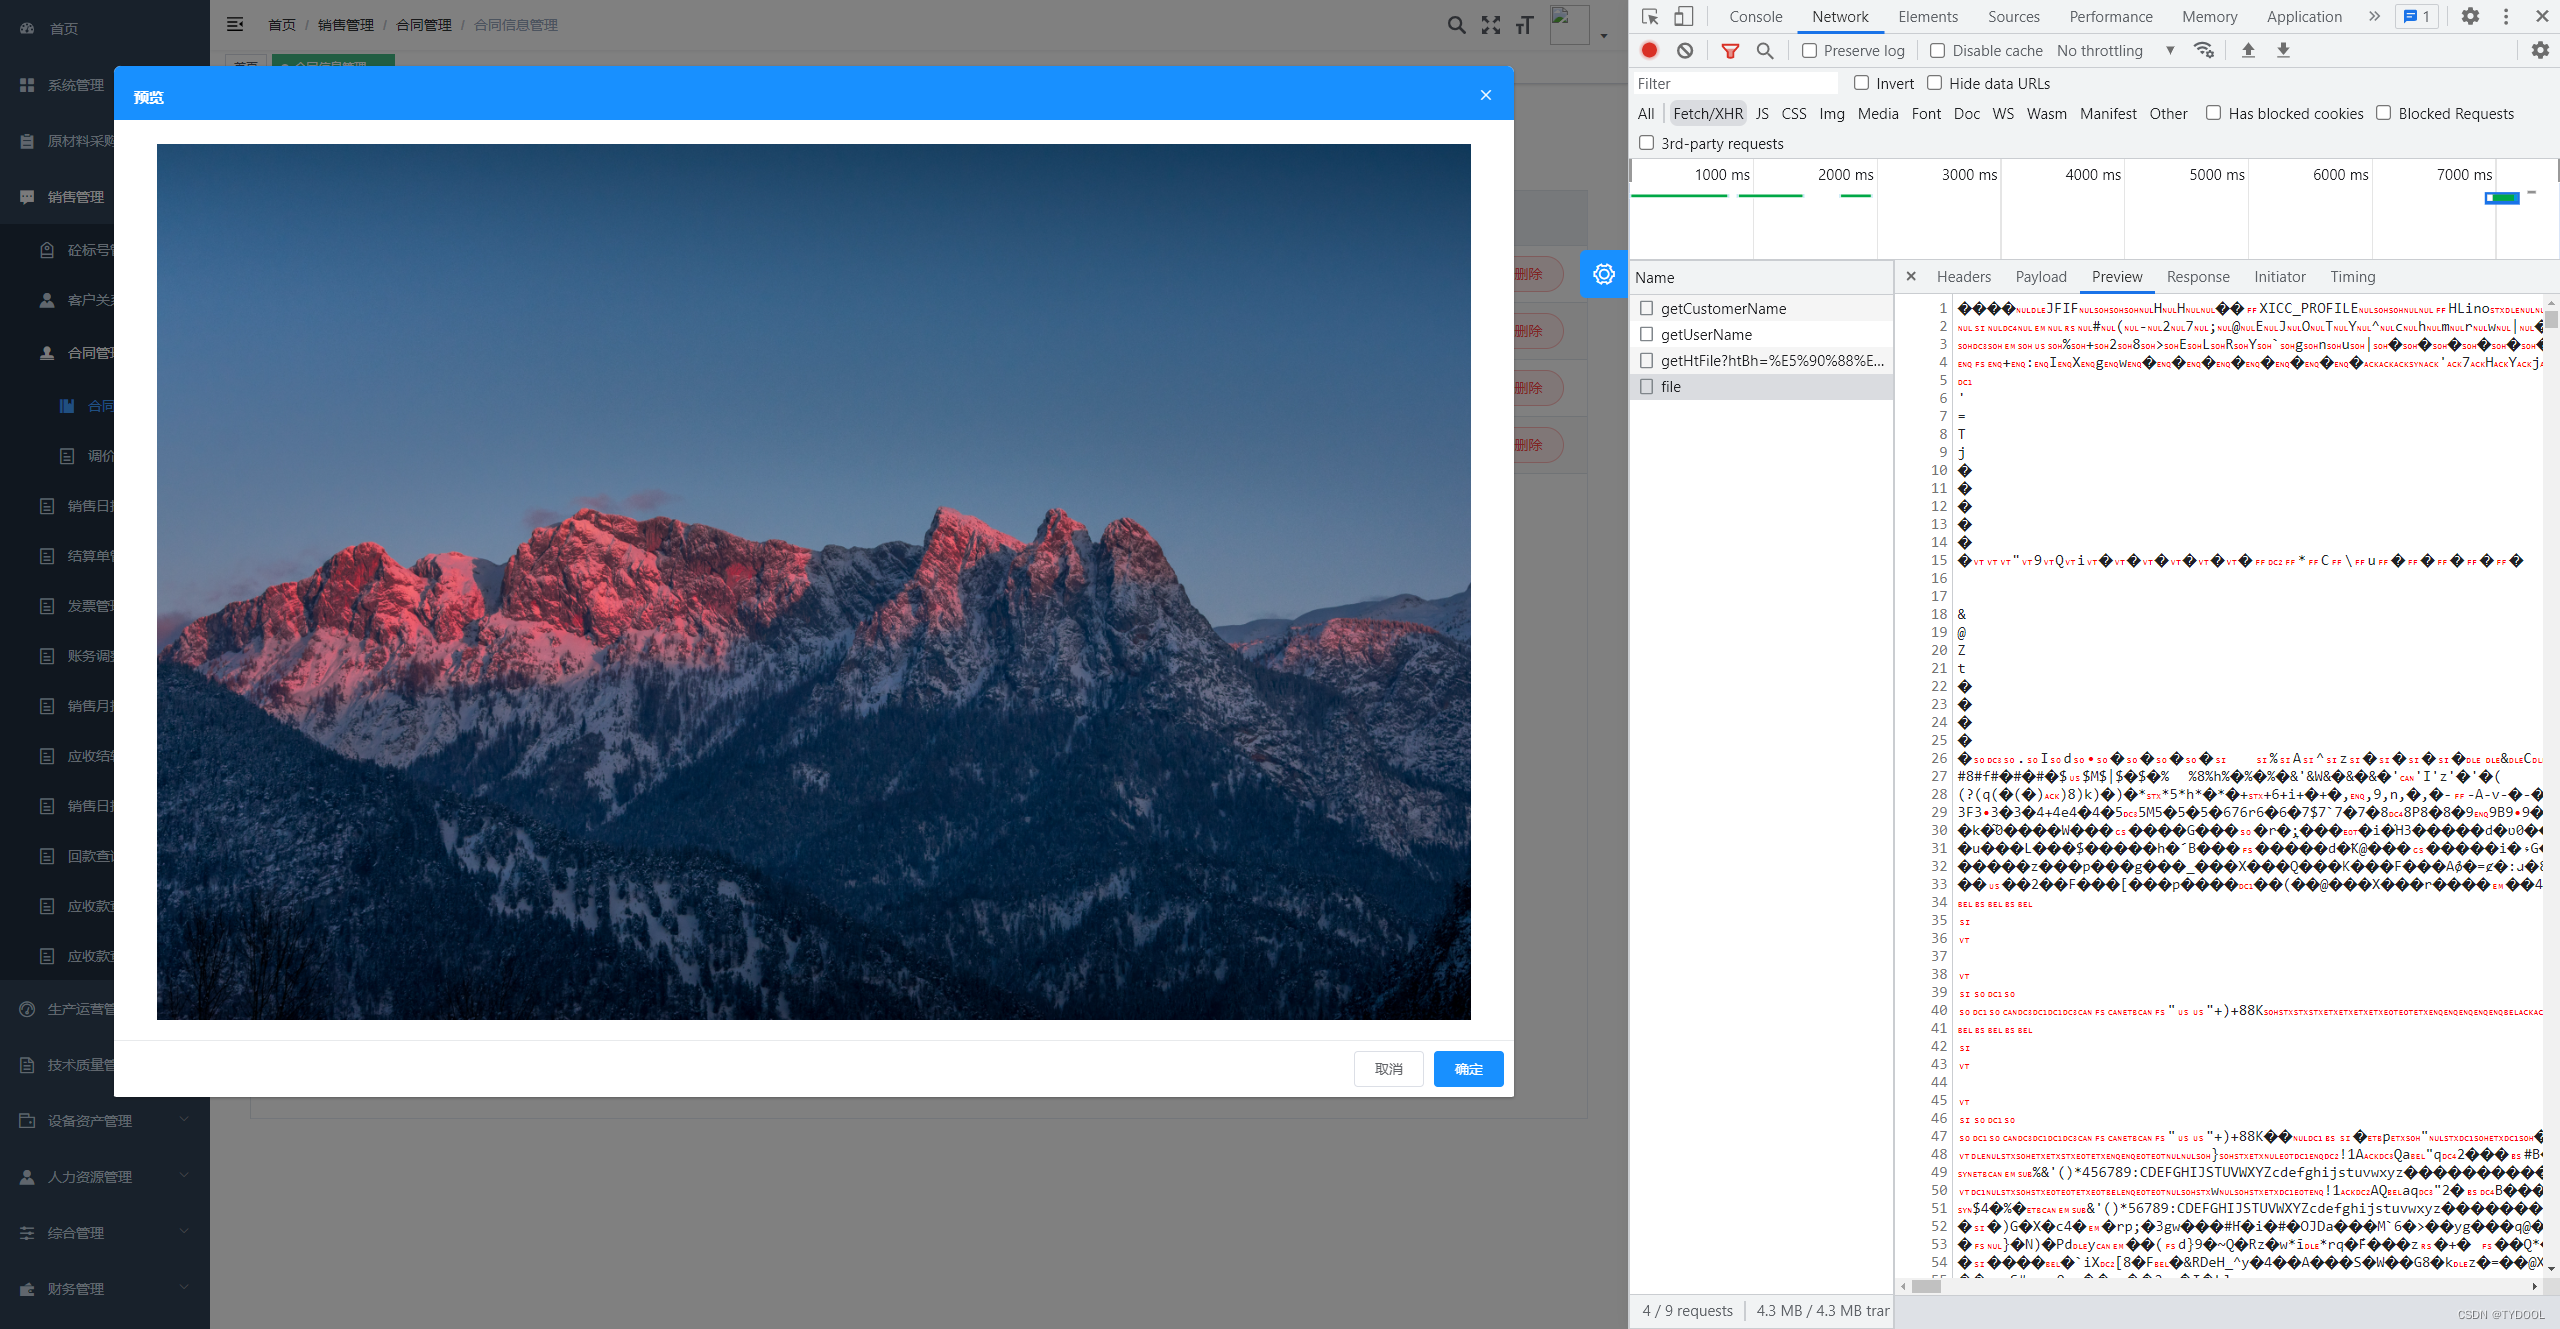
-
前端
预览:
<!-- 自己定义事件 -->
<el-button
 type="primary"
 plain
 round
 @click="picPreview(scope.row)">预览</el-button>
<!-- 图片弹窗预览 -->
 <materials-dialog
   :title="matPrintDialog.title"
   :visible="matPrintDialog.visible"
   :height="matPrintDialog.height"
   :width="matPrintDialog.width"
   @onClose="matClose()"
   @onConfirm="matConfirm()">
   <el-main slot="content">
     <div style="padding: 50px;">
       <el-image
         :src="imgUrl"
         style="position:absolute;top:0;bottom:0;left:0;right:0;width:100%;height:85%;margin:auto;"
         fit="contain"></el-image>
     </div>
   </el-main>
 </materials-dialog>
 <!-- pdf预览 -->
 <materials-dialog
   :title="picPrintDialog.title"
   :visible="picPrintDialog.visible"
   :height="picPrintDialog.height"
   :width="picPrintDialog.width"
   @onClose="printClose()"
   @onConfirm="printConfirm()">
   <el-main slot="content">
     <pdf ref="pdf" :src="pdfUrl"></pdf>
   </el-main>
 </materials-dialog>
我是放在了弹框中,这个根据自己需求来,style样式为图片自适应容器。
import InformationApi from '@/api/sale/information'

//插件vue-pdf-signature
import pdf from "vue-pdf-signature";
import CMapReaderFactory from "vue-pdf-signature/src/CMapReaderFactory.js";

export default {
  components: {
  	pdf,
  },
  data() {
   return {
   	imgUrl:'',
   	pdfUrl: '',
   }
  },
  methods: {
    // 预览
	  async picPreview(row) {
	    //只支持图片和pdf的预览
	    if (row.picType != 'jpg' && row.picType != 'png' && row.picType != 'pdf' && row.picType != 'jpeg') {
	      this.$message.success({
	        showClose: true,
	        message: '该类型文件不支持预览',
	        type: 'error'
	      });
	    } else if (row.picType == 'jpg' || row.picType == 'png' || row.picType == 'jpeg'){
	     //如果是图片类型
	     //准备文件名
	      const fileName = row.picName + '.' + row.picType
	      let res = await InformationApi.file(fileName); //发起请求获取文件流
	      let blob = new Blob([res.data], {type: 'image/jpeg'}); //设置类型
	      const imageUrl = URL.createObjectURL(blob); //生成url
	      this.imgUrl = imageUrl;  //赋值
	      this.matPrintDialog.visible = true  //打开窗口
	    } else if (row.picType == 'pdf') {
	     // 如果是pdf类型
	     //准备文件名
	      const fileName = row.picName + '.' + row.picType
	      let res = await InformationApi.file(fileName); //发起请求获取文件流
	      this.getObjectUrl(res.data);
	      this.picPrintDialog.visible = true //打开窗口
	    }
	  },
	  getObjectUrl(data) {
	    let url= null;
	    let file = new Blob([data], {type: "application/pdf" }); //设置类型
	    if (window.createObjectURL != undefined) {
	      url = window.createObjectURL(file);
	    } else if (window.webkitURL != undefined) {
	      // 兼容谷歌
	      try {
	        url = window.webkitURL.createObjectURL(file);
	      } catch (error) {}
	    } else if (window.URL != undefined) {
	      // 兼容其他
	      try {
	        url = window.URL.createObjectURL(file);
	      } catch (error) {}
	    }
	    //这里是重点,将处理的url使用CMapReaderFactory方法在进行处理
	    url = pdf.createLoadingTask({ url: url, CMapReaderFactory });
	    // 将转化后url赋值
	    this.pdfUrl = url;
	  },
  }
}
请求方法说明:
//文件下载请求
download(url, params) {
  return service.post(url, params, {
    headers: {
      'Content-Type': 'application/json',
    },
    //这边响应类型要使用arraybuffer,否则显示是白屏没有内容
    responseType: 'arraybuffer'
  })
},
下载:
// 下载
async picDownload(row) {
  const fileName = row.picName + '.' + row.picType
  let res = await InformationApi.file(fileName);
  if (res) {
    const content = res.data
    const blob = new Blob([content], {
      type: 'application/octet-strem'
    });
     // 如果后端返回文件名
    const name = res.fileName.split(';')[1].split('=')[1];
    if ('download' in document.createElement('a')) {
      // 非IE下载
      const link = document.createElement('a');
      link.download = name;
      link.style.display = 'none';
      link.href = URL.createObjectURL(blob);
      console.log('ee', link.href);
      document.body.appendChild(link);
      link.click();
      URL.revokeObjectURL(link.href); // 释放URL 对象
      document.body.removeChild(link);
    }
  }
},
拦截器获取data文件流说明:
//service是封装的axios
service.interceptors.response.use(
  response => {
    if (
      response.headers['content-type'] ===
      'application/octet-stream;charset=UTF-8'
    ) {
      return Promise.resolve({
        // 获取文件名
        fileName: response.headers['content-disposition'],
        data: response.data
      });
    }
  }
}
- 删除
- 后端
@GetMapping("/delFile")
    public Result delFile(String fileName, String id) {
        String path = fileUploadPath + fileName;	//组装路径
        File file = new File(path);
        if (file.exists()) {	//判断文件是否存在
            if (file.delete()) {	//存在就删掉
                contractInformationService.delFile(id);		//数据库的数据也删掉
                return Result.ok().message("文件删除成功");
            } else {
                return Result.error().message("文件删除失败");
            }
        } else {
            return Result.error().message("文件不存在");
        }
    }
- 前端
// 删除
delFile(row) {
  this.$confirm('此操作将永久删除该文件, 是否继续?', '提示', {
    confirmButtonText: '确定',
    cancelButtonText: '取消',
    type: 'warning'
  }).then(() => {
    this.delFileUtil(row);
  }).catch(() => {
    this.$message({
      type: 'info',
      message: '已取消删除'
    });
  });
},
async delFileUtil(row) {
  const params = {
    fileName: row.picName + '.' + row.picType,
    id: row.id
  }
  let res = await InformationApi.delFile(params);
  if (res.success) {
    this.$message.success(res.message);
  } else {
    this.$message.error(res.data);
  }
},
- 到这里功能都已经全部实现了,如果有更好的解决方案欢迎大佬在评论区留言。

为开发者提供学习成长、分享交流、生态实践、资源工具等服务,帮助开发者快速成长。
更多推荐


 5
5 1
1- 0


 已为社区贡献1条内容

所有评论(0)