
SpringBoot 集成 Swagger 及常见报错
1.新建一个 springboot 项目 (勾选spring web)2、添加Maven依赖<!-- https://mvnrepository.com/artifact/io.springfox/springfox-swagger2 --><dependency><groupId>io.springfox</groupId><artifact
·
1.新建一个 springboot 项目 (勾选spring web)
2、添加Maven依赖
<!-- https://mvnrepository.com/artifact/io.springfox/springfox-swagger2 -->
<dependency>
   <groupId>io.springfox</groupId>
   <artifactId>springfox-swagger2</artifactId>
   <version>2.9.2</version>
</dependency>
<!-- https://mvnrepository.com/artifact/io.springfox/springfox-swagger-ui -->
<dependency>
   <groupId>io.springfox</groupId>
   <artifactId>springfox-swagger-ui</artifactId>
   <version>2.9.2</version>
</dependency>
3、编写HelloController,测试确保运行成功!
4、要使用Swagger,我们需要编写一个配置类-SwaggerConfig来配置 Swagger
@Configuration //配置类
@EnableSwagger2// 开启Swagger2的自动配置
public class SwaggerConfig {
}
5、访问测试 :http://localhost:8080/swagger-ui.html ,可以看到swagger的界面;

配置Swagger
1、Swagger实例Bean是Docket,所以通过配置Docket实例来配置Swaggger。
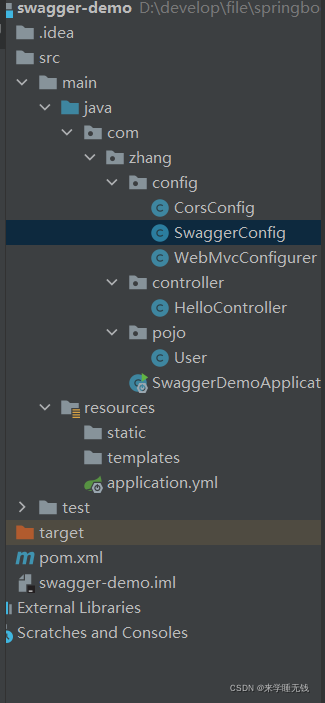

package com.zhang.config;
import org.springframework.context.annotation.Bean;
import org.springframework.context.annotation.Configuration;
import springfox.documentation.builders.PathSelectors;
import springfox.documentation.builders.RequestHandlerSelectors;
import springfox.documentation.service.ApiInfo;
import springfox.documentation.service.Contact;
import springfox.documentation.spi.DocumentationType;
import springfox.documentation.spring.web.plugins.Docket;
import springfox.documentation.swagger2.annotations.EnableSwagger2;
import java.util.ArrayList;
@Configuration //配置类
@EnableSwagger2 //开启swagger2
public class SwaggerConfig {
@Bean
public Docket docket2(){
return new Docket(DocumentationType.SWAGGER_2).groupName("李四");
}
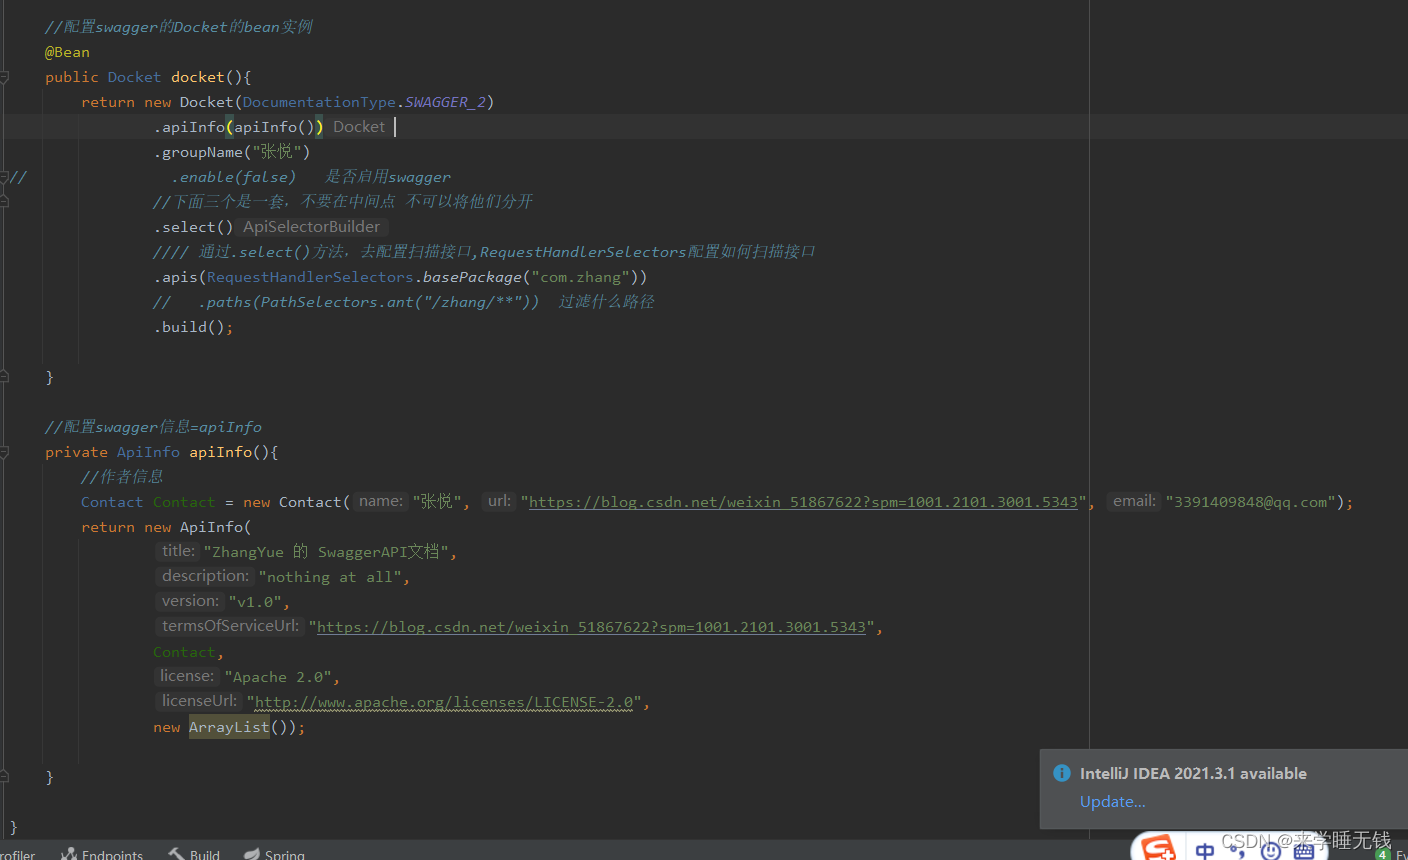
//配置swagger的Docket的bean实例
@Bean
public Docket docket(){
return new Docket(DocumentationType.SWAGGER_2)
.apiInfo(apiInfo())
.groupName("张悦")
// .enable(false) 是否启用swagger
//下面三个是一套,不要在中间点 不可以将他们分开
.select()
通过.select()方法,去配置扫描接口,RequestHandlerSelectors配置如何扫描接口
.apis(RequestHandlerSelectors.basePackage("com.zhang"))
// .paths(PathSelectors.ant("/zhang/**")) 过滤什么路径
.build();
}
//配置swagger信息=apiInfo
private ApiInfo apiInfo(){
//作者信息
Contact Contact = new Contact("张悦", "https://blog.csdn.net/weixin_51867622?spm=1001.2101.3001.5343", "3391409848@qq.com");
return new ApiInfo(
"ZhangYue 的 SwaggerAPI文档",
"nothing at all",
"v1.0",
"https://blog.csdn.net/weixin_51867622?spm=1001.2101.3001.5343",
Contact,
"Apache 2.0",
"http://www.apache.org/licenses/LICENSE-2.0",
new ArrayList());
}
}
配置Swagger开关 这里不细说 看原文链接 狂神说SpringBoot14:集成Swagger终极版 (qq.com)
配置API分组
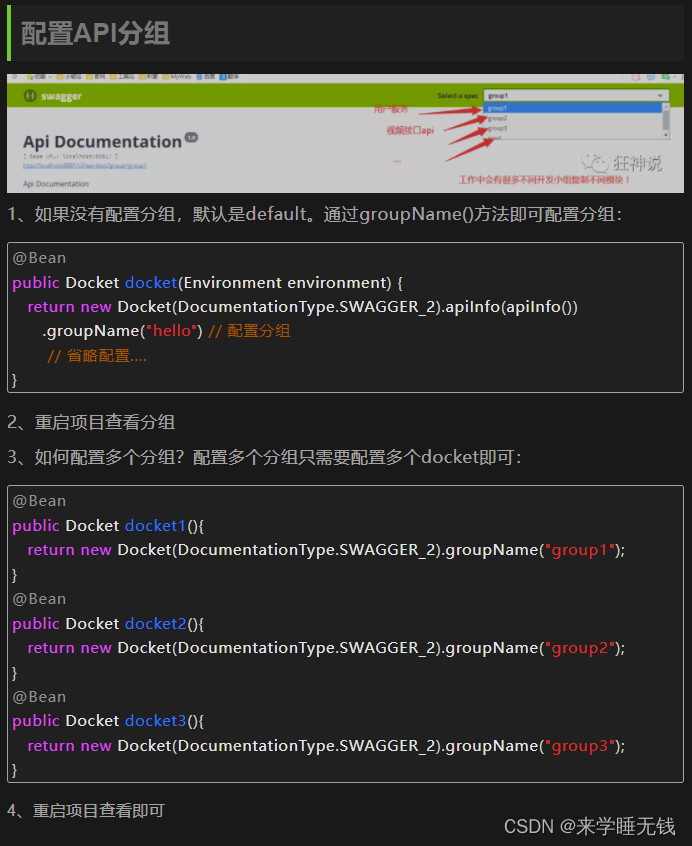
@Bean
public Docket docket(Environment environment) {
   return new Docket(DocumentationType.SWAGGER_2).apiInfo(apiInfo())
      .groupName("hello") // 配置分组
       // 省略配置....
}
换肤 看原文链接 狂神说SpringBoot14:集成Swagger终极版 (qq.com)
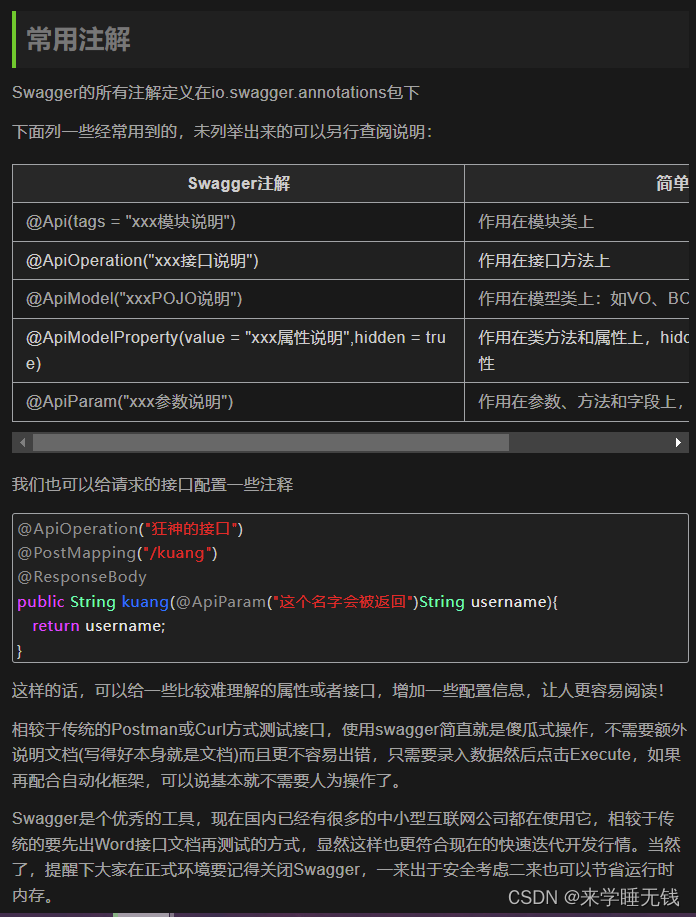
常见错误
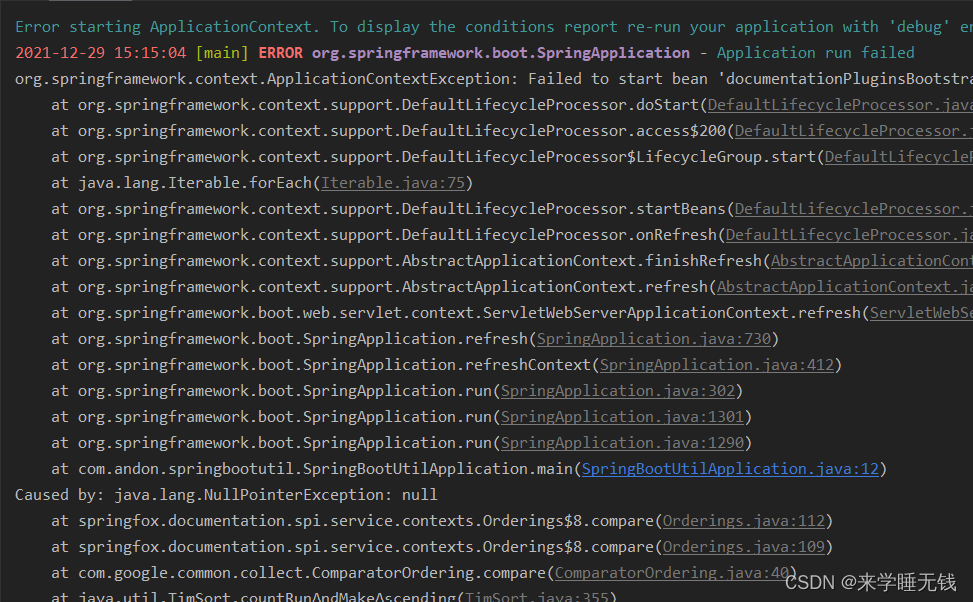
如果是配置开启 swagger 后项目报错
2021-12-29 15:15:04 [main] ERROR org.springframework.boot.SpringApplication - Application run failed
org.springframework.context.ApplicationContextException: Failed to start bean 'documentationPluginsBootstrapper'; nested exception is java.lang.NullPointerException
1、配置WebMvcConfigurer.java
import org.springframework.context.annotation.Configuration;
import org.springframework.web.servlet.config.annotation.ResourceHandlerRegistry;
import org.springframework.web.servlet.config.annotation.WebMvcConfigurationSupport;

/**
 * @author Andon
 * 2021/12/29
 */
@Configuration
public class WebMvcConfigurer extends WebMvcConfigurationSupport {

    /**
     * 发现如果继承了WebMvcConfigurationSupport,则在yml中配置的相关内容会失效。 需要重新指定静态资源
     */
    @Override
    public void addResourceHandlers(ResourceHandlerRegistry registry) {
        registry.addResourceHandler("/**").addResourceLocations(
                "classpath:/static/");
        registry.addResourceHandler("swagger-ui.html", "doc.html").addResourceLocations(
                "classpath:/META-INF/resources/");
        registry.addResourceHandler("/webjars/**").addResourceLocations(
                "classpath:/META-INF/resources/webjars/");
        super.addResourceHandlers(registry);
    }

}
2、配置文件添加spring.mvc.pathmatch.matching-strategy=ant_path_matcher
spring:
  mvc:
    pathmatch:
      matching-strategy: ant_path_matcher
3、项目启动
4、swagger访问,http://localhost:8080/doc.html 或者 http://localhost:8080/swagger-ui.html
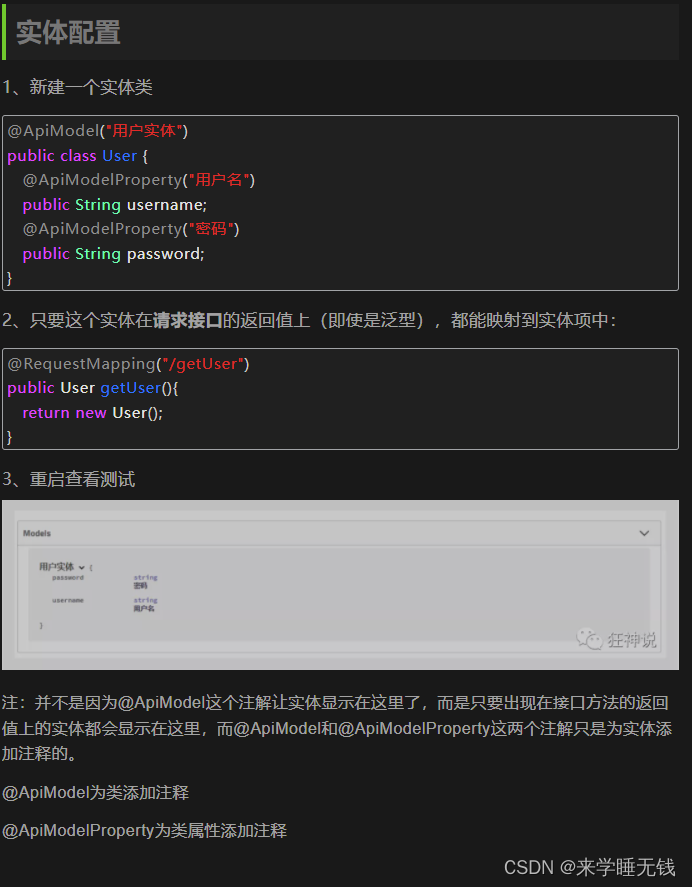
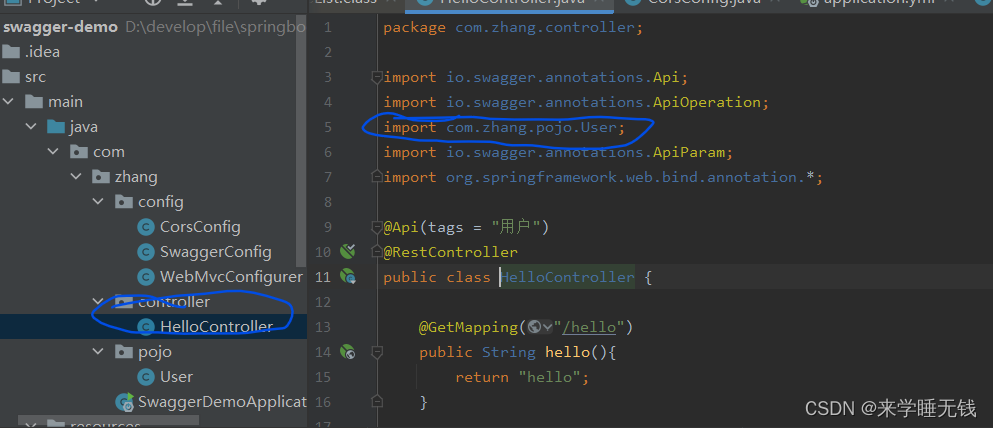
如果是书写实体类后莫名其妙报错,找不到在哪错了,去看看下面标注的地方 user是不是用的自己的

为开发者提供学习成长、分享交流、生态实践、资源工具等服务,帮助开发者快速成长。
更多推荐


 0
0 0
0- 0


 已为社区贡献3条内容

所有评论(0)