springboot上传图片并回显,将url存入数据库
第一步,在webmvcconfig下配置虚拟路径映射,一般来说我们存照片的地址就在主机上创建一个文件夹,也就是file:后边的uploadPathImg,但是我们不能直接访问物理路径的图片,因此我们要配置虚拟路径的映射,前面的/uploadImg/**就是说http://ip地址:+端口号+/uploadImg/**就可以访问到图片了,这里我的uploadPathImg通过@value注解去到ym
·

第一步,在webmvcconfig下配置虚拟路径映射,一般来说我们存照片的地址就在主机上创建一个文件夹,也就是file:后边的uploadPathImg,但是我们不能直接访问物理路径的图片,因此我们要配置虚拟路径的映射,前面的/uploadImg/**就是说http://ip地址:+端口号+/uploadImg/**就可以访问到图片了,这里我的uploadPathImg通过@value注解去到yml中找到对应的配置属性值,我们通过yml去配置该值后期便于修改
第二步,配置yaml
virtualImgUrl: http://localhost:9060/HeartKnow/uploadImg/
uploadPathImg: E:/picture/    #本地路径
上面的virtualImgUrl为存入数据库url的前缀,上传图片之后可以通过该url进行回显
第三步,fileupload工具类的编写
import org.springframework.beans.factory.annotation.Value;
import org.springframework.web.multipart.MultipartFile;
import java.io.File;
@Component
public class FileUpload {
    @Value("${uploadPathImg}")
    private String uploadPathImg;
    @Value("${virtualImgUrl}")
    private String virtualImgUrl;
    public String uploadImg(MultipartFile file){
                String fileName = "";
        try {
            if (file != null) {
                fileName = System.currentTimeMillis() + file.getOriginalFilename();
                String upload_file_dir=uploadPathImg;
                String destFileName =  uploadPathImg +fileName;
                File upload_file_dir_file = new File(upload_file_dir);
                if (!upload_file_dir_file.exists())
                {
                    upload_file_dir_file.mkdirs();
                }
                File targetFile = new File(upload_file_dir_file, fileName);
                file.transferTo(targetFile);
            }
        }catch (Exception e){
            e.printStackTrace();
        }
        return virtualImgUrl+fileName;
    }
}
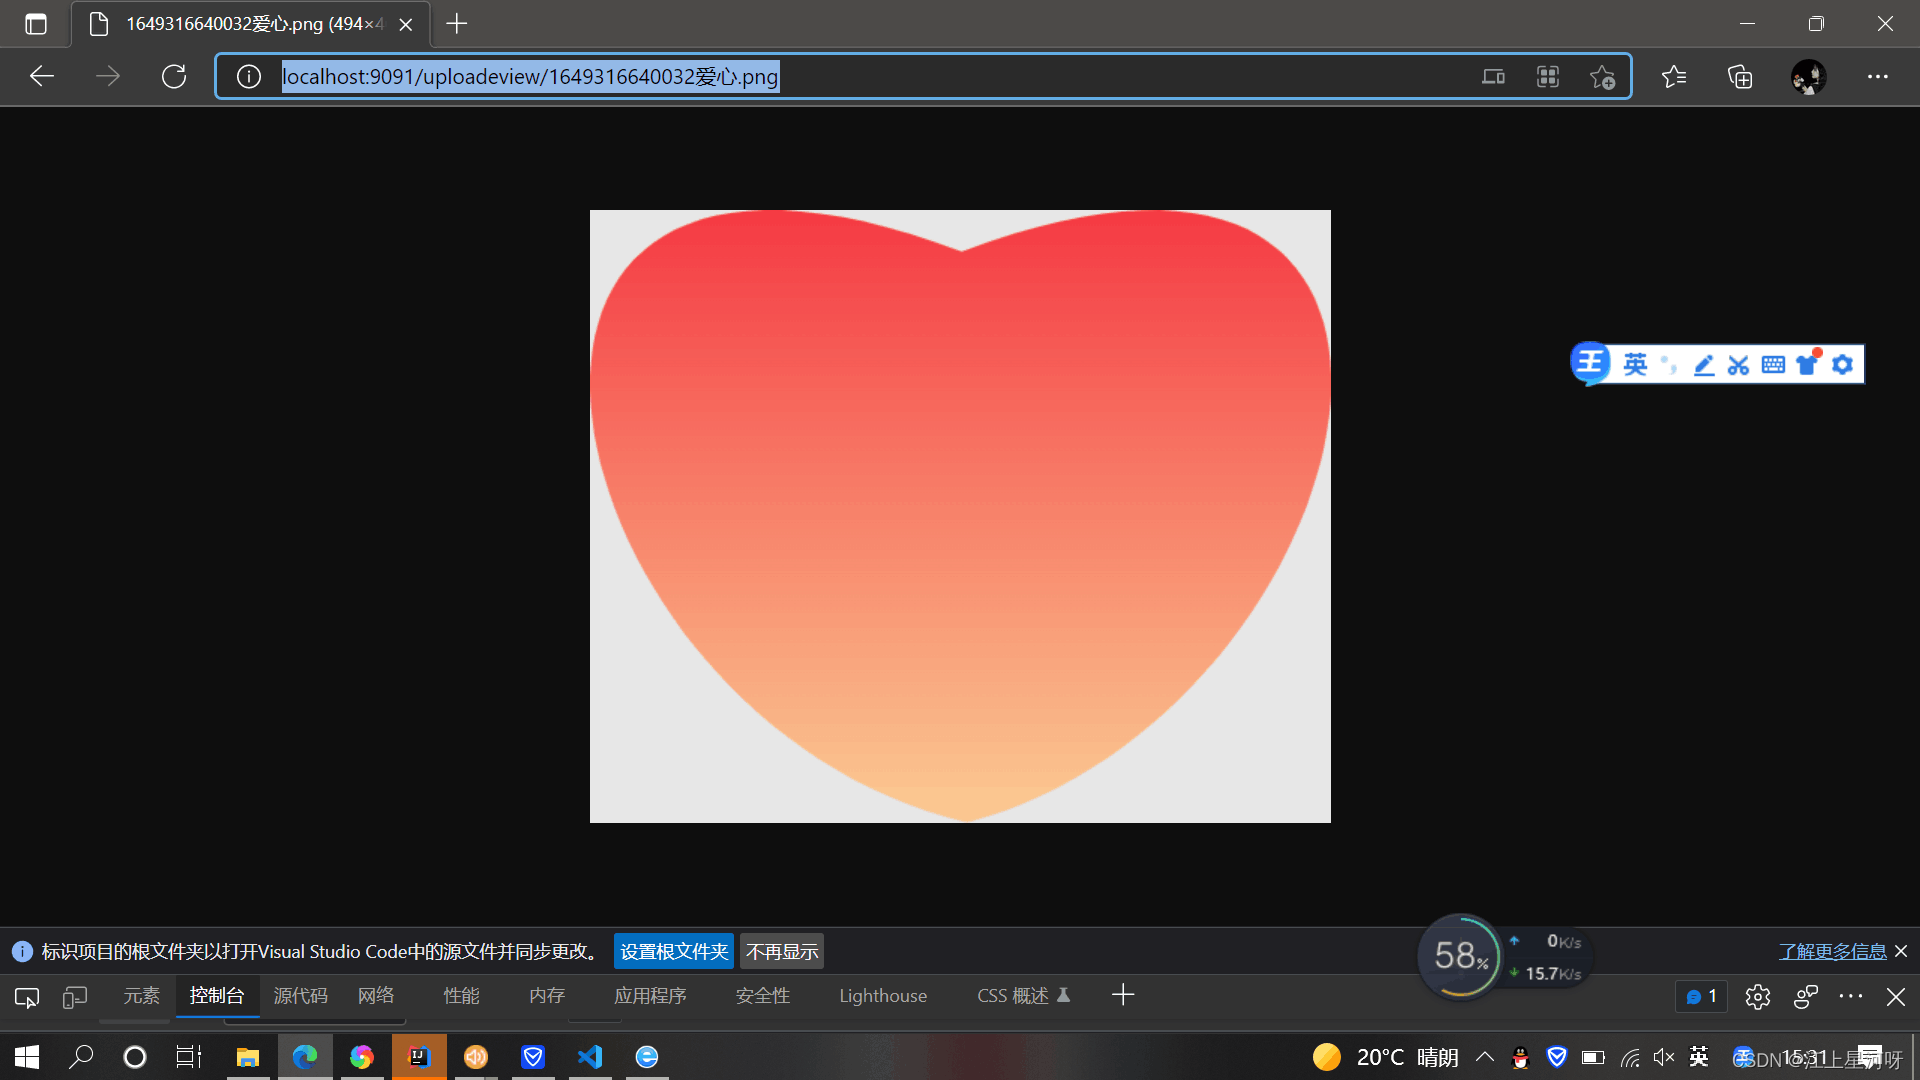
以下便是运行结果:

参考链接:springboot 上传图片到服务器,并把图片路径存入数据库,让前端访问图片_爱笑的女孩运气不会太差的博客-CSDN博客_springboot上传图片到服务器

华为开发者空间,是为全球开发者打造的专属开发空间,汇聚了华为优质开发资源及工具,致力于让每一位开发者拥有一台云主机,基于华为根生态开发、创新。
更多推荐


 6
6 0
0- 0


 已为社区贡献1条内容

所有评论(0)