springboot项目直接访问html页面
springboot项目访问html页面1. springboot项目访问html页面记录一下在springboot项目中如何访问html页面的配置,免得每次需要的时候又得到处去找,找了又忘2. 创建一个基于springboot框架的web应用,不需要其它依赖<?xml version="1.0" encoding="UTF-8"?><project xmlns="http://
·
1. springboot项目访问html页面
- 记录一下在springboot项目中如何访问html页面的配置。
2. 创建一个基于springboot框架的web应用,不需要其它依赖
<?xml version="1.0" encoding="UTF-8"?>
<project xmlns="http://maven.apache.org/POM/4.0.0" xmlns:xsi="http://www.w3.org/2001/XMLSchema-instance"
         xsi:schemaLocation="http://maven.apache.org/POM/4.0.0 https://maven.apache.org/xsd/maven-4.0.0.xsd">
    <modelVersion>4.0.0</modelVersion>
    <parent>
        <groupId>org.springframework.boot</groupId>
        <artifactId>spring-boot-starter-parent</artifactId>
        <version>2.3.5.RELEASE</version>
        <relativePath/> <!-- lookup parent from repository -->
    </parent>
    <groupId>qinfeng.zheng</groupId>
    <artifactId>springboot-iview</artifactId>
    <version>0.0.1-SNAPSHOT</version>
    <name>springboot-iview</name>
    <description>Demo project for Spring Boot</description>

    <properties>
        <java.version>8</java.version>
    </properties>

    <dependencies>
        <dependency>
            <groupId>org.springframework.boot</groupId>
            <artifactId>spring-boot-starter-web</artifactId>
        </dependency>

        <dependency>
            <groupId>org.springframework.boot</groupId>
            <artifactId>spring-boot-starter-test</artifactId>
            <scope>test</scope>
            <exclusions>
                <exclusion>
                    <groupId>org.junit.vintage</groupId>
                    <artifactId>junit-vintage-engine</artifactId>
                </exclusion>
            </exclusions>
        </dependency>
    </dependencies>

    <build>
        <plugins>
            <plugin>
                <groupId>org.springframework.boot</groupId>
                <artifactId>spring-boot-maven-plugin</artifactId>
            </plugin>
        </plugins>
    </build>

</project>
3. application.properties配置
# 配置静态资源地址,默认地址:"classpath:/META-INF/resources/", "classpath:/resources/", "classpath:/static/", "classpath:/public/
spring.resources.static-locations=classpath:/templates/
# 如果将html页面直接放在templates目录下,可能省略下面这行配置
spring.mvc.view.prefix=views
# 必须的,不然报错
spring.mvc.view.suffix=.html
server.port=8089
4. 配置文件
import org.springframework.context.annotation.Configuration;
import org.springframework.web.servlet.config.annotation.ViewControllerRegistry;
import org.springframework.web.servlet.config.annotation.WebMvcConfigurer;

/**
 * @Author ZhengQinfeng
 * @Date 2020/11/12 22:04
 * @dec
 */
@Configuration
public class WebConfig implements WebMvcConfigurer {
    @Override
    public void addViewControllers(ViewControllerRegistry registry) {
//        spring.mvc.view.prefix + /index + spring.mvc.view.suffix 构成完整的请求地址
//        访问项目根目录即是访问 /views/index.html页面
        registry.addViewController("/").setViewName("/index");
    }
}

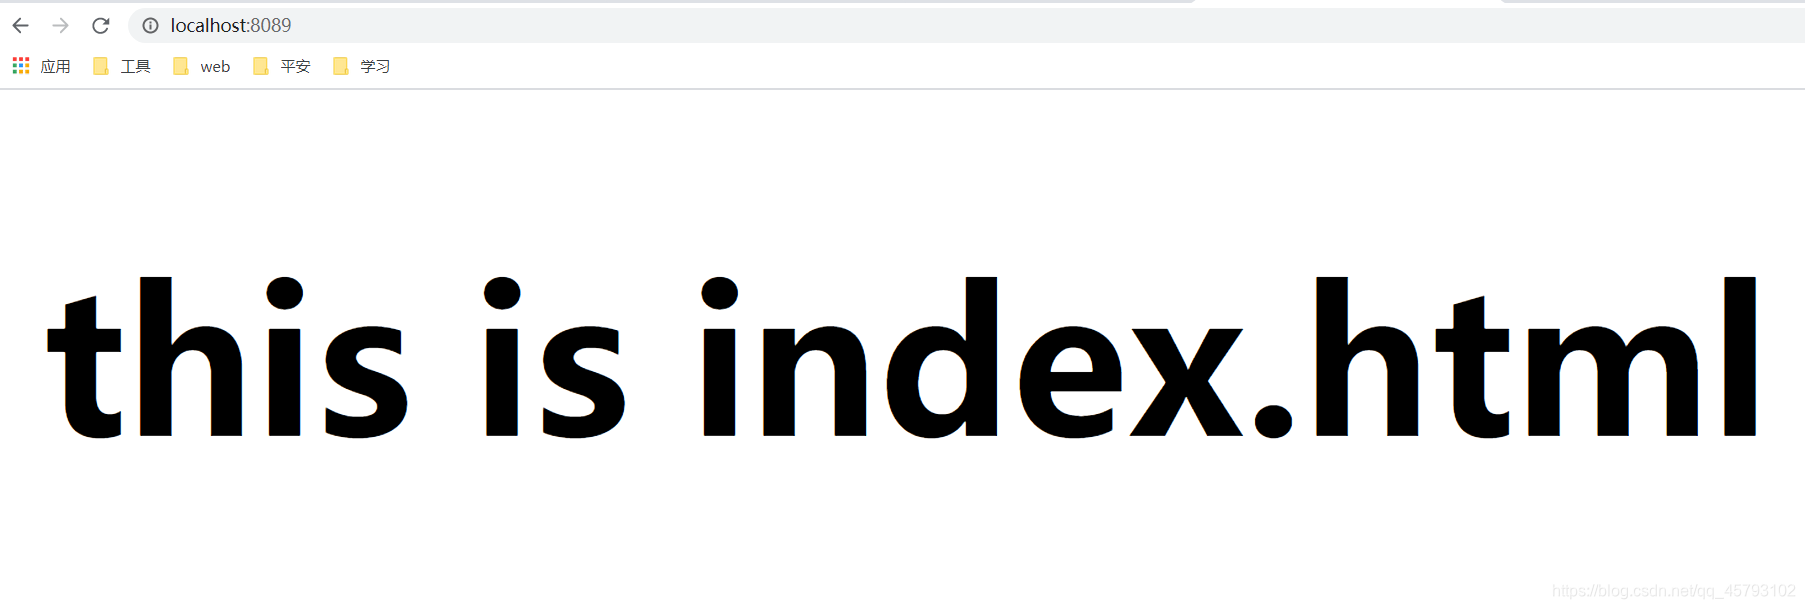
5. 启动springboot项目即可

华为开发者空间,是为全球开发者打造的专属开发空间,汇聚了华为优质开发资源及工具,致力于让每一位开发者拥有一台云主机,基于华为根生态开发、创新。
更多推荐


 0
0 0
0- 0


 已为社区贡献10条内容

所有评论(0)