SpringBoot整合RocketMQ
rocketmq
一、快速实战
在使用SpringBoot的starter集成包时,要特别注意版本。
因为SpringBoot集成RocketMQ的starter依赖是由Spring社区提供的,目前正在快速迭代的过程当中,不同版本之间的差距非常大,甚至基础的底层对象都会经常有改动。例如如果使用rocketmq-spring-boot-starter:2.0.4版本开发的代码,升级到目前最新的rocketmq-spring-boot-starter:2.1.1后,基本就用不了了。
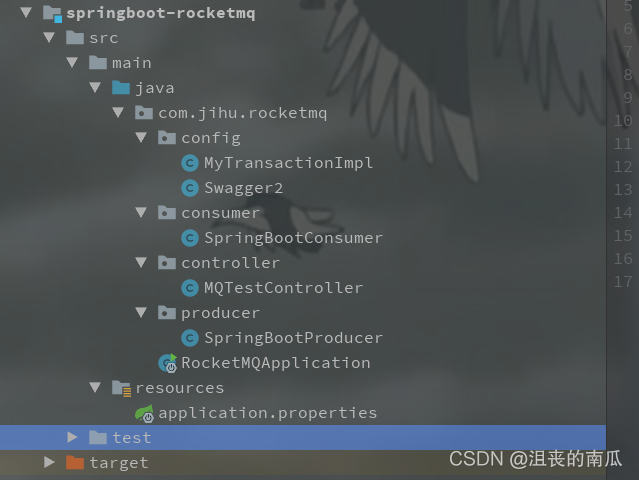
项目结构:
在这里插入图片描述
1、maven依赖:
<dependencies>
<dependency>
<groupId>org.apache.rocketmq</groupId>
<artifactId>rocketmq-spring-boot-starter</artifactId>
<version>2.1.1</version>
<exclusions>
<exclusion>
<groupId>org.springframework.boot</groupId>
<artifactId>spring-boot-starter</artifactId>
</exclusion>
<exclusion>
<groupId>org.springframework</groupId>
<artifactId>spring-core</artifactId>
</exclusion>
<exclusion>
<groupId>org.springframework</groupId>
<artifactId>spring-webmvc</artifactId>
</exclusion>
</exclusions>
</dependency>
<dependency>
<groupId>org.springframework.boot</groupId>
<artifactId>spring-boot-starter-web</artifactId>
<version>2.1.6.RELEASE</version>
</dependency>
<dependency>
<groupId>io.springfox</groupId>
<artifactId>springfox-swagger-ui</artifactId>
<version>2.9.2</version>
</dependency>
<dependency>
<groupId>io.springfox</groupId>
<artifactId>springfox-swagger2</artifactId>
<version>2.9.2</version>
</dependency>
</dependencies>
ocketmq-spring-boot-starter:2.1.1引入的SpringBoot包版本是2.0.5.RELEASE,这里把SpringBoot的依赖包升级了一下。
2、启动类
@SpringBootApplication
public class RocketMQApplication {
public static void main(String[] args) {
SpringApplication.run(RocketMQApplication.class, args);
}
}
3、配置文件 application.properties
# NameServer地址
rocketmq.name-server=192.168.131.171:9876
# 默认的消息组
rocketmq.producer.group=springBootGroup
4、消息生产者
@Component
public class SpringBootProducer {
@Autowired
private RocketMQTemplate rocketMQTemplate;
// 发送消息的实例
public void sendMessage(String topic, String msg) {
rocketMQTemplate.convertAndSend(topic, msg);
}
// 发送事务消息的实例
public void sendMessageInTransaction(String topic, String msg) throws InterruptedException {
String[] tags = {"TagA", "TagB", "TagC", "TagD", "TagE"};
for (int i = 0; i < 10; i++) {
Message<String> message = MessageBuilder.withPayload(msg).build();
String destination = topic + ":" + tags[i % tags.length];
TransactionSendResult sendResult =
rocketMQTemplate.sendMessageInTransaction(destination, message, destination);
System.out.printf("%s%n", sendResult);
Thread.sleep(10);
}
}
}
5、消息消费者
@Component
@RocketMQMessageListener(consumerGroup = "springBootGroup", topic = "TestTopic")
public class SpringBootConsumer implements RocketMQListener {
@Override
public void onMessage(Object message) {
System.out.println("Received message : "+ message);
}
}
SpringBoot集成RocketMQ,消费者部分的核心就在这个@RocketMQMessageListener注解上。所有消费者的核心功能也都会集成到这个注解中。所以我们还要注意下这个注解里面的属性:
例如:消息过滤可以由里面的selectorType属性和selectorExpression来定制
消息有序消费还是并发消费则由consumeMode属性定制。
消费者是集群部署还是广播部署由messageModel属性定制。
然后关于事务消息,还需要配置一个事务消息监听器:
/**
* @description: 事务消息监听器
* 关于@RocketMQTransactionListener 这个注解,有点奇怪。2.0.4版本中,是需要指定txProducerGroup指向一个消息发送者组。不同的组可以有不同的事务消息逻辑。
* 但是到了2.1.1版本,只能指定rocketMQTemplateBeanMame,也就是说如果你有多个发送者组需要有不同的事务消息逻辑,那就需要定义多个RocketMQTemplate。
* 而且这个版本中,虽然重现了我们在原生API中的事务消息逻辑,但是测试过程中还是发现一些奇怪的特性,用的时候要注意点。
**/
//@RocketMQTransactionListener(txProducerGroup = "springBootGroup2")
@RocketMQTransactionListener(rocketMQTemplateBeanName = "rocketMQTemplate")
public class MyTransactionImpl implements RocketMQLocalTransactionListener {
private ConcurrentHashMap<Object, Message> localTrans = new ConcurrentHashMap<>();
@Override
public RocketMQLocalTransactionState executeLocalTransaction(Message msg, Object arg) {
Object transId = msg.getHeaders().get(RocketMQHeaders.PREFIX + RocketMQHeaders.TRANSACTION_ID);
String destination = arg.toString();
localTrans.put(transId, msg);
//这个msg的实现类是GenericMessage,里面实现了toString方法
//在Header中自定义的RocketMQHeaders.TAGS属性,到这里就没了。但是RocketMQHeaders.TRANSACTION_ID这个属性就还在。
//而message的Header里面会默认保存RocketMQHeaders里的属性,但是都会加上一个RocketMQHeaders.PREFIX前缀
System.out.println("executeLocalTransaction msg = " + msg);
//转成RocketMQ的Message对象
org.apache.rocketmq.common.message.Message message = RocketMQUtil.convertToRocketMessage(new StringMessageConverter(), "UTF-8", destination, msg);
String tags = message.getTags();
if (StringUtils.contains(tags, "TagA")) {
return RocketMQLocalTransactionState.COMMIT;
} else if (StringUtils.contains(tags, "TagB")) {
return RocketMQLocalTransactionState.ROLLBACK;
} else {
return RocketMQLocalTransactionState.UNKNOWN;
}
}
//延迟检查的时间间隔要有点奇怪。
@Override
public RocketMQLocalTransactionState checkLocalTransaction(Message msg) {
String transId = msg.getHeaders().get(RocketMQHeaders.PREFIX + RocketMQHeaders.TRANSACTION_ID).toString();
Message originalMessage = localTrans.get(transId);
//这里能够获取到自定义的transaction_id属性
System.out.println("checkLocalTransaction msg = " + originalMessage);
//获取标签时,自定义的RocketMQHeaders.TAGS拿不到,但是框架会封装成一个带RocketMQHeaders.PREFIX的属性
// String tags = msg.getHeaders().get(RocketMQHeaders.TAGS).toString();
String tags = msg.getHeaders().get(RocketMQHeaders.PREFIX + RocketMQHeaders.TAGS).toString();
if (StringUtils.contains(tags, "TagC")) {
return RocketMQLocalTransactionState.COMMIT;
} else if (StringUtils.contains(tags, "TagD")) {
return RocketMQLocalTransactionState.ROLLBACK;
} else {
return RocketMQLocalTransactionState.UNKNOWN;
}
}
}
// -------
@ExtRocketMQTemplateConfiguration()
public class ExtRocketMQTemplate extends RocketMQTemplate {
}
6、controller
@RestController
@RequestMapping("/MQTest")
public class MQTestController {
private final String topic = "TestTopic";
@Resource
private SpringBootProducer producer;
@RequestMapping("/sendMessage")
public String sendMessage(String message) {
producer.sendMessage(topic, message);
return "消息发送完成";
}
//这个发送事务消息的例子中有很多问题,需要注意下。
@RequestMapping("/sendTransactionMessage")
public String sendTransactionMessage(String message) throws InterruptedException {
producer.sendMessageInTransaction(topic, message);
return "消息发送完成";
}
}
7、配置swagger
@Configuration
@EnableSwagger2
public class Swagger2 {
@Bean
public Docket createRestApi() {
return new Docket(DocumentationType.SWAGGER_2)
.apiInfo(apiInfo())
.select()
// .apis(RequestHandlerSelectors.basePackage("com.didispace.web"))
.paths(PathSelectors.any())
.build();
}
private ApiInfo apiInfo() {
return new ApiInfoBuilder()
.title("Spring Boot中使用Swagger2构建RESTful APIs")
.description("SpringBoot集成RocketMQ")
.contact("jihu")
.version("1.0")
.build();
}
}
可以通过 http://localhost:8080/swagger-ui.html#/ 看到接口信息: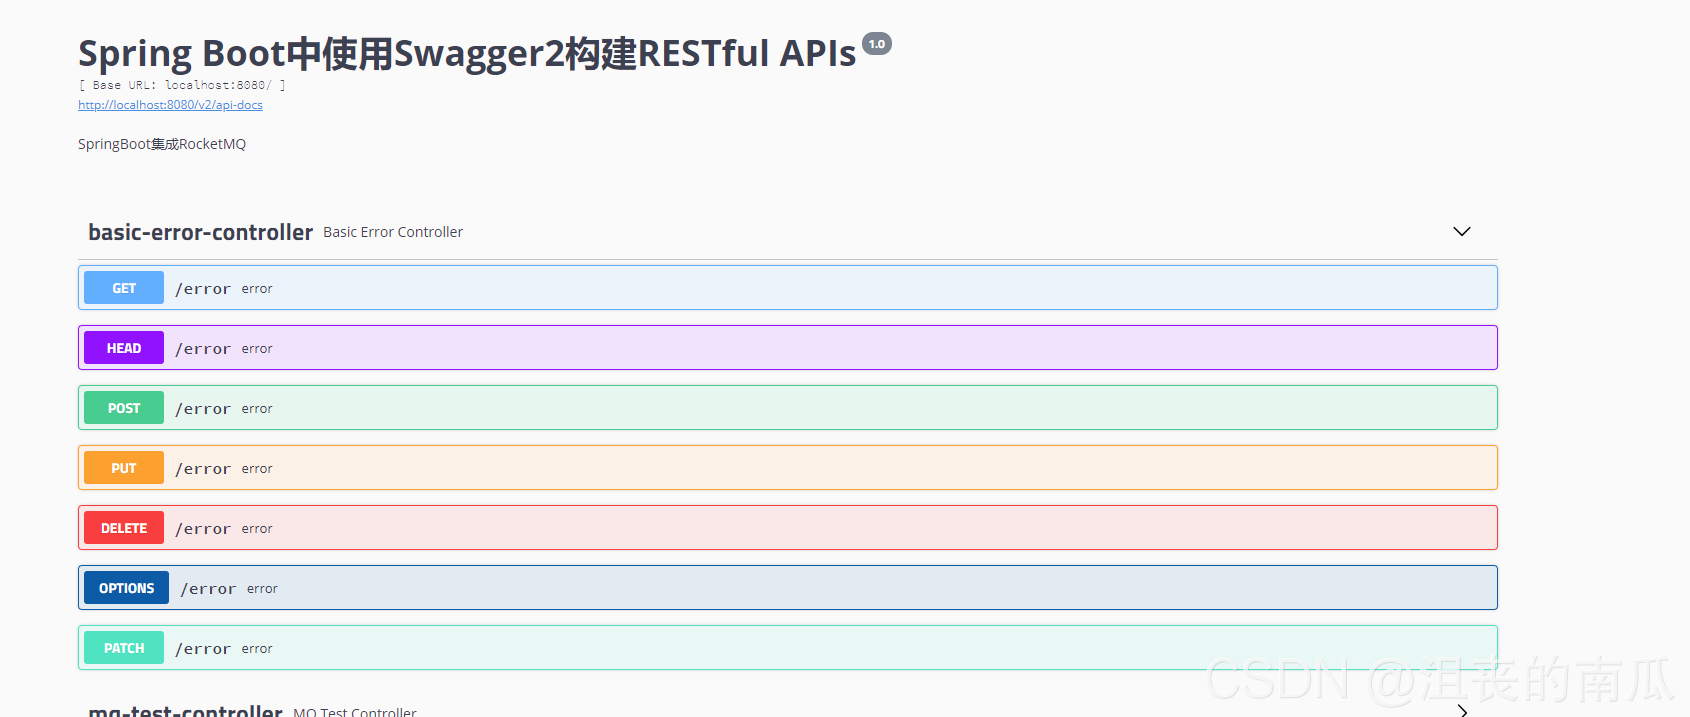
这样我们启动应用后,就能够通过访问 http://localhost:8080/MQTest/sendMessage?message=123 接口来发送一条简单消息。并在SpringConsumer中消费到。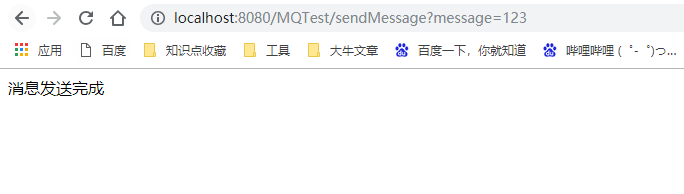
其他类型消息
@RunWith(SpringRunner.class)
@SpringBootTest
public class SpringRocketTest {
@Resource
private RocketMQTemplate rocketMQTemplate;
@Test
public void sendMessageTest() {
String springTopic = "TestTopic";
//发送字符消息
SendResult sendResult = rocketMQTemplate.syncSend(springTopic, "Hello, World!");
System.out.printf("syncSend1 to topic %s sendResult=%s %n", springTopic, sendResult);
sendResult = rocketMQTemplate.syncSend(springTopic, new User().setUserAge((byte) 18).setUserName("Kitty"));
System.out.printf("syncSend1 to topic %s sendResult=%s %n", springTopic, sendResult);
sendResult = rocketMQTemplate.syncSend(springTopic, MessageBuilder.withPayload(
new User().setUserAge((byte) 21).setUserName("Lester")).setHeader(MessageHeaders.CONTENT_TYPE, MimeTypeUtils.APPLICATION_JSON_VALUE).build());
System.out.printf("syncSend1 to topic %s sendResult=%s %n", springTopic, sendResult);
//发送对象消息
rocketMQTemplate.asyncSend(springTopic, new OrderPaidEvent("T_001", new BigDecimal("88.00")), new SendCallback() {
@Override
public void onSuccess(SendResult var1) {
System.out.printf("async onSucess SendResult=%s %n", var1);
}
@Override
public void onException(Throwable var1) {
System.out.printf("async onException Throwable=%s %n", var1);
}
});
//发送指定TAG的消息
rocketMQTemplate.convertAndSend(springTopic + ":tag0", "I'm from tag0"); // tag0 will not be consumer-selected
System.out.printf("syncSend topic %s tag %s %n", springTopic, "tag0");
rocketMQTemplate.convertAndSend(springTopic + ":tag1", "I'm from tag1");
System.out.printf("syncSend topic %s tag %s %n", springTopic, "tag1");
//同步发送消息并且返回一个String类型的结果。
String replyString = rocketMQTemplate.sendAndReceive(springTopic, "request string", String.class);
System.out.printf("send %s and receive %s %n", "request string", replyString);
//同步发送消息并且返回一个Byte数组类型的结果。
byte[] replyBytes = rocketMQTemplate.sendAndReceive(springTopic, MessageBuilder.withPayload("request byte[]").build(), byte[].class, 3000);
System.out.printf("send %s and receive %s %n", "request byte[]", new String(replyBytes));
//同步发送一个带hash参数的请求(排序消息),并返回一个User类型的结果
User requestUser = new User().setUserAge((byte) 9).setUserName("requestUserName");
User replyUser = rocketMQTemplate.sendAndReceive(springTopic, requestUser, User.class, "order-id");
System.out.printf("send %s and receive %s %n", requestUser, replyUser);
//同步发送一个带延迟级别的消息(延迟消息),并返回一个泛型结果
ProductWithPayload<String> replyGenericObject = rocketMQTemplate.sendAndReceive(springTopic, "request generic",
new TypeReference<ProductWithPayload<String>>() {
}.getType(), 30000, 2);
System.out.printf("send %s and receive %s %n", "request generic", replyGenericObject);
//异步发送消息,返回String类型结果。
rocketMQTemplate.sendAndReceive(springTopic, "request string", new RocketMQLocalRequestCallback<String>() {
@Override
public void onSuccess(String message) {
System.out.printf("send %s and receive %s %n", "request string", message);
}
@Override
public void onException(Throwable e) {
e.printStackTrace();
}
});
//异步发送消息,并返回一个User类型的结果。
rocketMQTemplate.sendAndReceive(springTopic, new User().setUserAge((byte) 9).setUserName("requestUserName"), new RocketMQLocalRequestCallback<User>() {
@Override
public void onSuccess(User message) {
System.out.printf("send user object and receive %s %n", message.toString());
}
@Override
public void onException(Throwable e) {
e.printStackTrace();
}
}, 5000);
//发送批量消息
List<Message> msgs = new ArrayList<Message>();
for (int i = 0; i < 10; i++) {
msgs.add(MessageBuilder.withPayload("Hello RocketMQ Batch Msg#" + i).
setHeader(RocketMQHeaders.KEYS, "KEY_" + i).build());
}
SendResult sr = rocketMQTemplate.syncSend(springTopic, msgs, 60000);
System.out.printf("--- Batch messages send result :" + sr);
}
}
总结
SpringBoot 引入org.apache.rocketmq:rocketmq-spring-boot-starter依赖后,就可以通过内置的RocketMQTemplate来与RocketMQ交互。相关属性都以rockemq.开头。具体所有的配置信息可以参见org.apache.rocketmq.spring.autoconfigure.RocketMQProperties这个类。
SpringBoot依赖中的Message对象和RocketMQ-client中的Message对象是两个不同的对象,这在使用的时候要非常容易弄错。例如RocketMQ-client中的Message里的TAG属性,在SpringBoot依赖中的Message中就没有。Tag属性被移到了发送目标中,与Topic一起,以Topic:Tag的方式指定
最后强调一次,一定要注意版本。rocketmq-spring-boot-starter的更新进度一般都会略慢于RocketMQ的版本更新,并且版本不同会引发很多奇怪的问题。apache有一个官方的rocketmq-spring示例,地址:https://github.com/apache/rocketmq-spring.git 以后如果版本更新了,可以参考下这个示例代码。
问题与拓展(多个事务监听器和多个template)
我们看到SpringBoot提供的RocketMQTemplate使用起来非常的方便,但是有时候我们使用事务消息的时候,可能需要多个不同的事务监听器,那么该怎么配置呢?
我们知道,一个事务监听需要设置一个对应的template.
@RocketMQTransactionListener(rocketMQTemplateBeanName = "rocketMQTemplate")
public class MyTransactionImpl implements RocketMQLocalTransactionListener {
其实,springboot有提供如下的方式来帮我们配置多个template.
@ExtRocketMQTemplateConfiguration()
public class ExtRocketMQTemplate extends RocketMQTemplate {
}
这样我们就可以实现自定义的template了。可以搭配其他的事务监听器使用。

为开发者提供学习成长、分享交流、生态实践、资源工具等服务,帮助开发者快速成长。
更多推荐


 0
0 0
0- 0


 已为社区贡献8条内容

所有评论(0)