Spring Boot Admin
Spring Boot Admin可以将 Actuator 中的信息进行界面化的展示,用于监控所有 Spring Boot 应用的健康状况,提供实时警报功能。使用步骤1.服务器1.Maven导入依赖必须是web应用 所以导入spring-boot-starter-webadmin版本必须和springboot一致<dependency><groupId>org.spring
Spring Boot Admin可以将 Actuator 中的信息进行界面化的展示,用于监控所有 Spring Boot 应用的健康状况,提供实时警报功能。
使用步骤
1.服务器
1.Maven导入依赖
必须是web应用 所以导入spring-boot-starter-web
admin版本必须和springboot一致
        <!--
            报错:java.lang.IllegalStateException: Calling [asyncError()] is not valid for a request with Async state [MUST_DISPATCH]
            解决:移除tomcat,换成jetty
        -->
        <dependency>
            <groupId>org.springframework.boot</groupId>
            <artifactId>spring-boot-starter-web</artifactId>
            <exclusions>
                <exclusion>
                    <groupId>org.springframework.boot</groupId>
                    <artifactId>spring-boot-starter-tomcat</artifactId>
                </exclusion>
            </exclusions>
        </dependency>
        <dependency>
            <groupId>org.springframework.boot</groupId>
            <artifactId>spring-boot-starter-jetty</artifactId>
        </dependency>
        <dependency>
            <groupId>de.codecentric</groupId>
            <artifactId>spring-boot-admin-starter-server</artifactId>
            <version>2.2.1</version>
        </dependency>
2.启动类添加注解:@EnableAdminServer
3.yml配置服务端口
server.port=8888
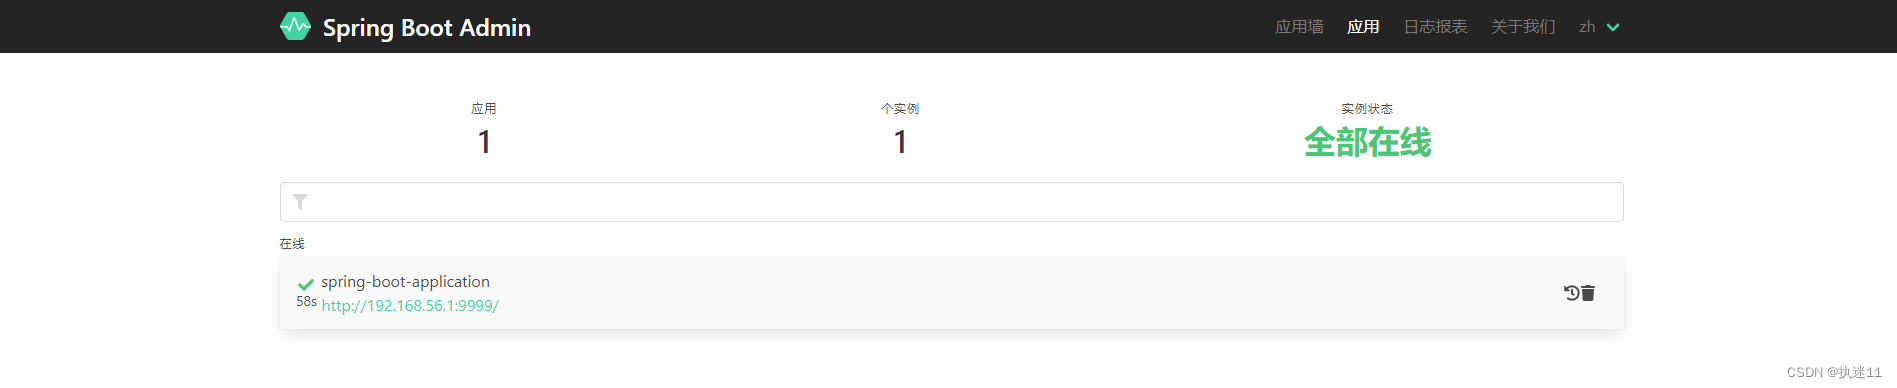
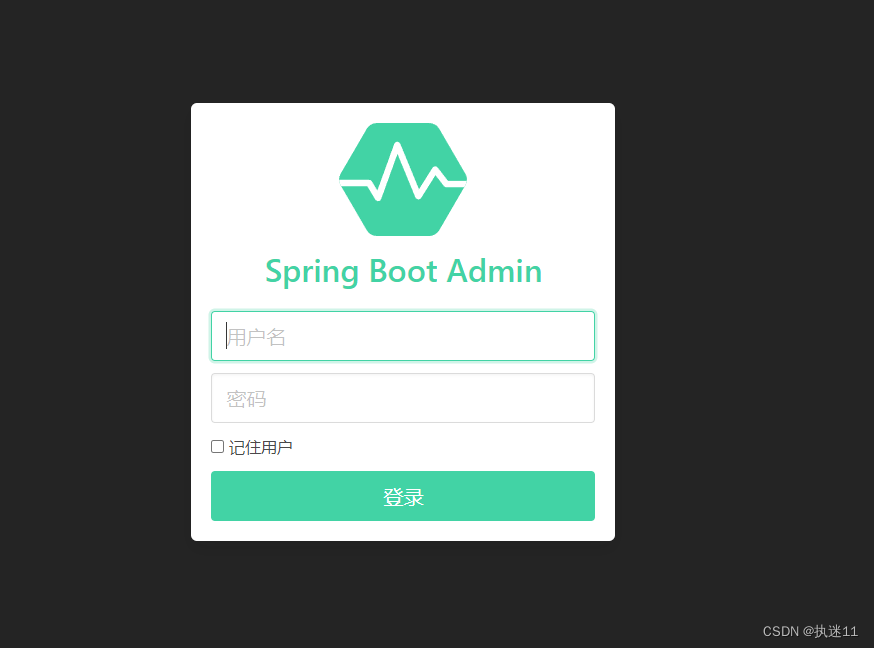
4.启动项目,访问配置的8888端口
可以看到可视化界面,因为还没有客户端注册进来,所以应用数为0.

2.客户端
1.Maven导入依赖
        <dependency>
            <groupId>org.springframework.boot</groupId>
            <artifactId>spring-boot-starter-web</artifactId>
        </dependency>
        <dependency>
            <groupId>de.codecentric</groupId>
            <artifactId>spring-boot-admin-starter-client</artifactId>
            <version>2.2.1</version>
        </dependency>
2.yml配置admin服务器地址和本机端口
server:
  port: 9999
spring:
  boot:
    admin:
      client:
        url: http://localhost:8888
此时再访问admin服务器:
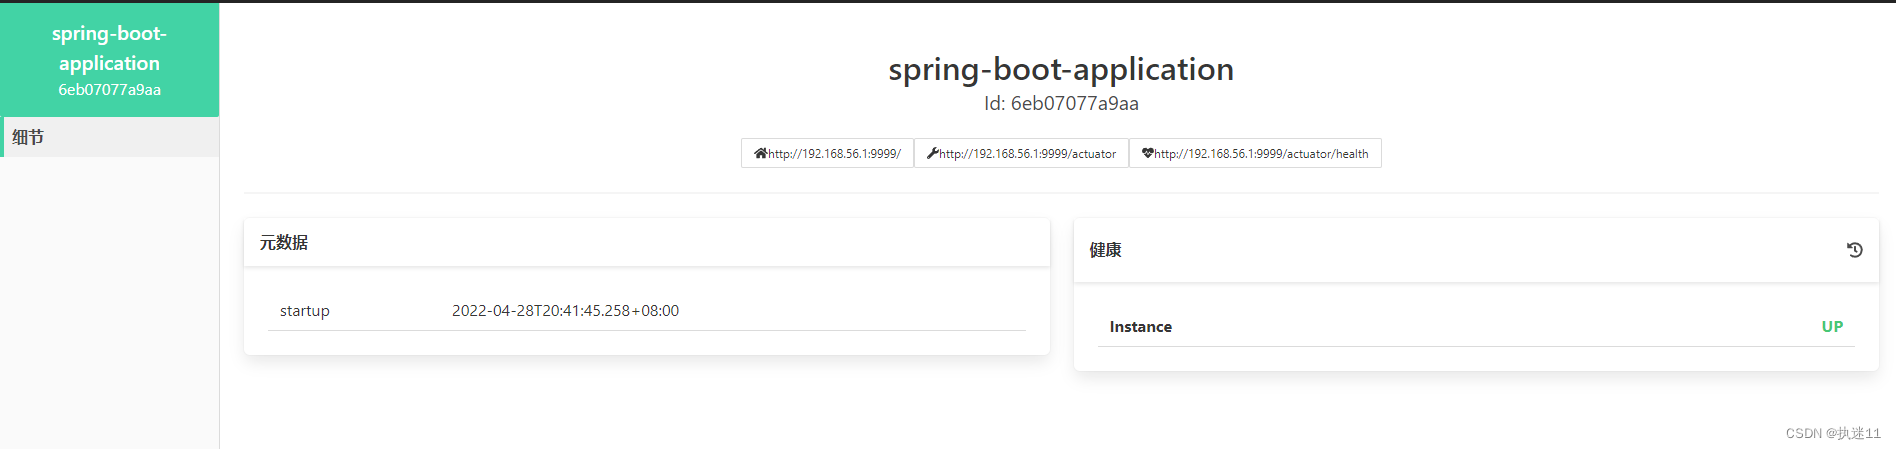
3.展示health信息
yml配置:
management:
  endpoint:
    health:
      show-details: always
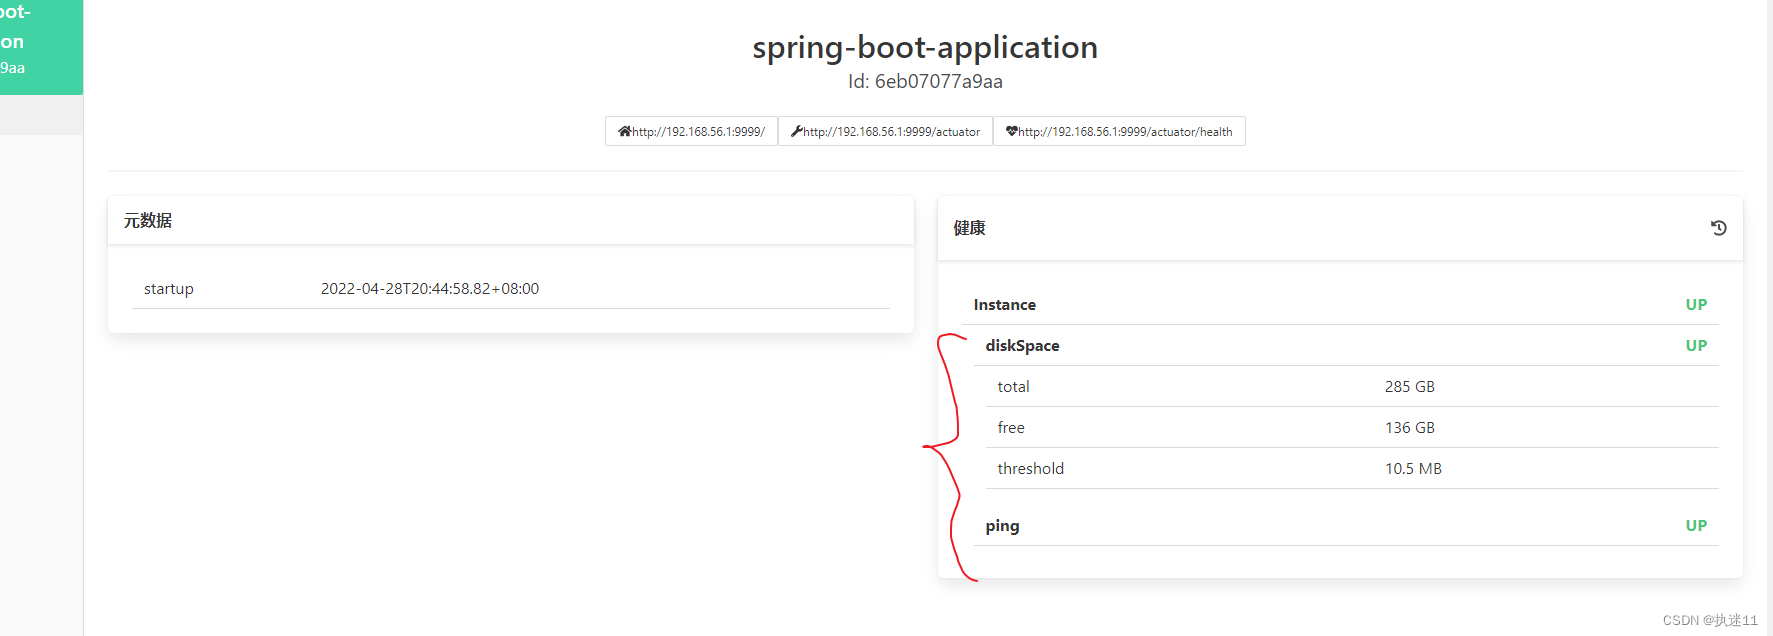
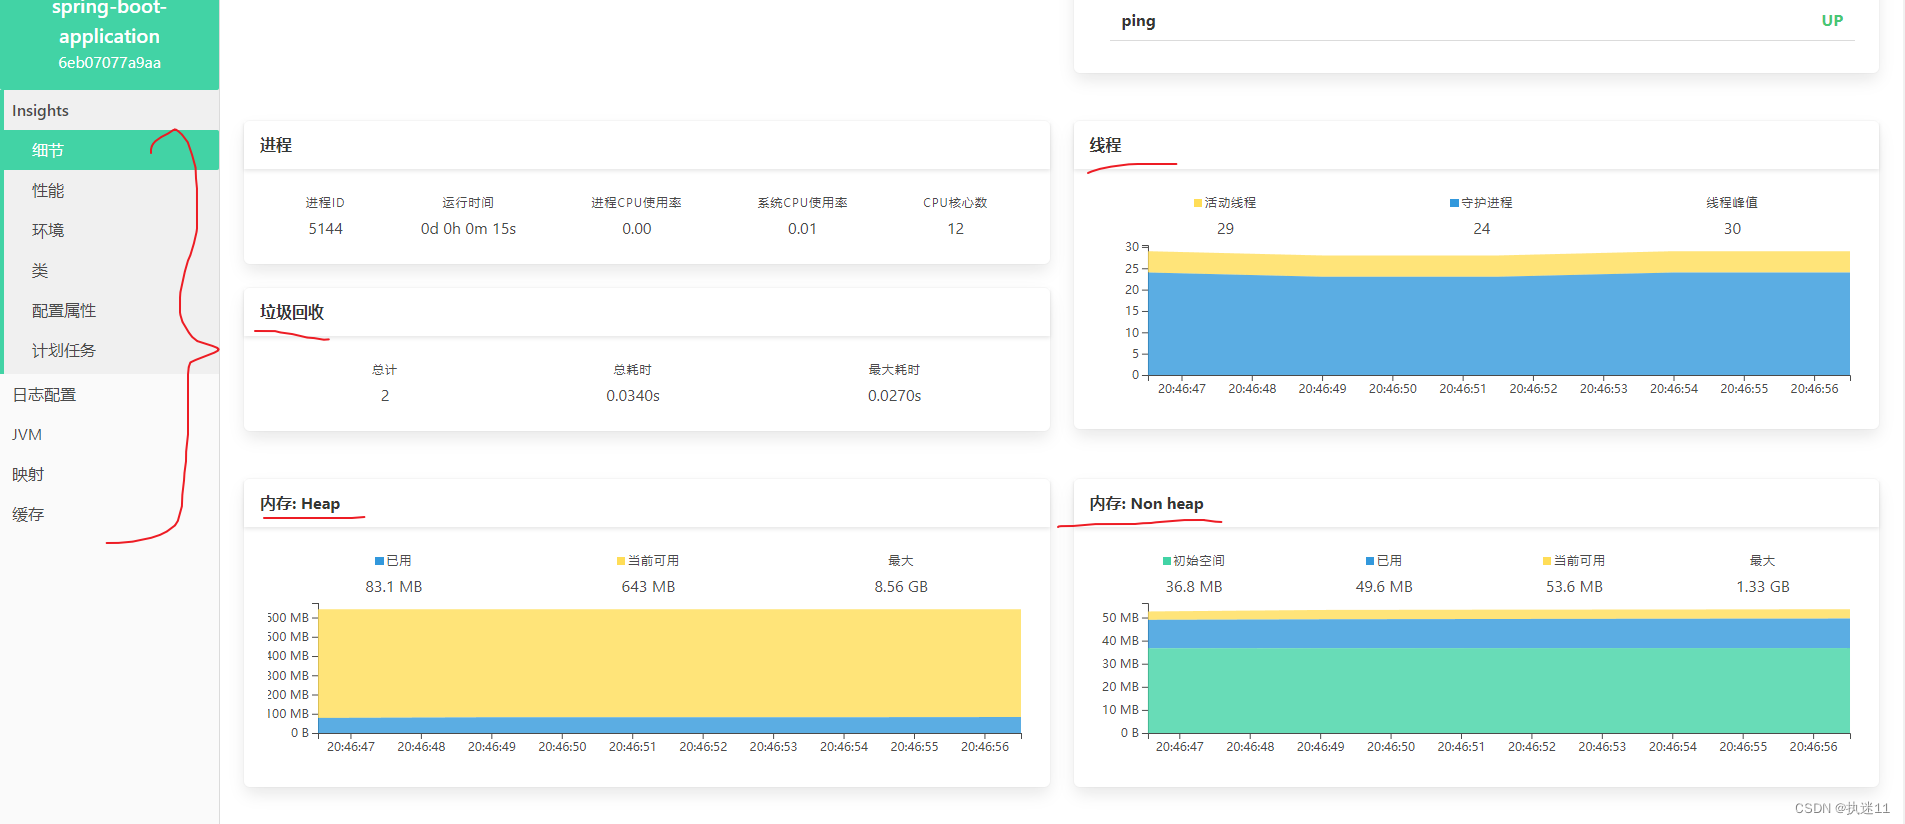
4.展示所有信息
# #可以控制哪个不显示
management:
  endpoint:
    health:
      show-details: always
##展示所有信息
  endpoints:
    web:
      exposure:
        include: "*"
3.整合 SpringSecurity
1.Maven引入依赖
        <dependency>
            <groupId>org.springframework.boot</groupId>
            <artifactId>spring-boot-starter-security</artifactId>
        </dependency>
2.指定账号密码
spring.security.user.name=admin
spring.security.user.password=admin
3.config配置
/**
 * @Author: lzp
 * @Description:
 * @Date Create in 21:02 2022/4/28
 * @Modified By:
 */
@Configuration
public class SecurityConfig extends WebSecurityConfigurerAdapter {
    private final String adminContextPath;

    public SecurityConfig(AdminServerProperties adminServerProperties) {
        this.adminContextPath = adminServerProperties.getContextPath();
    }

    @Override
    protected void configure(HttpSecurity http) throws Exception {
        SavedRequestAwareAuthenticationSuccessHandler successHandler = new SavedRequestAwareAuthenticationSuccessHandler();
        successHandler.setTargetUrlParameter( "redirectTo" );

        http.authorizeRequests()
                .antMatchers( adminContextPath + "/assets/**" ).permitAll()
                .antMatchers( adminContextPath + "/login" ).permitAll()
                .anyRequest().authenticated()
                .and()
                .formLogin().loginPage( adminContextPath + "/login" ).successHandler( successHandler ).and()
                .logout().logoutUrl( adminContextPath + "/logout" ).and()
                .httpBasic().and()
                .csrf().disable();
    }
}
4.启动项目
输入账号密码可以进入界面
5.客户端需要配置账号和密码
spring:
  boot:
    admin:
      client:
        url: http://localhost:8888
        username: admin
        password: admin
地址不配的话也可以被监控,启动客户端时会有警告
Failed to register application as Application(name=gulimall-product, managementUrl=http://192.168.56.1:9998/actuator, healthUrl=http://192.168.56.1:9998/actuator/health, serviceUrl=http://192.168.56.1:9998/) at spring-boot-admin ([http://localhost:8888/instances]): 401 Unauthorized. Further attempts are logged on DEBUG level
4.邮件配置
1.客户端Maven引入依赖
        <dependency>
            <groupId>org.springframework.boot</groupId>
            <artifactId>spring-boot-starter-mail</artifactId>
        </dependency>
2.yml配置
spring:
mail:
host: smtp.qq.com # 发件人使用的qq邮箱服务
username: 624753336@qq.com
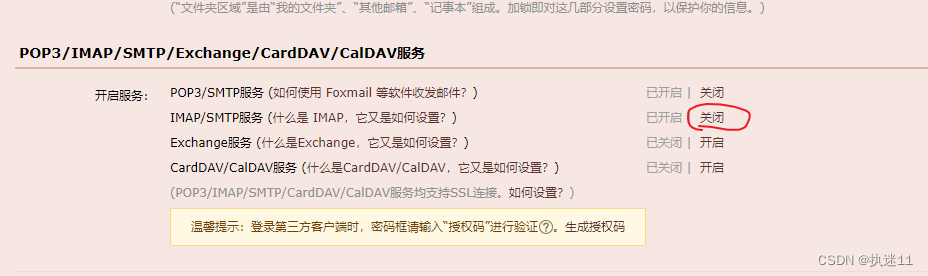
# 授权码,不是密码,在qq邮箱设置‐账号里面有生成授权码
password: yxuabccitdmsbfib
boot:
admin:
client:
url: http://localhost:8888
username: admin
password: admin
notify:
mail:
# # 发件人
from: 624753336@qq.com
# 收件人,多个中间用,分隔
to: 624753336@qq.com
授权码在qq邮箱 设置 账户里边 点击这个按钮可以获取
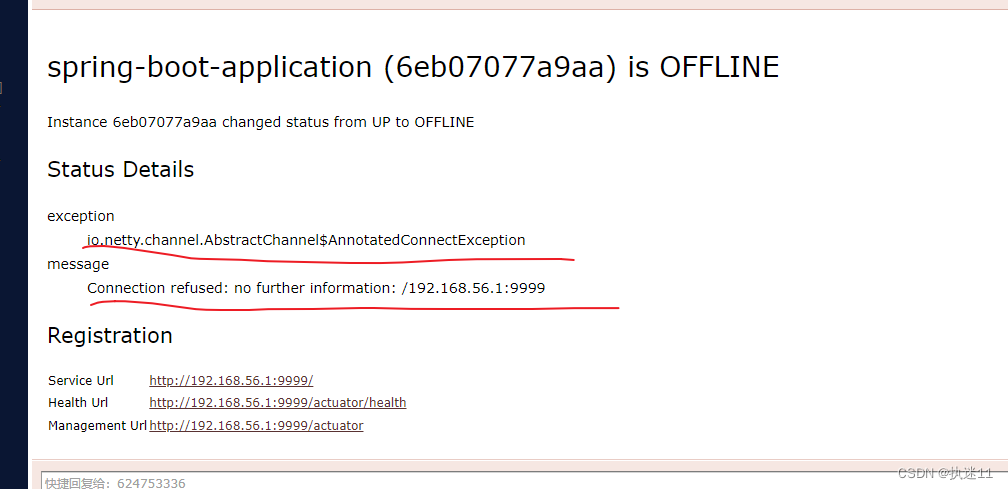
3.测试
启动客户端,启动服务器,可以监控到服务正常运行,此时关闭客户端 可以收到邮件。
5.拦截其他路径访问actuator
客户端是要暴露actuator的web端口的,为了安全,客户端只允许服务端请求actuator的web接口(通过约定好的请求头来判断)
1.服务端配置
增加配置类,添加请求头信息,信息内容为服务端的端口号
@Configuration
public class HttpHeadersProviderConfig implements HttpHeadersProvider {
    @Value("${server.port}")
    private String port;

    @Override
    public HttpHeaders getHeaders(Instance instance) {
        HttpHeaders httpHeaders = new HttpHeaders();
        //设置约定好的请求头
        httpHeaders.add("spring-boot-admin-service",port);
        return httpHeaders;
    }
}
2.客户端配置
增加拦截器,对访问/actuator路径而且请求头中"spring-boot-admin-service"的值不为服务端端口号的请求进行拦截。
@Component
@WebFilter
public class ActuatorFilter implements Filter {
	//自定义配置
    @Value("${admin.server.port}")
    private String adminServicePort;

    @Override
    public void doFilter(ServletRequest servletRequest, ServletResponse servletResponse, FilterChain filterChain) throws IOException, ServletException {
        HttpServletRequest request = (HttpServletRequest) servletRequest;
        //判断约定好的请求头参数
        if (request.getRequestURI().contains("/actuator") && !adminServicePort.equals(request.getHeader("spring-boot-admin-service"))){
        	//抛出异常,这里异常不能被全局异常处理器拦截,需要自定义一个controller
            throw new RuntimeException("抱歉,你无权限访问,Actuator端口受保护! Sorry, you have no permission to access it,Actuator port protected!");
        }
        filterChain.doFilter(servletRequest, servletResponse);
    }
}
3.自定义配置类,配置服务器端端口号
@Component //也可以在使用到该配置的类中添加注解@EnableConfigurationProperties(YmlConfig.class)
@ConfigurationProperties(prefix = "admin.server")
public class YmlConfig {
    private String port;

    public String getPort() {
        return port;
    }

    public void setPort(String port) {
        this.port = port;
    }
}
配置文件中配置:
admin.server.port=8888
4.添加基础异常处理controller
拦截器中抛出的异常,会走到这里
@RestController
public class BaseErrorController implements ErrorController {
    private final Logger logger = LoggerFactory.getLogger(getClass());

    private ErrorAttributes errorAttributes;

    private static final String ERROR_PATH = "/error";

    @Autowired
    public BaseErrorController(ErrorAttributes errorAttributes) {
        this.errorAttributes = errorAttributes;
    }

    @Override
    public String getErrorPath() {
        return ERROR_PATH;
    }

    @RequestMapping(value = ERROR_PATH)
    public Object errorJson(HttpServletRequest request) {
        Map<String, Object> errorInfo = errorAttributes.getErrorAttributes(new ServletWebRequest(request), true);

        logger.error("请求异常:{}", errorInfo.toString());
        return  R.error((Integer)errorInfo.get("status"), (String) errorInfo.get("message"));
    }
}
通过浏览器直接访问/actuator

6.微服务admin监控
只需服务端和客户端在注册中心的统一命名空间下即可,服务端不需要配置客户端地址
服务端监控自己本身服务
引入client依赖
加入配置
#server端监控自己本身的服务
spring.boot.admin.client.instance.metadata.tags.enviroment=local
spring.cloud.nacos.discovery.metadata.user.name=admin
spring.cloud.nacos.discovery.metadata.user.password=admin

为开发者提供学习成长、分享交流、生态实践、资源工具等服务,帮助开发者快速成长。
更多推荐


 5
5 0
0- 0


 已为社区贡献3条内容

所有评论(0)