python实现卷积运算
一、卷积定义与朴素计算方法:图1 卷积定义与计算方法二、Python代码实现结合伪代码实现python代码如下(因为我是先写的代码,后才发现上面的伪代码,所以循环次序略有不同):import torch.nn as nnimport torchdef myConv2d(images, in_channels, out_channels, kernel_...
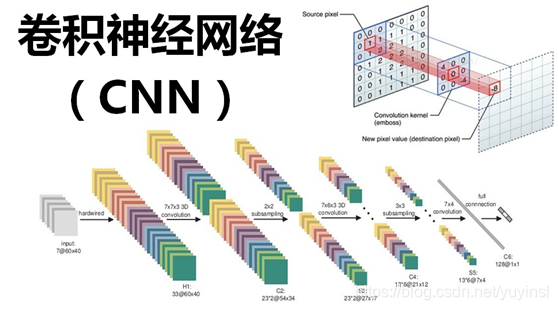
一、卷积定义与朴素计算方法:

图1 卷积定义与计算方法
二、 Python代码实现
结合伪代码实现python代码如下(因为我是先写的代码,后才发现上面的伪代码,所以循环次序略有不同):
import torch.nn as nn
import torch

def myConv2d(images, in_channels, out_channels, kernel_size, stride, padding, weights=None, bias=None):
    if weights is None:
        weights = torch.rand(out_channels, in_channels, kernel_size[0], kernel_size[1])
    if bias is None:
        bias = torch.zeros(out_channels)
    n, c, w, h = images.shape
    # 给原始图片加上padding
    # new_image = torch.zeros(n, c, w + 2 * padding, h + 2 * padding)
    images = images.clone()
    images = torch.cat((torch.zeros(n, c, padding, h), images), 2)
    images = torch.cat((images, torch.zeros(n, c, padding, h)), 2)
    images = torch.cat((torch.zeros(n, c, w + 2 * padding, padding), images), 3)
    images = torch.cat((images, torch.zeros(n, c, w + 2 * padding, padding)), 3)
    n, c, w, h = images.shape
    output = []
    # 循环batch_size
    for i, im in enumerate(images):
        imout = []
        # 循环feature map count, 也就是输出通道数
        for j in range(out_channels):
            feature_map = []
            row = 0
            # 下面两层循环为使用kernel滑动窗口遍历输入图片
            while row + kernel_size[0] <= h:
                row_feat_map = []
                col = 0
                while col + kernel_size[1] <= w:
                    # 卷积计算每个点的值,此处为了方便理解定义了channels,其实可以直接定义point=0,然后进行累加,最后再加上偏置
                    channels = [0 for x in range(c)]
                    for ch in range(c):
                        for y in range(kernel_size[0]):
                            for x in range(kernel_size[1]):
                                channels[ch] += im[ch][row + y][col + x] * weights[j][ch][y][x]
                    point = sum(channels) + bias[j]
                    row_feat_map.append(point)
                    col += stride[1]
                feature_map.append(row_feat_map)
                row += stride[0]
            imout.append(feature_map)
        output.append(imout)
    return torch.Tensor(output)


if __name__ == "__main__":
    # 测试参数
    image_w, image_h = 7,7
    in_channels = 1
    out_channels = 1
    kernel_size = (2, 3)
    stride = (2,3)
    padding = 1

    # 输入图片与网络权重
    image = torch.rand(1, in_channels, image_w, image_h)
    weights = torch.rand(out_channels, in_channels, kernel_size[0], kernel_size[1])
    bias = torch.ones(out_channels)

    # pytorch运算结果
    net = nn.Conv2d(in_channels, out_channels, kernel_size=kernel_size, stride=stride, padding=padding, bias=True)
    net.weight = nn.Parameter(weights)
    net.bias = nn.Parameter(bias)
    net.eval()
    output = net(image)
    print(output)

    # 自己实现的结果
    output = myConv2d(image, in_channels, out_channels, kernel_size=kernel_size, stride=stride, padding=padding, weights=weights, bias=bias)
    print(output)
三、卷积运算图示
下图展示了padding=1, stride=(1,1), 不使用偏置bias的情况下,使用3*3的卷积核在的两个通道的5*5图片上的计算过程,其中卷积核权重为[[1,0,1], [-1,1,0], [0,-1,0]].
四、卷积运算分析
假设输入图片大小为W * H * C, 卷积核为F * Kw * Kh * C。
输出层大小:Osize = F * Ow * Oh
Ow = (W + Padding * 2 - Kw)
Oh = (H + Padding * 2 - Kh)
卷积层参数个数:F * C * Kw * Kh
卷积层运算量FLOPs: 2 * C * Kw * Kh * Ow * Oh * F
其中最内层循环计算每个点的计算量是2 * C * Kw * Kh, 2指的是最内层一次浮点乘和一次浮点加。
参考链接:
图2:https://res-static.hc-cdn.cn/fms/img/ca0daa6b1f2db7f3ce1535b3c96d53e51603798731316.gif

为开发者提供学习成长、分享交流、生态实践、资源工具等服务,帮助开发者快速成长。
更多推荐


 5
5 0
0- 0


 已为社区贡献1条内容

所有评论(0)