pytest合集(4)— 使用pytest-html插件生成HTML测试报告
pytest-html 是 pytest 的一个插件,它为测试结果生成 HTML 报告。pytest-html 将适用于 Python >=3.6 或 PyPy3。# 在当前脚本同级目录下生成测试报告使用chrome浏览器打开测试报告# 在当前脚本的同级目录下的report文件夹里生成测试报告说明:生成测试报告的时候,如果在目标路径下已经存在同名的报告,原报告会被覆盖掉。首先我们来看下上面的方法生
1、pytest-html插件安装
pytest-html 是 pytest 的一个插件,它为测试结果生成 HTML 报告。
要求: Python >=3.6 或 PyPy3。
pip install pytest-html
2、在当前目录下生成测试报告
pytest --html=report.html

使用chrome浏览器打开测试报告


3、在指定路径生成测试报告
pytest --html=./report/report.html

说明:
生成测试报告的时候,如果在目标路径下已经存在同名的报告,原报告会被覆盖掉。
4、创建一个独立的报告(合并css样式)
首先我们来看下上面的方法生成的测试报告,css和html是分开存储的。分享报告的时候css样式会丢失。

为了方便后期要通过邮件发送报告,可以把css样式合并到html里,建议使用下面的方法来创建一个独立的报告。
pytest --html=report.html --self-contained-html

观察可知,只生成了一份HTML文件,没有css文件了。
5、定制化测试报告(进阶)
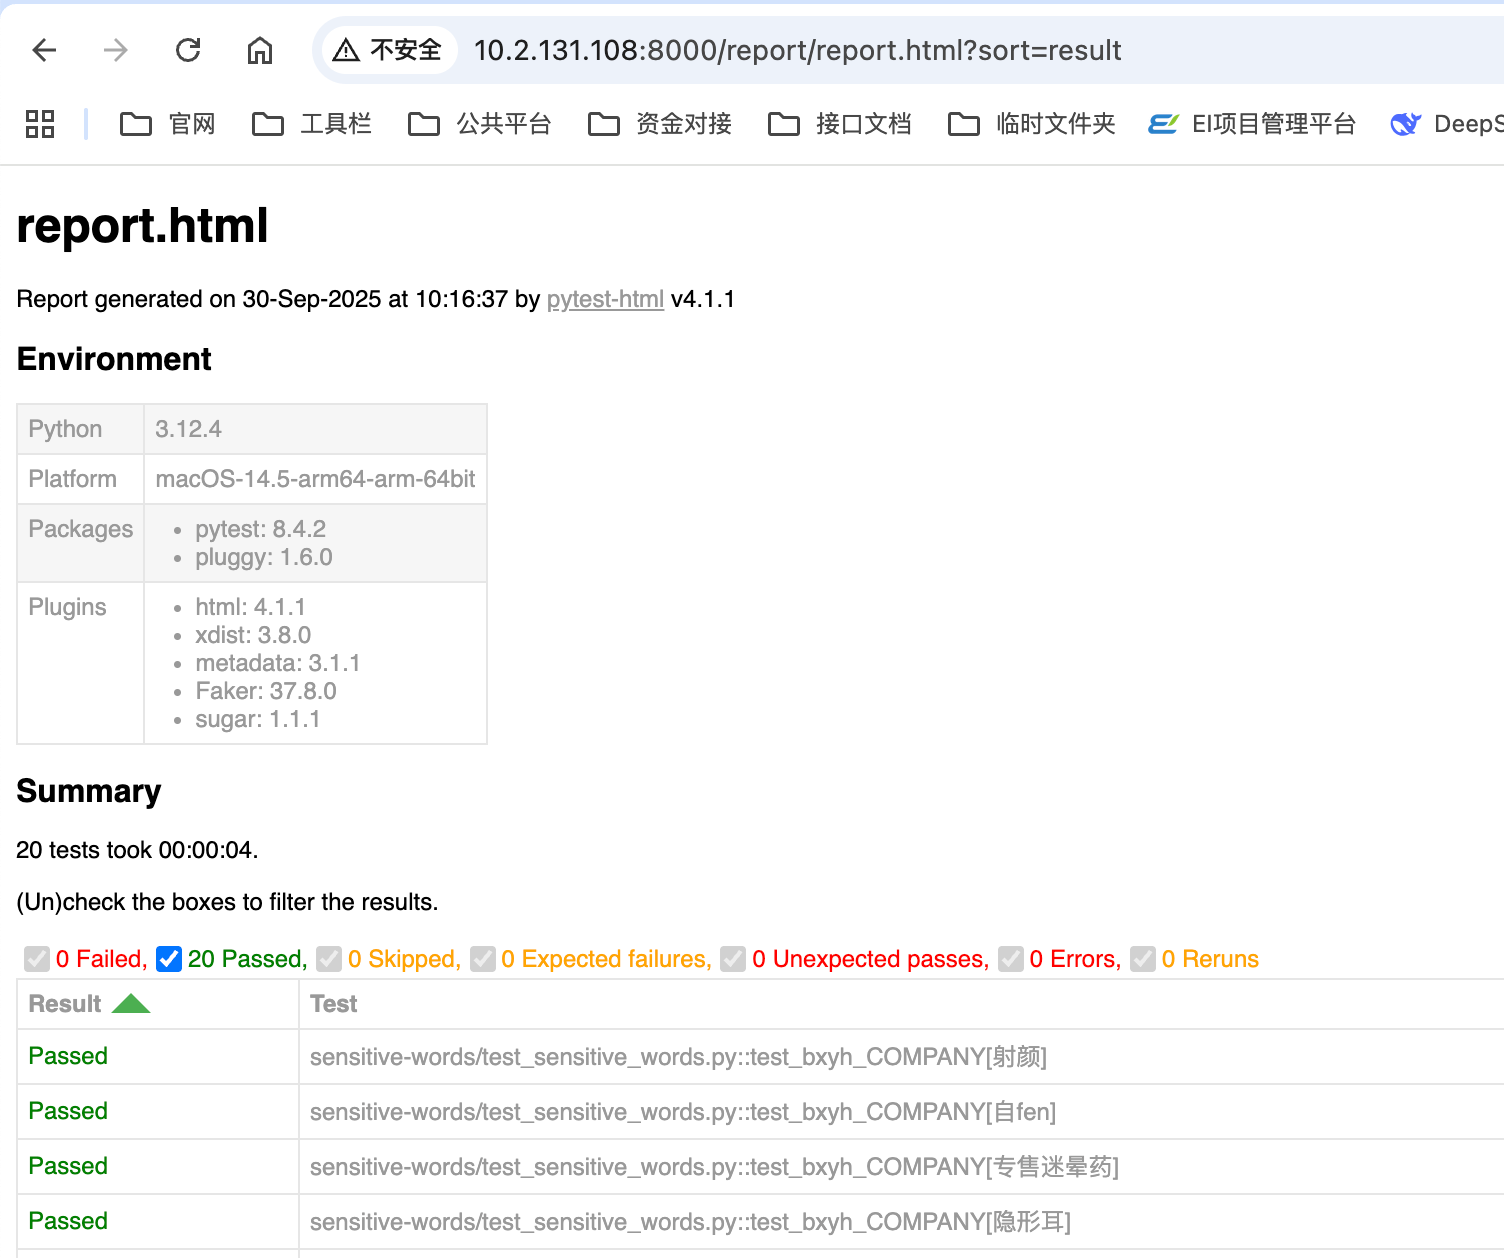
观察上面的测试报告可知,默认生成的测试报告有Title、Environment、Summary、Results 加上表格,五个部分。
pytest-html 插件提供了hooks钩子函数来帮助我们实现定制化报告,钩子函数需要写入conftest.py文件。
(2)conftest.py文件如下:
# content of conftest.py
import pytest
from datetime import datetime
from py.xml import html


# 编辑报告标题
def pytest_html_report_title(report):
    report.title = "My very own title!"


# 运行测试前修改环境信息
def pytest_configure(config):
    config._metadata["foo"] = "bar"


# # 运行测试后修改环境信息
# @pytest.hookimpl(tryfirst=True)
# def pytest_sessionfinish(session, exitstatus):
#     session.config._metadata["foo"] = "bar"


# 编辑摘要信息
def pytest_html_results_summary(prefix, summary, postfix):
    prefix.extend([html.p("foo: bar")])


# 测试结果表格
def pytest_html_results_table_header(cells):
    cells.insert(1, html.th("Time", class_="sortable time", col="time"))
    cells.pop()


def pytest_html_results_table_row(report, cells):
    cells.insert(1, html.td(datetime.utcnow(), class_="col-time"))
    cells.pop()
(2)生成的测试报告如下:
6、设置日志捕获
观察html测试报告可以看到没有任何pytest捕获的日志信息。

解决方案:
pytest运行的时候添加命令行参数 --capture=sys

运行结果如下:

关于pytest捕获日志信息详见:
pytest合集(11)— 日志管理_笃行之.kiss的博客-CSDN博客
7、分享测试报告
这里只简单介绍下工作中如何在局域网内分享测试报告给同事和领导。
1、执行pytest命令,生成测试报告。
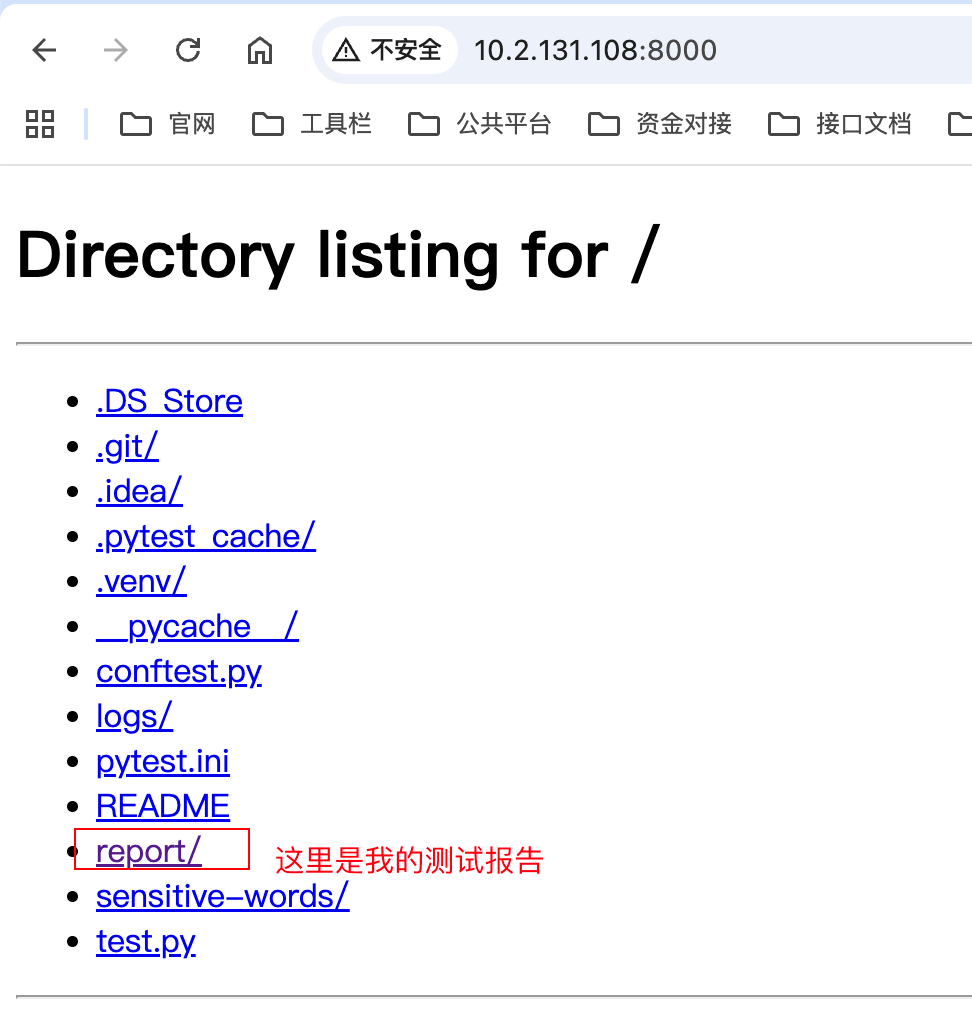
2、本地启动http服务器,执行命令:python -m http.server 8000
3、使用浏览器打开本地的http服务,URL= http://[ip]:8000/,这里的ip是本机的IP地址。
4、将测试报告url地址分享给局域网内的同事和领导。
命令行内容如下:
(.venv) ~/PycharmProjects/pythonProject git:[master]
python -m http.server 8000
Serving HTTP on :: port 8000 (http://[::]:8000/) ...
::ffff:10.2.131.108 - - [31/Oct/2025 11:17:27] "GET / HTTP/1.1" 200 -
测试报告如下:
reference:

华为开发者空间,是为全球开发者打造的专属开发空间,汇聚了华为优质开发资源及工具,致力于让每一位开发者拥有一台云主机,基于华为根生态开发、创新。
更多推荐


 4
4 0
0- 0


 已为社区贡献4条内容

所有评论(0)