Apache Atlas切换ES
Apache Atlas切换ES注意:本篇文章是根据《Atlas变更搜索引擎》写的,只是对内部可行的方案进行了补全,没有提供新的思路。如有需要可以亲自去看看官方文档和这篇博客。一、环境清单atlas 2.1.0环境。(基于《CentOS7搭建Atlas》文章进行搭建)ElasticSearch-6.8.4。Hbase2.3.3。(可以使用atlas搭建的时候hbase,但是需要删除和solr相关的
·
Apache Atlas切换ES
注意:
本篇文章是根据《Atlas变更搜索引擎》写的,只是对内部可行的方案进行了补全,没有提供新的思路。如有需要可以亲自去看看官方文档和这篇博客。
一、环境清单
- atlas 2.1.0环境。(基于《CentOS7搭建Atlas》文章进行搭建)
- ElasticSearch-6.8.4。
- Hbase2.3.3。(可以使用atlas搭建的时候hbase,但是需要删除和solr相关的数据表)
二、步骤
所有步骤在 /software 目录下进行

1. 准备ES环境
- 上传ES安装包,并解压。
# 解压文件
tar -zxvf elasticsearch-6.8.4.tar.gz
# 文件夹更名
mv elasticsearch-6.8.4 elasticsearch
- 修改该elasticsearch的初始账号密码(如果已有账号密码可以忽略本步骤)
https://blog.csdn.net/weixin_43315211/article/details/99677072 - elasticsearch启动
# 创建es用户
adduser es
# 将es文件夹权限赋给es用户
chown es elasticsearch -R
# 切换用户
su es
# -d 后台启动
elasticsearch/bin/elasticsearch -d
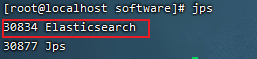
# 查看进程
Jps
结果展示
注意:
1.修改账号密码需要在es启动的时候运行
2.注意修改elasticsearch.yml的xms xmx大小,虚拟机内存容量有限
3.注意elasticsearch.yml的network.host
2. 准备HBase环境
- 使用全新的HBase环境
# 解压hbase压缩包
tar -zxvf hbase-2.3.3-bin.tar.gz
# 更改hbase文件夹名
mv hbase-2.3.3 hbase
# 运行
hbase/bin/start-hbase.sh
- 使用原solr环境下的Hbase环境
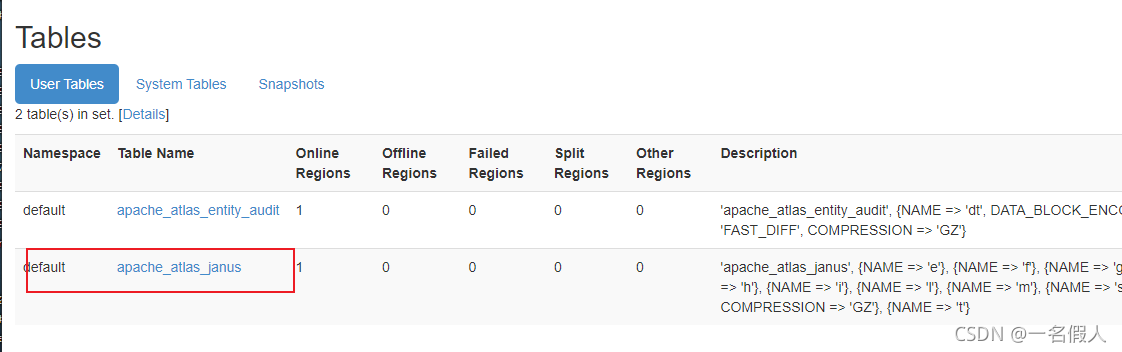
删除HBase已有的库表(atlas_janus也可能叫apache_atlas_janus),如果不确定可以去ip:16010,去看Hbase已经存在的库表。
# 进入hbase操作客户端
hbase/bin/hbase shell
# 删除apache_atlas_janus
disable 'apache_atlas_janus'
drop 'apache_atlas_janus'
#退出客户端
exit
3. 准备Atlas环境
- 修改配置文件
# 进入atlas根目录
cd apache-atlas-sources-2.1.0/distro/target/apache-atlas-2.1.0-bin/apache-atlas-2.1.0
# 修改conf/atlas-application.properties
vim conf/atlas-application.properties

# 1. 注释掉所有和solr相关的注解
# 2. 添加elasticsearch相关的配置
# Graph Search Index
atlas.graph.index.search.backend=elasticsearch
# ElasticSearch support (Tech Preview)
atlas.graph.index.search.hostname=ip:9200
atlas.graph.index.search.elasticsearch.client-only=true
# Authentication type to be used for HTTP(S) access.
atlas.graph.index.search.elasticsearch.http.auth.type=basic
# Username for HTTP(S) authentication.
atlas.graph.index.search.elasticsearch.http.auth.basic.username=your_username(elastic)
# Password for HTTP(S) authentication.
atlas.graph.index.search.elasticsearch.http.auth.basic.password=your_password(123456)
- 替换atlas的ES客户端
# 进入lib
cd server/webapp/atlas/WEB-INF/lib/
# 删除jar包
rm -f elasticsearch-rest-client-5.6.4.jar
rm -f elasticsearch-rest-high-level-client-5.6.4.jar
# 上传

- 运行
bin/atlas_start.py
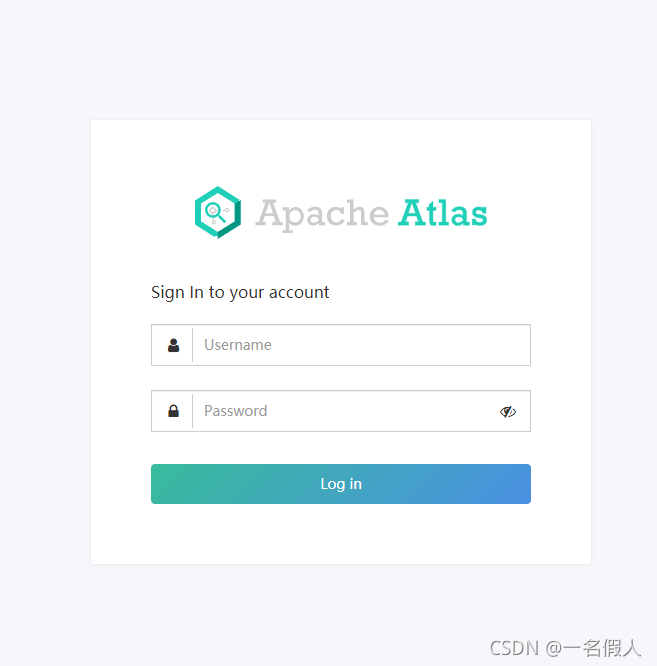
4. 测试
访问atlas网站 http://ip:21000/login.jsp,出现下面央视说明安装成功。

为开发者提供学习成长、分享交流、生态实践、资源工具等服务,帮助开发者快速成长。
更多推荐


 1
1 0
0- 0


 已为社区贡献3条内容

所有评论(0)