ElasticSearch8 8.3.0 安装 + kibana8.3.0 linux系统安装详细流程
ElasticSearch88.3.0安装 + kibana8.3.0linux系统安装详细流程
下载地址
https://www.elastic.co/cn/downloads/past-releases#elasticsearch
https://www.elastic.co/cn/downloads/past-releases#kibana
wget https://artifacts.elastic.co/downloads/elasticsearch/elasticsearch-8.3.0-linux-x86_64.tar.gz

wget https://artifacts.elastic.co/downloads/kibana/kibana-8.3.0-linux-x86_64.tar.gz
安装
创建esuser 用户
/usr/local/elastic

chown -R esuser /usr/local/elastic

su esuser

tar zxvf  解压包
出现 max file descriptors [4096] for elasticsearch process is too low
查看下ulimit是否符合Es
exit 退出用户
ulimit -Hn       =65535的话则不需要修改
ulimit -Sn       =65535的话则不需要修改
修改方式
vi /etc/security/limits.conf

添加
soft    nofile          65536
hard    nofile          65536
再次查看
```java
ulimit -Hn
ulimit -Sn
出现max virtual memory areas vm.max_map_count [65530] is too low
vi /etc/sysctl.conf

修改
vm.max_map_count = 262144

刷新系统文件
sysctl -p

切换esuser
su esuser
修改yml
cluster.name: my-application
node.name: node-1
network.host: 0.0.0.0
http.port: 9200
discovery.seed_hosts: ["https://0.0.0.0:9200"]
cluster.initial_master_nodes: ["node-1"]
win 控制台乱码
jvm.options
-Dfile.encoding=GBK
启动Es
修改config目录下的 jvm.options 设置jvm
这个是可以说的吗???? 如果需要的话!!!!!
-Xms1g
-Xmx1g
启动
./elasticsearch
Es控制台会自动的帮你创建安全配置 这段一定要复制下来备用
━━━━━━━━━━━━━━━━━━━━━━━━━━━━━━━━━━━━━━━━━━━━━━━━━━━━━━━━━━━━━━━━━━━━━━━━━━━━━━━━━━━━━━━━━━━━━━━━━━━━━━━━━━━━━━━━━━━━━━━━━━━━━━━━━━━━━━━━━━━━━━━━━━━━━━━━━━━━━━━━━━━━━━━━━━━━━━━━━━━━━━━━
━━━━━━━━━━━━━━━━━━━━━━━━━━━━━━━━━━━━━━━━━━━━━━━━━━━━━━━━━━━━━━━━━━━━━━━━━━━━━━━━━━━━━━━━━━━━━━━━━━━━━━━━━━━━━━━━━━━━━━━━━━━━━━━━━━━━━━━━━━━━━━━━━━━━━━━━━━━━━━━━━━━━━━━━━━━━━━━━━━━━━━━━
✅ Elasticsearch security features have been automatically configured!
✅ Authentication is enabled and cluster connections are encrypted.

【1】  Password for the elastic user (reset with `bin/elasticsearch-reset-password -u elastic`):
  1sWR1BpChhKDVmoyM-lW

ℹ️  HTTP CA certificate SHA-256 fingerprint:
  ac11053b4925fc7e56213571d81427987f94b53564720a8a8d8a3bf53e50c937

【2】  Configure Kibana to use this cluster:
• Run Kibana and click the configuration link in the terminal when Kibana starts.
• Copy the following enrollment token and paste it into Kibana in your browser (valid for the next 30 minutes):
  eyJ2ZXIiOiI4LjMuMCIsImFkciI6WyIxNzIuMjYuMy4yMTM6OTIwMCJdLCJmZ3IiOiJhYzExMDUzYjQ5MjVmYzdlNTYyMTM1NzFkODE0Mjc5ODdmOTRiNTM1NjQ3MjBhOGE4ZDhhM2JmNTNlNTBjOTM3Iiwia2V5IjoieGRGQnNvRUJlNTMzOEh2RWNFU2g6TzlKNzVTN0VROS1KWnVJUUo4QWpjZyJ9

ℹ️  Configure other nodes to join this cluster:
• On this node:
  ⁃ Create an enrollment token with `bin/elasticsearch-create-enrollment-token -s node`.
  ⁃ Uncomment the transport.host setting at the end of config/elasticsearch.yml.
  ⁃ Restart Elasticsearch.
• On other nodes:
  ⁃ Start Elasticsearch with `bin/elasticsearch --enrollment-token <token>`, using the enrollment token that you generated.
━━━━━━━━━━━━━━━━━━━━━━━━━━━━━━━━━━━━━━━━━━━━━━━━━━━━━━━━━━━━━━━━━━━━━━━━━━━━━━━━━━━━━━━━━━━━━━━━━━━━━━━━━━━━━━━━━━━━━━━━━━━━━━━━━━━━━━━━━━━━━━━━━━━━━━━━━━━━━━━━━━━━━━━━━━━━━━━━━━━━━━━━
【1】是es的账户密码 1sWR1BpChhKDVmoyM-lW 用户名是 elastic(最高权限)
我们也可以通过 bin/elasticsearch-reset-password 来调整密码
- ./elasticsearch-reset-password -u 用户名
重置密码 - ./elasticsearch-reset-password --username 用户名 -i
修改指定用户密码 - ./elasticsearch-reset-password --username kibana_system
重置kibana密码 - ./elasticsearch-reset-password --url “https://host:port” --username ‘用户名’ -i
【2】kibana初始化与Es链接SSl的token 有效期30分钟 过期使用
.\elasticsearch-create-enrollment-token -s kibana 再次创建
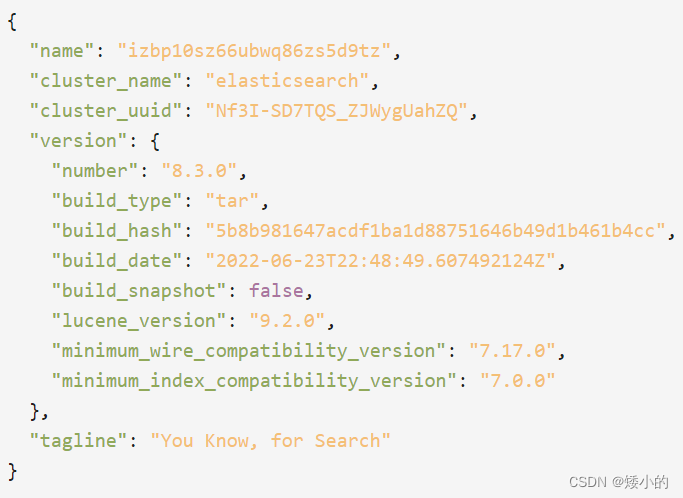
访问时要带HTTPS HTTPS HTTPS HTTPS HTTPS HTTPS HTTPS HTTPS
生成SSL的密钥都在/config/certs

启动kibana
修改yml 不需要你配置链接的es
server.port: 5601
server.host: 0.0.0.0
elasticsearch.hosts: ['https://0.0.0.0:9200']
启动
./kibana
只有不设置elasticsearch.hosts 才能看到这个界面哦
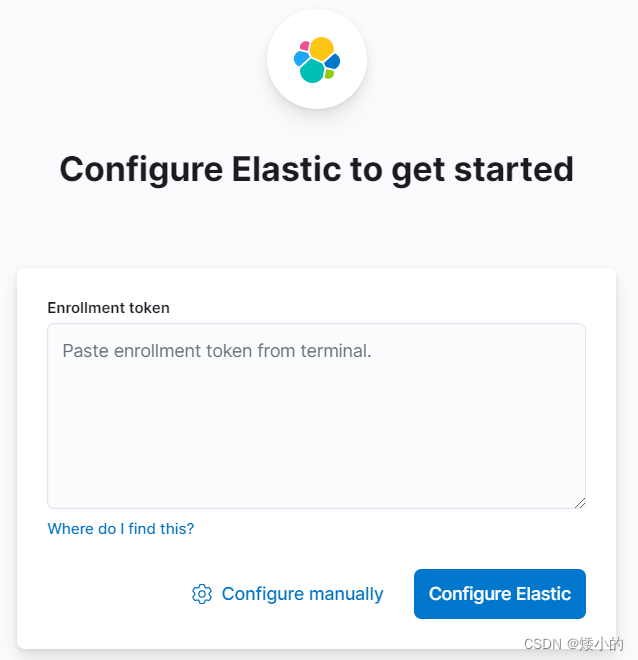
将生成的token 复制进来
出现
Generate a new enrollment token or configure manually.需要重新生成
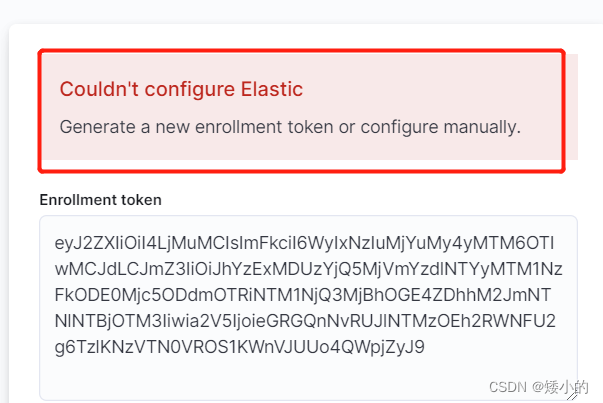
执行 重新生成token
./elasticsearch-create-enrollment-token -s kibana
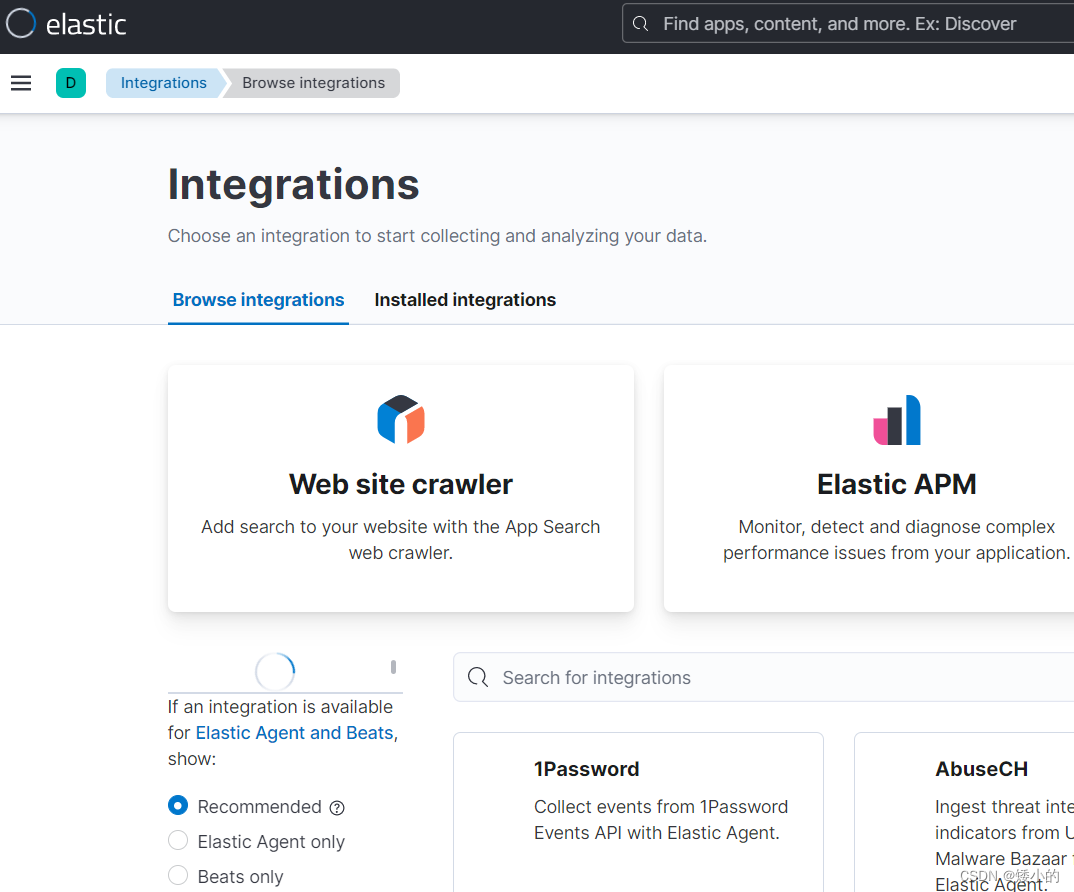
这个界面就坐等链接成功
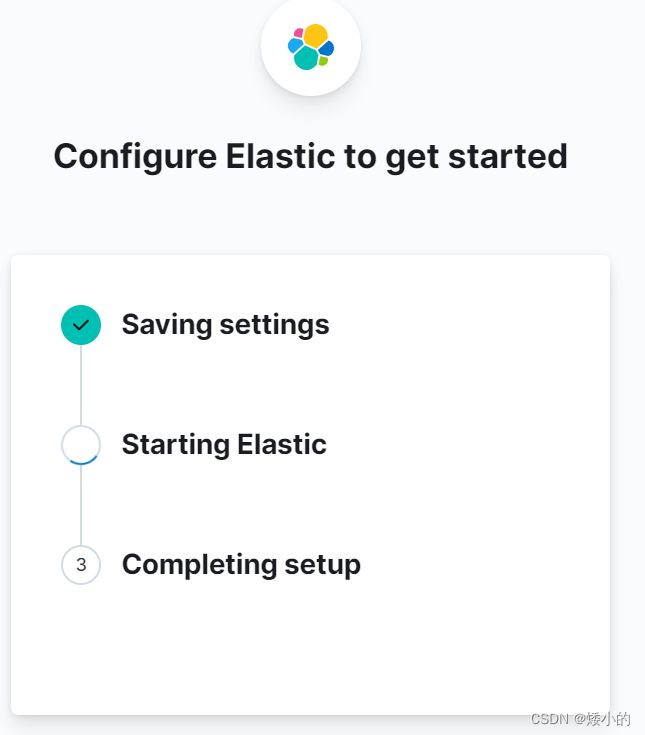
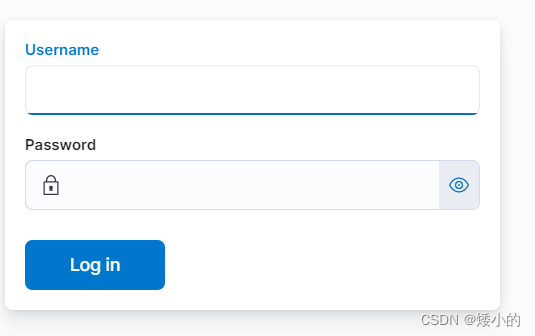
登陆用户名密码和Es的一毛一样

为开发者提供学习成长、分享交流、生态实践、资源工具等服务,帮助开发者快速成长。
更多推荐


 4
4 0
0- 0


 已为社区贡献2条内容

所有评论(0)