【ES 8.x 系列教程】ES 8.5.1 服务安装
Elaticsearch,简称为es, es是一个开源的高扩展的分布式全文检索引擎,它可以近乎实时的存储、检索数据;本身扩展性很好,可以扩展到上百台服务器,处理PB级别的数据。es也使用Java开发并使用Lucene作为其核心来实现所有索引和搜索的功能,但是它的目的是通过简单的RESTful API来隐藏Lucene的复杂性,从而让全文搜索变得简单。
·
1.ElasticSearch简介
Elaticsearch,简称为es, es是一个开源的高扩展的分布式全文检索引擎,它可以近乎实时的存储、检索数据;本
身扩展性很好,可以扩展到上百台服务器,处理PB级别的数据。es也使用Java开发并使用Lucene作为其核心来实
现所有索引和搜索的功能,但是它的目的是通过简单的RESTful API来隐藏Lucene的复杂性,从而让全文搜索变得
简单。
2. 安装ElasticSearch
- 先安装好jdk
- 安装es
命令操作
[root@node01 ]# cd /usr/local/src
[root@node01 ]# wget https://download.java.net/java/GA/jdk19.0.1/afdd2e245b014143b62ccb916125e3ce/10/GPL/openjdk-19.0.1_linux-x64_bin.tar.gz
[root@node01 ]# tar xf openjdk-19.0.1_linux-x64_bin.tar.gz
[root@node01 ]# ln -s  /usr/local/src/jdk-19.0.1/bin /usr/local/jdk
[root@node01 ]# export PATH=/usr/local/jdk/bin:$PATH
[root@node01 ]# java -version
openjdk version "19.0.1" 2022-10-18
OpenJDK Runtime Environment (build 19.0.1+10-21)
OpenJDK 64-Bit Server VM (build 19.0.1+10-21, mixed mode, sharing)

# 安装es
[root@node01 ]# yum install perl-Digest-SHA -y
[root@node01 ]# wget https://artifacts.elastic.co/downloads/elasticsearch/elasticsearch-8.5.1-x86_64.rpm
[root@node01 ]# wget https://artifacts.elastic.co/downloads/elasticsearch/elasticsearch-8.5.1-x86_64.rpm.sha512
[root@node01 ]# shasum -a 512 -c elasticsearch-8.5.1-x86_64.rpm.sha512
[root@node01 ]# sudo rpm --install elasticsearch-8.5.1-x86_64.rpm
warning: elasticsearch-8.5.1-x86_64.rpm: Header V4 RSA/SHA512 Signature, key ID d88e42b4: NOKEY
Creating elasticsearch group... OK
Creating elasticsearch user... OK
--------------------------- Security autoconfiguration information ------------------------------

Authentication and authorization are enabled.
TLS for the transport and HTTP layers is enabled and configured.

The generated password for the elastic built-in superuser is : afOyOO6Eknpvtdjf92mE

If this node should join an existing cluster, you can reconfigure this with 如果该节点应该加入现有集群,则可以使用
'/usr/share/elasticsearch/bin/elasticsearch-reconfigure-node --enrollment-token <token-here>'
after creating an enrollment token on your existing cluster.
You can complete the following actions at any time:

Reset the password of the elastic built-in superuser with
'/usr/share/elasticsearch/bin/elasticsearch-reset-password -u elastic'

Generate an enrollment token for Kibana instances with
 '/usr/share/elasticsearch/bin/elasticsearch-create-enrollment-token -s kibana'.

Generate an enrollment token for Elasticsearch nodes with
'/usr/share/elasticsearch/bin/elasticsearch-create-enrollment-token -s node'.

-------------------------------------------------------------------------------------------------
### NOT starting on installation, please execute the following statements to configure elasticsearch service to start automatically using systemd
 sudo systemctl daemon-reload
 sudo systemctl enable elasticsearch.service
### You can start elasticsearch service by executing
 sudo systemctl start elasticsearch.service
快速操作
# 安装jdk11
cd /usr/local/src
wget https://download.java.net/java/GA/jdk19.0.1/afdd2e245b014143b62ccb916125e3ce/10/GPL/openjdk-19.0.1_linux-x64_bin.tar.gz
tar xf openjdk-19.0.1_linux-x64_bin.tar.gz
ln -s  /usr/local/src/jdk-19.0.1/bin /usr/local/jdk
export PATH=/usr/local/jdk/bin:$PATH  或者 echo ' export PATH=/usr/local/jdk/bin:$PATH'  >> /etc/rc.local && cat /etc/rc.local
java -version
# 安装es
yum install perl-Digest-SHA -y
wget https://artifacts.elastic.co/downloads/elasticsearch/elasticsearch-8.5.1-x86_64.rpm
wget https://artifacts.elastic.co/downloads/elasticsearch/elasticsearch-8.5.1-x86_64.rpm.sha512
shasum -a 512 -c elasticsearch-8.5.1-x86_64.rpm.sha512
sudo rpm --install elasticsearch-8.5.1-x86_64.rpm
启动
sudo systemctl enable elasticsearch.service
sudo systemctl start elasticsearch.service
查看 elasticsearch 是否启动成功
[root@node02 local]# netstat -lntup
Active Internet connections (only servers)
Proto Recv-Q Send-Q Local Address           Foreign Address         State       PID/Program name
tcp        0      0 0.0.0.0:9200            0.0.0.0:*               LISTEN      60287/java
tcp        0      0 10.0.0.52:9300          0.0.0.0:*               LISTEN      60287/java
输入命令
[root@node01 ~]# curl --cacert /etc/elasticsearch/certs/http_ca.crt -u elastic https://localhost:9200
Enter host password for user 'elastic': # 交互密码为安装时Output到屏幕上的密码
{
  "name" : "node01.srv.world",
  "cluster_name" : "elasticsearch",
  "cluster_uuid" : "OQRQFCPURkm22cjqi91ARw",
  "version" : {
    "number" : "8.5.1",
    "build_flavor" : "default",
    "build_type" : "rpm",
    "build_hash" : "c1310c45fc534583afe2c1c03046491efba2bba2",
    "build_date" : "2022-11-09T21:02:20.169855900Z",
    "build_snapshot" : false,
    "lucene_version" : "9.4.1",
    "minimum_wire_compatibility_version" : "7.17.0",
    "minimum_index_compatibility_version" : "7.0.0"
  },
  "tagline" : "You Know, for Search"
}
如果大家找不到密码,可以使用命令重新创建一次密码:
/usr/share/elasticsearch/bin/elasticsearch-reset-password -u elastic  # 自动创建密码
/usr/share/elasticsearch/bin/elasticsearch-reset-password -u elastic -i  # 交互式创建密码 -i  interaction
通过浏览器访问
输入https://10.0.0.51:9200
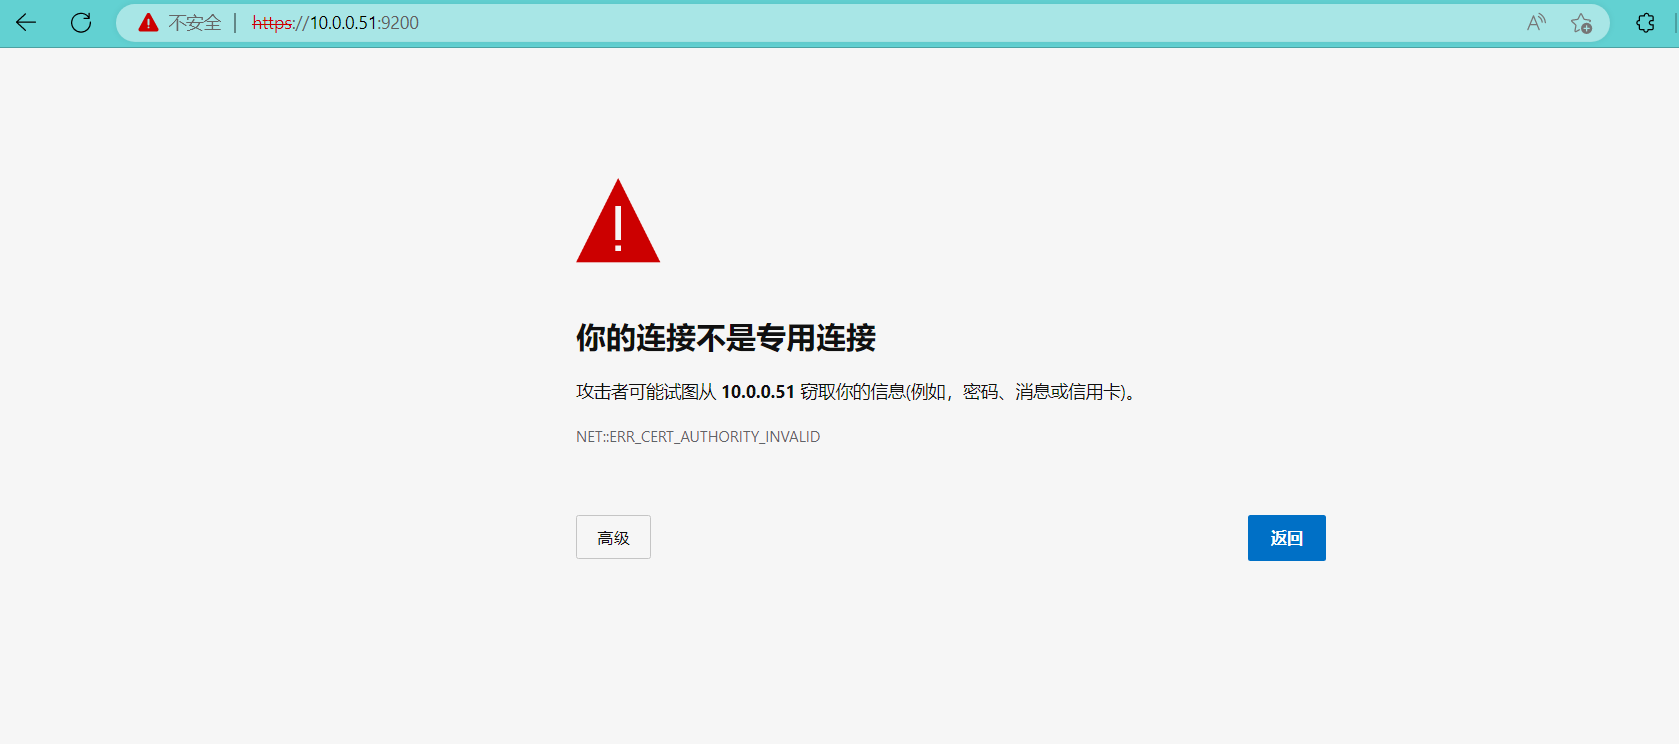
遇到这种情况有两个解决办法:
- 点击高级==>继续访问 10.0.0.51 (不安全)
- 在当前页面,直接输入
thisisunsafe就可以访问了.

为开发者提供学习成长、分享交流、生态实践、资源工具等服务,帮助开发者快速成长。
更多推荐


 0
0 0
0- 0


 已为社区贡献1条内容

所有评论(0)