linux 安装 elasticsearch8 单机安装
elasticsearch8 单机安装、调试、添加到系统服务
elasticsearch 用途
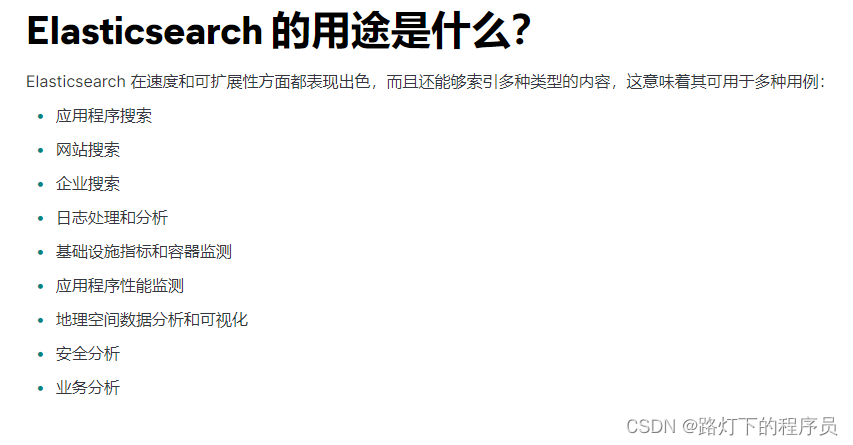
[图来源于官网] Elasticsearch 是什么? | Elastic
安装的版本介绍
- Elasticsearch 8.4.3
官网下载介绍
- elasticsearch 官网 Download Elasticsearch | Elastic
wget 下载介绍
- elasticsearch :wget https://artifacts.elastic.co/downloads/elasticsearch/elasticsearch-8.4.3-linux-x86_64.tar.gz
安装elasticsearch
我的安装目录是:/usr/local
1.解压
tar -zxvf elasticsearch-8.4.3-linux-x86_64.tar.gz
![]()
2.启动
cd elasticsearch-8.4.3/bin
./elasticsearch
根据启动报错的内容分析得出:无法以root身份运行elasticserch
3.创建一个用户并授权
#创建分组
groupadd esgroup
#创建用户密码
useradd esuser -p 123456
#给用户分配权限
chown -R esuser:esgroup /usr/local/elasticsearch-8.4.3
4.常见的一些错误解决
check failure [1] of [1]: max virtual memory areas vm.max_map_count [65530] is too low, increase to at least [262144]
意思是:最大虚拟内存区域vm.max_map_count [65530]太低了,至少增加到 [262144]

修改的时候需要却换到root用户
#修改sysctl.conf
vi /etc/sysctl.conf
#在文件的最后一行添加
vm.max_map_count=262144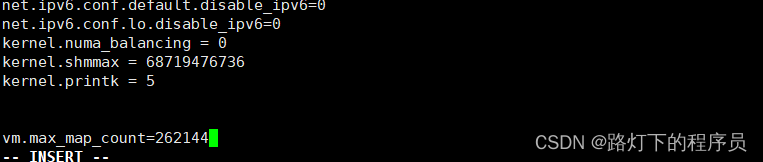
exception during geoip databases updateorg.elasticsearch.ElasticsearchException: not all primary shards of [.geoip_databases] index are active 
调整 elasticsearch.yml
#进入config文件夹
cd /usr/local/elasticsearch-8.4.3/config
#修改elasticsearch.yml 配置信息
vi elasticsearch.yml
具体的调整信息如下:
在文件夹的最后一行添加:
ingest.geoip.downloader.enabled: false,解决[.geoip_databases] index are active 问题
http.cors.enabled: true 允许跨域
http.cors.allow-origin: "*"
文件里面的内容全部都是注释的,先不用管,在文件的最后一行添加如上图的内容。
5.切换用户再次启动
#却换用户
su esuser
#进入elasticsearch  bin目录下面
cd /usr/local/elasticsearch-8.4.3/bin
#启动
./elasticsearch
出现配置信息,最好复制出来备用
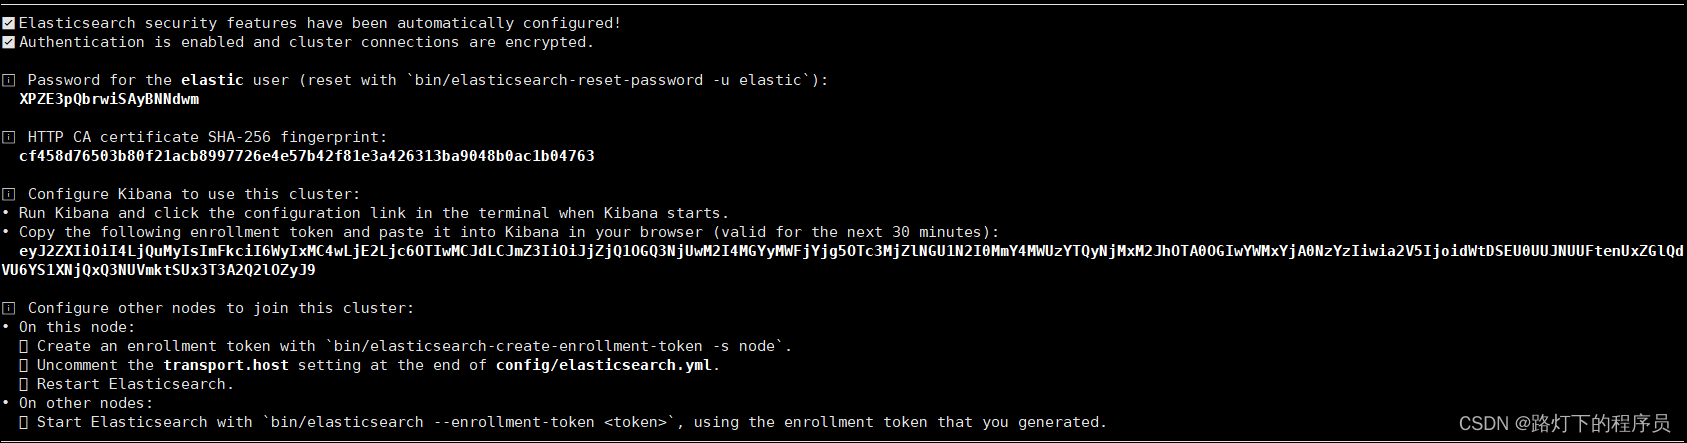
- Password for the elastic user (reset with `bin/elasticsearch-reset-password -u elastic`)
es用户信息密码,并且可以通过bin/elasticsearch-reset-password -u elastic重置
- Configure Kibana to use this cluster
kibana初始化与es链接SSl的token 有效期30分钟 过期使用bin/elasticsearch-create-enrollment- token -s kibana 再次创建
6.访问
记得开防火墙
#将9200加入白名单
firewall-cmd --zone=public --add-port=9200/tcp --permanent
#刷新防火墙
systemctl restart firewalld.service
如果是阿里云、腾讯云等线上服务器,记得在服务防火墙中规则中添加9200
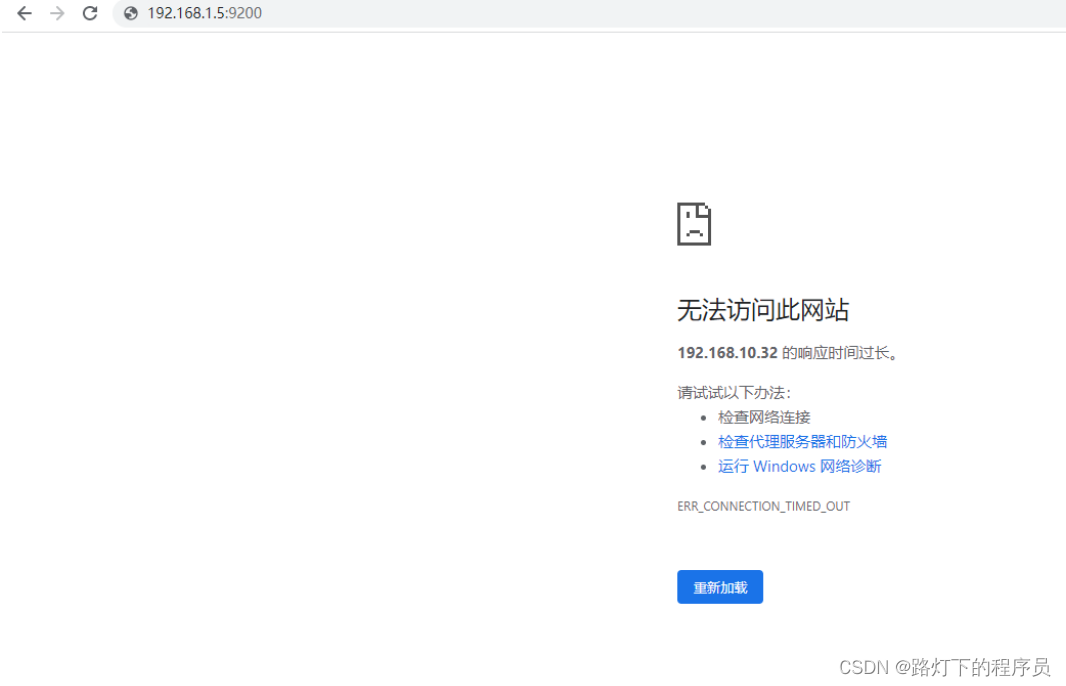
分析应该是:elasticsearch开启了认证和http加密
继续操作elasticsearch 系统会关闭服务
为了测试,先关闭一下认证,继续修改elasticsearch.yml
#切换到root用户
su root
#进入config文件夹
cd /usr/local/elasticsearch-8.4.3/config
#修改elasticsearch.yml 配置信息
vi elasticsearch.yml
会发现文件里面多了很多内容
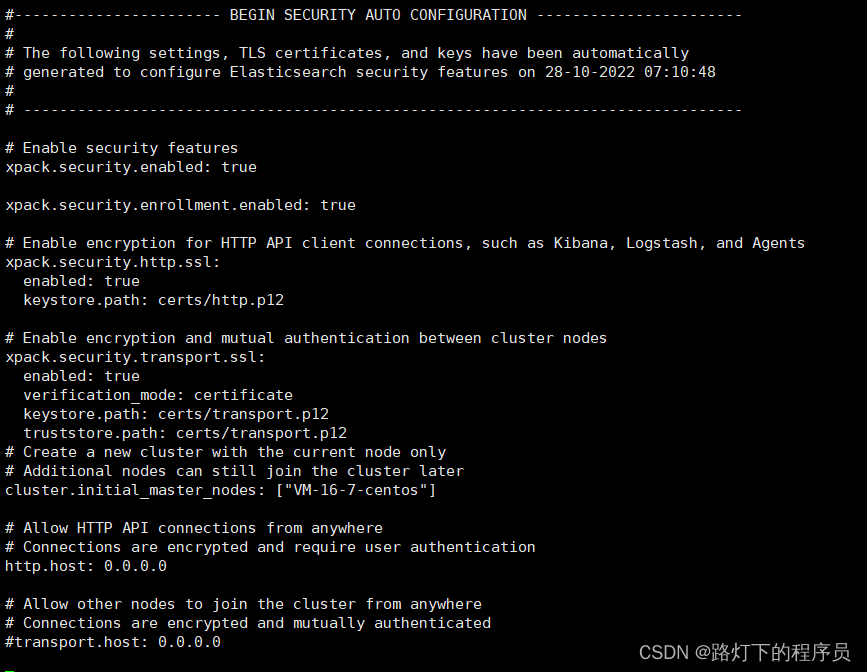
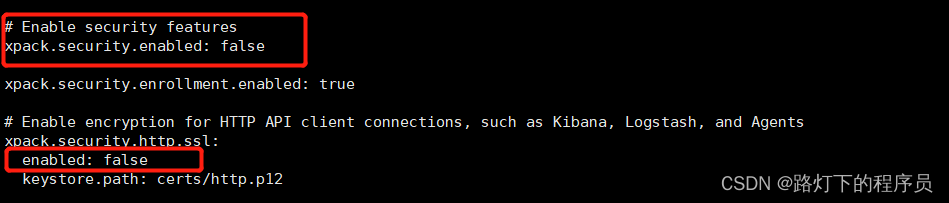
关闭xpack认证
xpack.security.enabled: true 改成 false
与客户端http链接是否加密,先选择不加密
xpack.security.http.ssl: true 改成 false
7. 却换用户,再次启动
#却换用户
su esuser
#进入elasticsearch  bin目录下面
cd /usr/local/elasticsearch-8.4.3/bin
#启动
./elasticsearch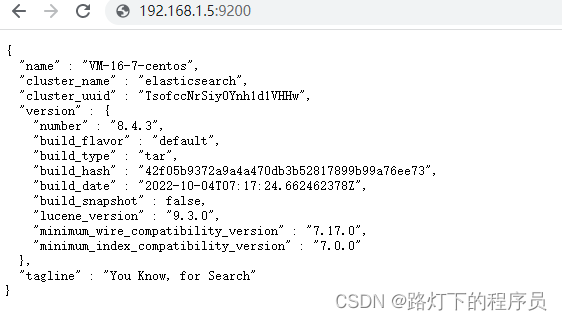
8.将elasticsearch 添加到系统服务,设置开启自启动
#切换root用户
su root
#进入到目录
cd /etc/init.d
#创建elasticsearch系统启动服务文件
vi elasticsearch
编写启动脚本
#!/bin/bash
#chkconfig: 345 63 37
#description: elasticsearch
#processname: elasticsearch-8.4.3
# 这个目录是你Es所在文件夹的目录
export ES_HOME=/usr/local/elasticsearch-8.4.3
case $1 in
start)
    su esuser<<!
    cd $ES_HOME
    ./bin/elasticsearch -d -p pid
    exit
!
    echo "elasticsearch is started"
    ;;
stop)
    pid=`cat $ES_HOME/pid`
    kill -9 $pid
    echo "elasticsearch is stopped"
    ;;
restart)
    pid=`cat $ES_HOME/pid`
    kill -9 $pid
    echo "elasticsearch is stopped"
    sleep 1
    su esuser<<!
    cd $ES_HOME
    ./bin/elasticsearch -d -p pid
    exit
!
    echo "elasticsearch is started"
    ;;
*)
    echo "start|stop|restart"
    ;;
esac
exit 0
注:ES_HOME 为es的安装目录
esuser 为创建的用户名 【参考内容3】
给elasticsearch 文件赋权限
chmod 777 elasticsearch添加到系统服务
# 添加系统服务
chkconfig --add elasticsearch
# 删除系统服务
chkconfig --del elasticsearch
服务启动、重启、关闭
# 启动服务
service elasticsearch start
# 停止服务
service elasticsearch stop
# 重启服务
service elasticsearch restart
开机启动服务
# 开启开机自动启动服务
chkconfig elasticsearch on
# 关闭开机自动启动服务
chkconfig elasticsearch off
9.【内容6 】为了验证关闭了xpac认证
为了安全,现开启xpac认证
#进入elaticsearch config目录下面
cd /usr/local/elasticsearch-8.4.3/config
#修改配置文件
vi elasticsearch.yml
xpack.security.enabled: 修改为 true

重启 elasticsearch,提示需要账户跟密码

设置用户密码
#进入elaticsearch bin目录下面
cd /usr/local/elasticsearch-8.4.3/bin
#设置密码
./elasticsearch-setup-passwords interactive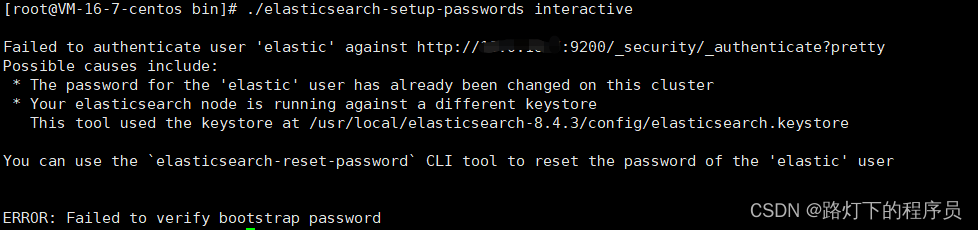
出错啦,突然想起【内容5】里面已经生成过了,如果忘记了重置一下
#重置密码
./elasticsearch-reset-password -u elastic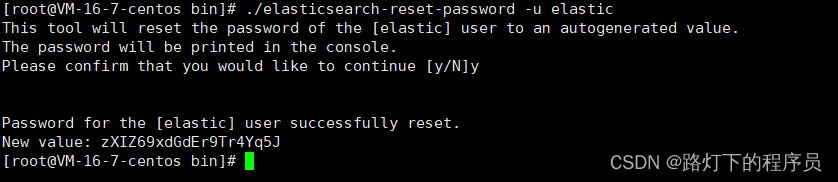
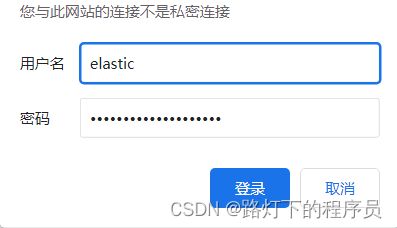
登录一下,完全OK,但是系统生成密码太复杂,记不住,怎么办?
#设置自己想设置的密码
./elasticsearch-reset-password -u elastic -i
自定义密码,需要手动输入两边密码,后提示设置成功!

为开发者提供学习成长、分享交流、生态实践、资源工具等服务,帮助开发者快速成长。
更多推荐


 5
5 0
0- 0


 已为社区贡献2条内容

所有评论(0)