Zookeeper安装3.7.1版本
1、 Zookeeper1.1、 zookeeper安装官网:https://zookeeper.apache.org/稳定版本3.7.1:https://mirrors.tuna.tsinghua.edu.cn/apache/zookeeper/zookeeper-3.7.1/apache-zookeeper-3.7.1-bin.tar.gzjdk版本:https://download.csdn
1、 Zookeeper
1.1、 zookeeper安装
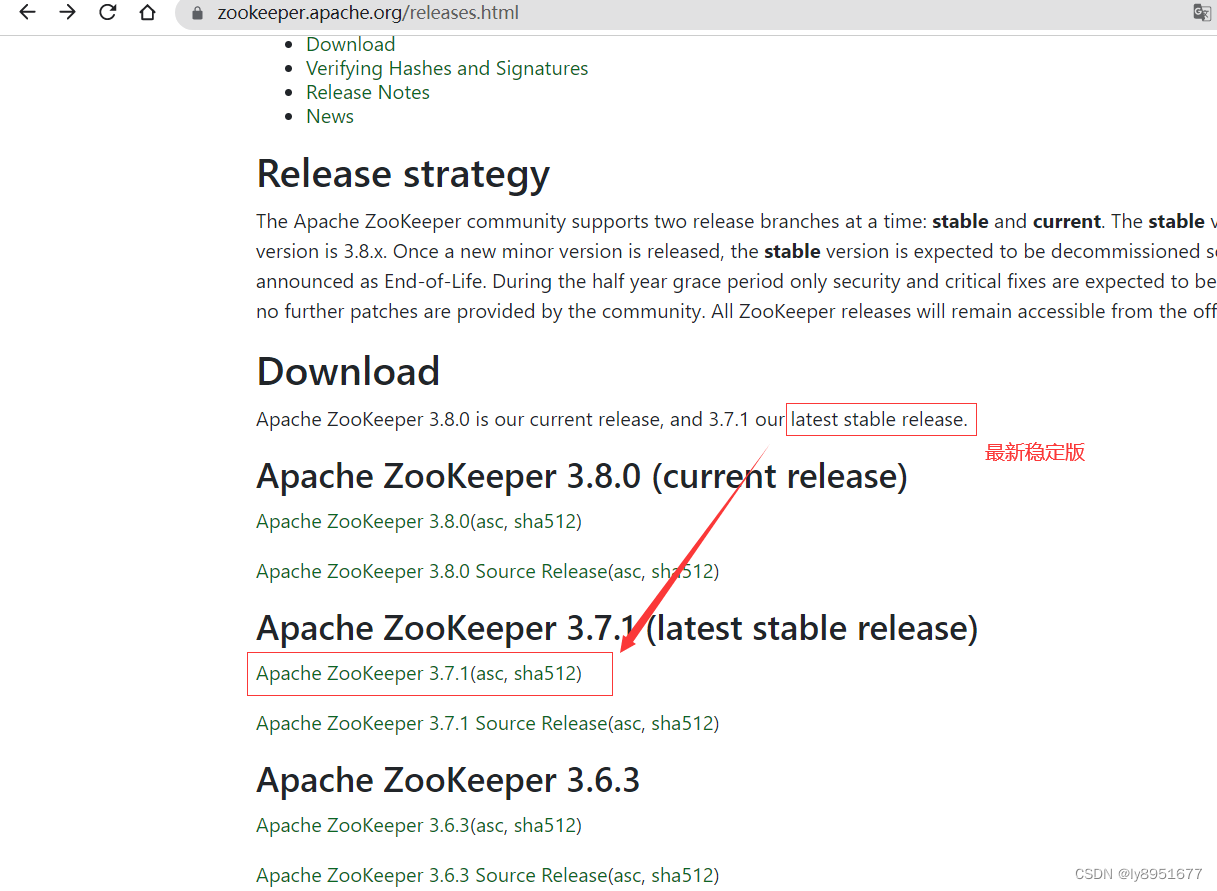
官网:https://zookeeper.apache.org/
稳定版本3.7.1:https://mirrors.tuna.tsinghua.edu.cn/apache/zookeeper/zookeeper-3.7.1/apache-zookeeper-3.7.1-bin.tar.gz
点击这里:腾讯软件源(国内的下载快,一模一样版本,还有kafka之类的)
jdk版本:https://download.csdn.net/download/ly8951677/11616945备注:zookeeper是官网链接,下载速度可以。
jdk是以前官网下载的。因为在官网下载很慢,我是下了好久(积分是csdn定的,晕了。少或者没有的话可以在其他地方找找)。可以去官网也可以直接跳转下载)
1.1.1、 安装环境和所需软件
系统:CentOS Linux release 7.5.1804 (Core)
软件:
jdk:java version "1.8.0_161"
zookeeper:apache-zookeeper-3.7.1-bin.tar.gz
1.1.2、 官网下载步骤截图:
1.1.2、 jdk安装
服务器已有,所以暂时忽略,后续补上用脚本一次性安装3台机子。
1.1.3、 zookeeper软件安装
以下命令在每台机子都要操作的命令。
cd /data/software/
tar -zxvf apache-zookeeper-3.7.1-bin.tar.gz
mv apache-zookeeper-3.7.1-bin zookeeper_snm
cd conf
cp -a zoo_sample.cfg zoo.cfg
mkdir -p /data/zk/data
mkdir -p /data/zk/logs
echo "1" > /data/zk/data/myid
vim /etc/hosts
第二台机子的myid为:
echo "2" > /data/zk/data/myid
第三台机子的myid为:
echo "3" > /data/zk/data/myid
修改zoo.cfg文件
#修改客户端端口,默认是2181,修改为12181
clientPort=12181
#修改默认存储路径和日志路径。
dataDir=/data/zk/data
dataLogDir=/data/zk/logs
#在最下面添加

#12888 选举端口
#13888 心跳端口

server.1=hostname_02:12888:13888
server.2=hostname_03:12888:13888
server.3=hostname_05:12888:13888
完整zoo.cfg文件
# The number of milliseconds of each tick
# tickTime CS通信心跳数
# Zookeeper 服务器之间或客户端与服务器之间维持心跳的时间间隔,也就是每个 tickTime 时间就会发送一个心跳。tickTime以毫秒为单位。
tickTime=2000
# The number of ticks that the initial
# synchronization phase can take
# initLimit LF初始通信时限
# 集群中的follower服务器(F)与leader服务器(L)之间初始连接时能容忍的最多心跳数(tickTime的数量)。
initLimit=10
# The number of ticks that can pass between
# sending a request and getting an acknowledgement
# syncLimit LF同步通信时限
# 集群中的follower服务器与leader服务器之间请求和应答之间能容忍的最多心跳数(tickTime的数量)。
syncLimit=5
# the directory where the snapshot is stored.
# do not use /tmp for storage, /tmp here is just
# example sakes.
# dataDir:数据文件目录
# Zookeeper保存数据的目录,默认情况下,Zookeeper将写数据的日志文件也保存在这个目录里。
dataDir=/data/zk/data
# dataLogDir:日志文件目录,Zookeeper保存日志文件的目录。
dataLogDir=/data/zk/logs
# the port at which the clients will connect
# clientPort:客户端连接端口,通过这个端口可以连接zookeeper服务
clientPort=12181
# the maximum number of client connections.
# increase this if you need to handle more clients
#maxClientCnxns=60
#
# Be sure to read the maintenance section of the
# administrator guide before turning on autopurge.
#
# http://zookeeper.apache.org/doc/current/zookeeperAdmin.html#sc_maintenance
#
# The number of snapshots to retain in dataDir
#autopurge.snapRetainCount=3
# Purge task interval in hours
# Set to "0" to disable auto purge feature
#autopurge.purgeInterval=1

## Metrics Providers
#
# https://prometheus.io Metrics Exporter
#metricsProvider.className=org.apache.zookeeper.metrics.prometheus.PrometheusMetricsProvider
#metricsProvider.httpPort=7000
#metricsProvider.exportJvmInfo=true

#12888 选举端口
#13888 心跳端口
# 服务器名称与地址:集群信息(服务器编号,服务器地址,选举端口,心跳端口),服务器地址可以用ip,可以用域名,用域名就需要在/etc/hosts文件进行指定了
# 这个配置项的书写格式比较特殊,规则如下:
server.1=hostname_02:12888:13888
server.2=hostname_03:12888:13888
server.3=hostname_05:12888:13888
修改hosts文件,以便可以通过域名访问
192.168.1.111 hostname_02
192.168.1.112 hostname_03
192.168.1.113 hostname_04
192.168.1.114 hostname_05
1.1.3.2 多台机安装小窍门
- 安装好rsync软件
yum -y install rsync - 编辑脚本
#!/bin/bash
#1 获取输入参数个数,如果没有参数,直接退出
pcount=$#
if [ $pcount -lt 1 ]
then
    echo No Enough Arguement!
    exit;
fi

#2. 遍历集群所有机器
for host in IPTVBI_03 IPTVBI_05
do
    echo ====================    $host    ====================
    #3. 递归遍历所有目录
    for file in $@
    do
        #4 判断文件是否存在
        if [ -e $file ]
        then
            #5. 获取全路径
            pdir=$(cd -P $(dirname $file); pwd)
            echo pdir=$pdir

            #6. 获取当前文件的名称
            fname=$(basename $file)
            echo fname=$fname

            #7. 通过ssh执行命令:在$host主机上递归创建文件夹(如果存在该文件夹)
            ssh $host "source /etc/profile;mkdir -p $pdir"

            #8. 远程同步文件至$host主机的$USER用户的$pdir文件夹下
            rsync -av $pdir/$fname $USER@$host:$pdir
        else
            echo $file Does Not Exists!
        fi
    done
done
- 创建软连接,全局可用
ln -s /data/script/xsync /bin/xsync - 赋予xsync执行权限,我这里全给了
chmod 777 /data/script/xsync - 使用脚本,比如你要同步zookeeper安装目录过去,比如目录:/data/program/zookeeper
[root@hostname_02 /] cd /data/program
#执行这样的命令就可以了同步过去了
[root@hostname_02 program]  xsync zookeeper
1.1.4、 启动运行
以上每台机子操作完成后就可以在每台机子上面分别启动
cd /data/software/zookeeper/bin
./zkServer.sh start
查看是否正常运行,也就是zookeeper状态。
./zkServer.sh status

注意:运行./zkServer.sh status这里要确保起码启动两台机子的zookeeper服务,要不显示的话是Error,解决方法是把其他机子的zookeeper服务启动了就可以了。
[root@DB-1 bin]# ./zkServer.sh status
ZooKeeper JMX enabled by default
Using config: /data/software/zookeeper/bin/../conf/zoo.cfg
Client port found: 12181. Client address: localhost.
Error contacting service. It is probably not running.
1.2、 命令集
1.2.1、 服务端命令
-
启动命令:
./zkServer.sh start -
状态命令:
./zkServer.sh status -
关闭命令:
./zkServer.sh stop -
重启命令:
./zkServer.sh restart
1.2.2、 客户端命令:
-
登陆
-
语法
./zkCli.sh ## 连接本地服务器,默认是2181端口 ./zkCli.sh -server ip:port ## 连接指定IP地址服务器 -
实例
./zkCli.sh -server hostname:12181
-
-
创建节点:
-
语法 注明:中括号表示可选,也就是不用也行。用也行
##-s或-e分别指定节点特性:顺序或临时节点,默认情况下创建的是持久节点。如: create [-s] [-e] path data acl -
实例
create /test 123
-
-
列出节点,这里一定要加路径。
-
语法
ls path [watch] -
实例
ls /
-
-
获得节点值
-
语法
get path [watch] -
实例
get /test
-
-
退出Client操作平台
-
实例
quit
-

华为开发者空间,是为全球开发者打造的专属开发空间,汇聚了华为优质开发资源及工具,致力于让每一位开发者拥有一台云主机,基于华为根生态开发、创新。
更多推荐


 2
2 0
0- 0


 已为社区贡献2条内容

所有评论(0)