使用Nginx部署PHP项目
1.下载nginx,下载PHP2.解压Nginx,PHP,新建文件夹WWW ,配置nginx.conf我的目录结构进入nginx,conf目录找到配置文件nginx.conf#usernobody;worker_processes1;# 打开logerror_loglogs/error.log;events {worker_connections1024;}http {includemime.ty
·
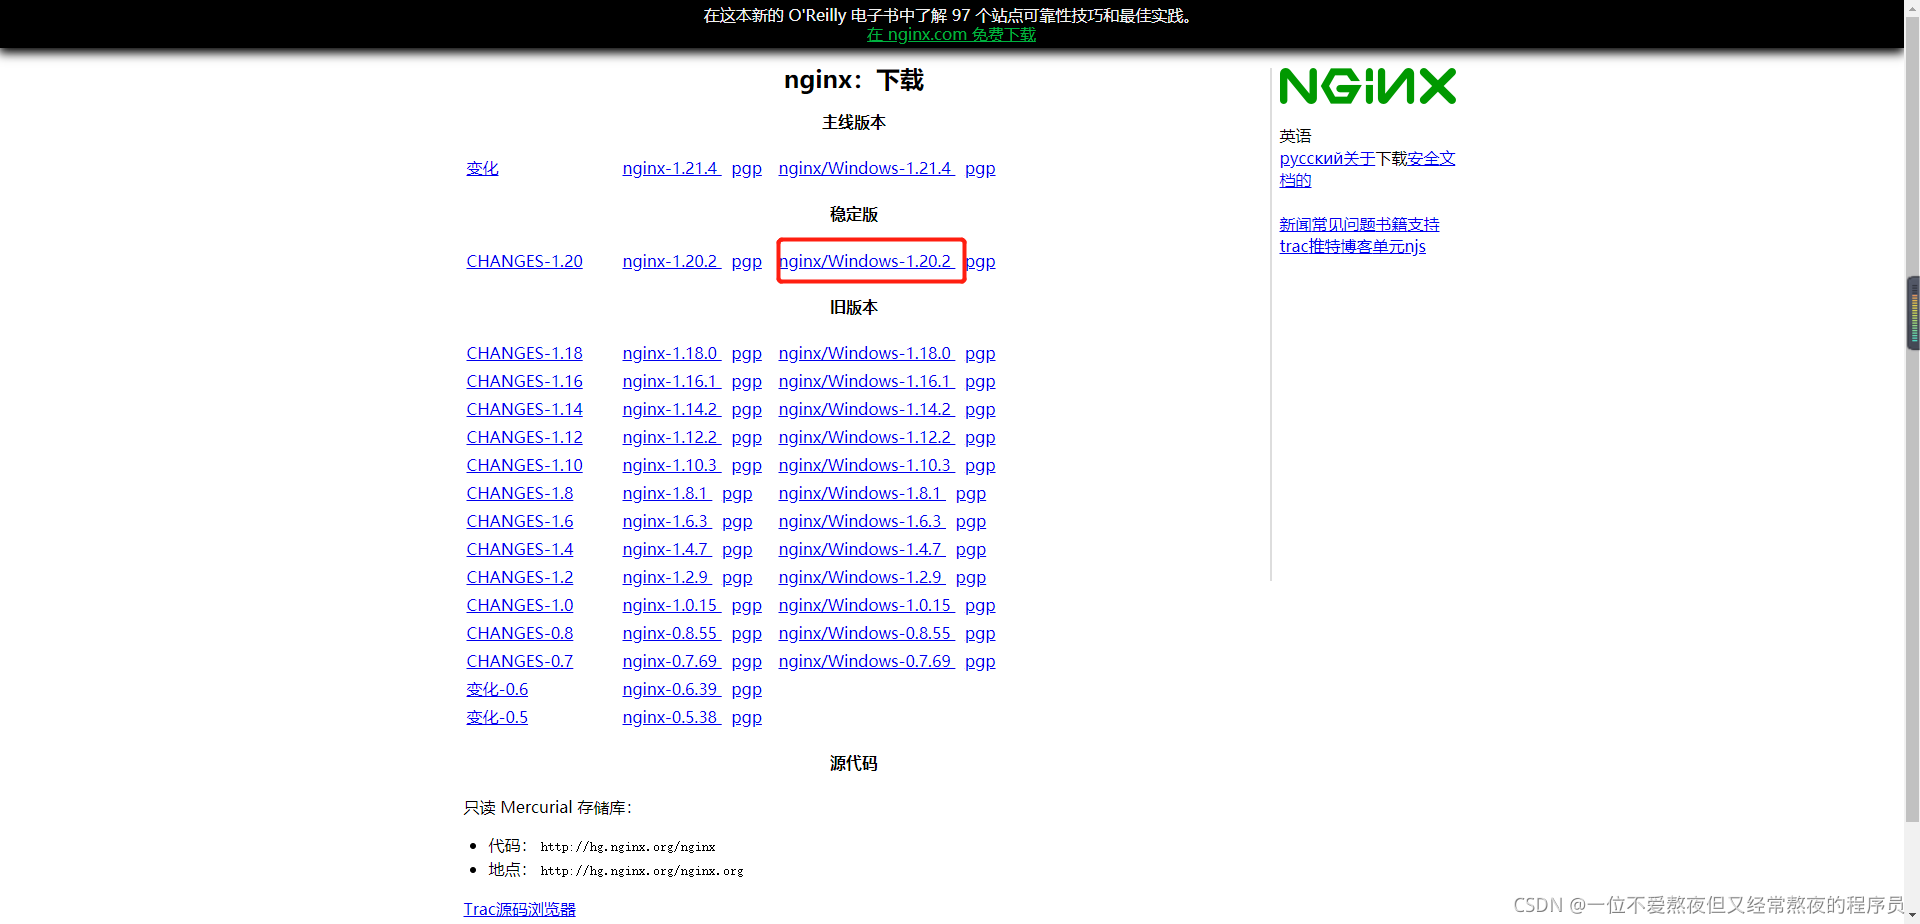
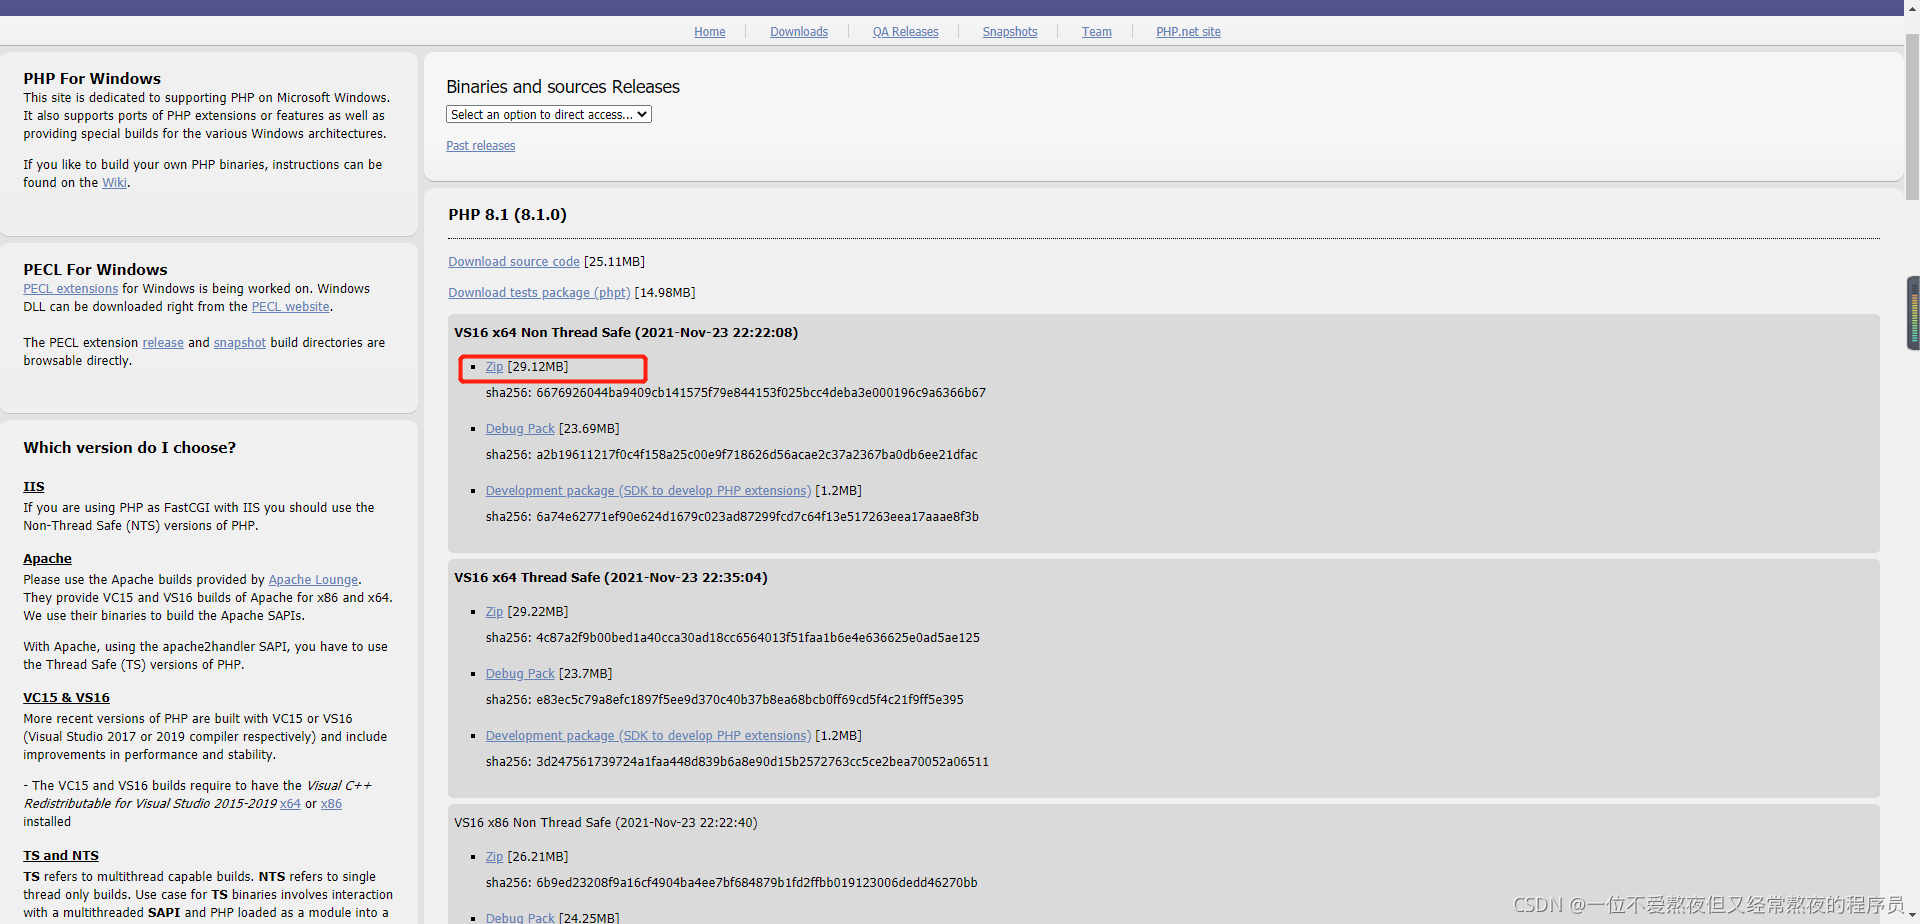
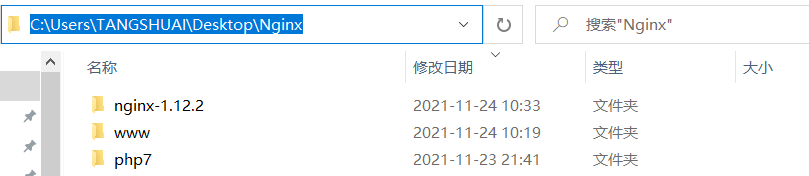
2.解压Nginx,PHP,新建文件夹WWW , 配置nginx.conf
我的目录结构
进入nginx,conf目录找到配置文件nginx.conf
#user  nobody;
worker_processes  1;

# 打开log
error_log  logs/error.log;


events {
    worker_connections  1024;
}


http {
    include       mime.types;
    default_type  application/octet-stream;

    access_log  logs/access.log;
    sendfile        on;
    keepalive_timeout  65;

    server {
        listen       80;
        server_name  localhost;

        # 打开log
        access_log  logs/host.access.log;

        location / {
            # 设置网站的根目录(类似Apache的www目录)
            # 这个路径自己定义就行,下面的是我自己的路径
            root   C:\Users\TANGSHUAI\Desktop\Nginx\www;
            # 把index.php添加到默认首页,就是输入/时自动打开/index.php
            index  index.html index.htm index.php;
        }

        # 打开404页面(可以不动)
        error_page  404              /404.html;

        error_page   500 502 503 504  /50x.html;
        location = /50x.html {
            root   html;
        }

        # 配置FastCGI,PHP 脚本请求全部转发到 FastCGI处理
        location ~ \.php$ {
            #
            root           C:\Users\TANGSHUAI\Desktop\Nginx\www;
            # 设置监听端口
            fastcgi_pass   127.0.0.1:9000;
            # 设置nginx的默认首页文件(上面已经设置过了,可以删除)
            fastcgi_index  index.php;
            # 设置脚本文件请求的路径
            fastcgi_param  SCRIPT_FILENAME  $document_root$fastcgi_script_name;
            # 引入fastcgi的配置文件
            include        fastcgi_params;
        }
    }

}
3.修改php.ini
进入解压后的php根目录,重命名文件为php.ini,这里的两个文件随便修改一个都可以

打开php.ini大约在759行,删除前面的分号,给PHP指定可加载扩展模块的位置
extension_dir = "C:\Users\TANGSHUAI\Desktop\Nginx\php7\ext"

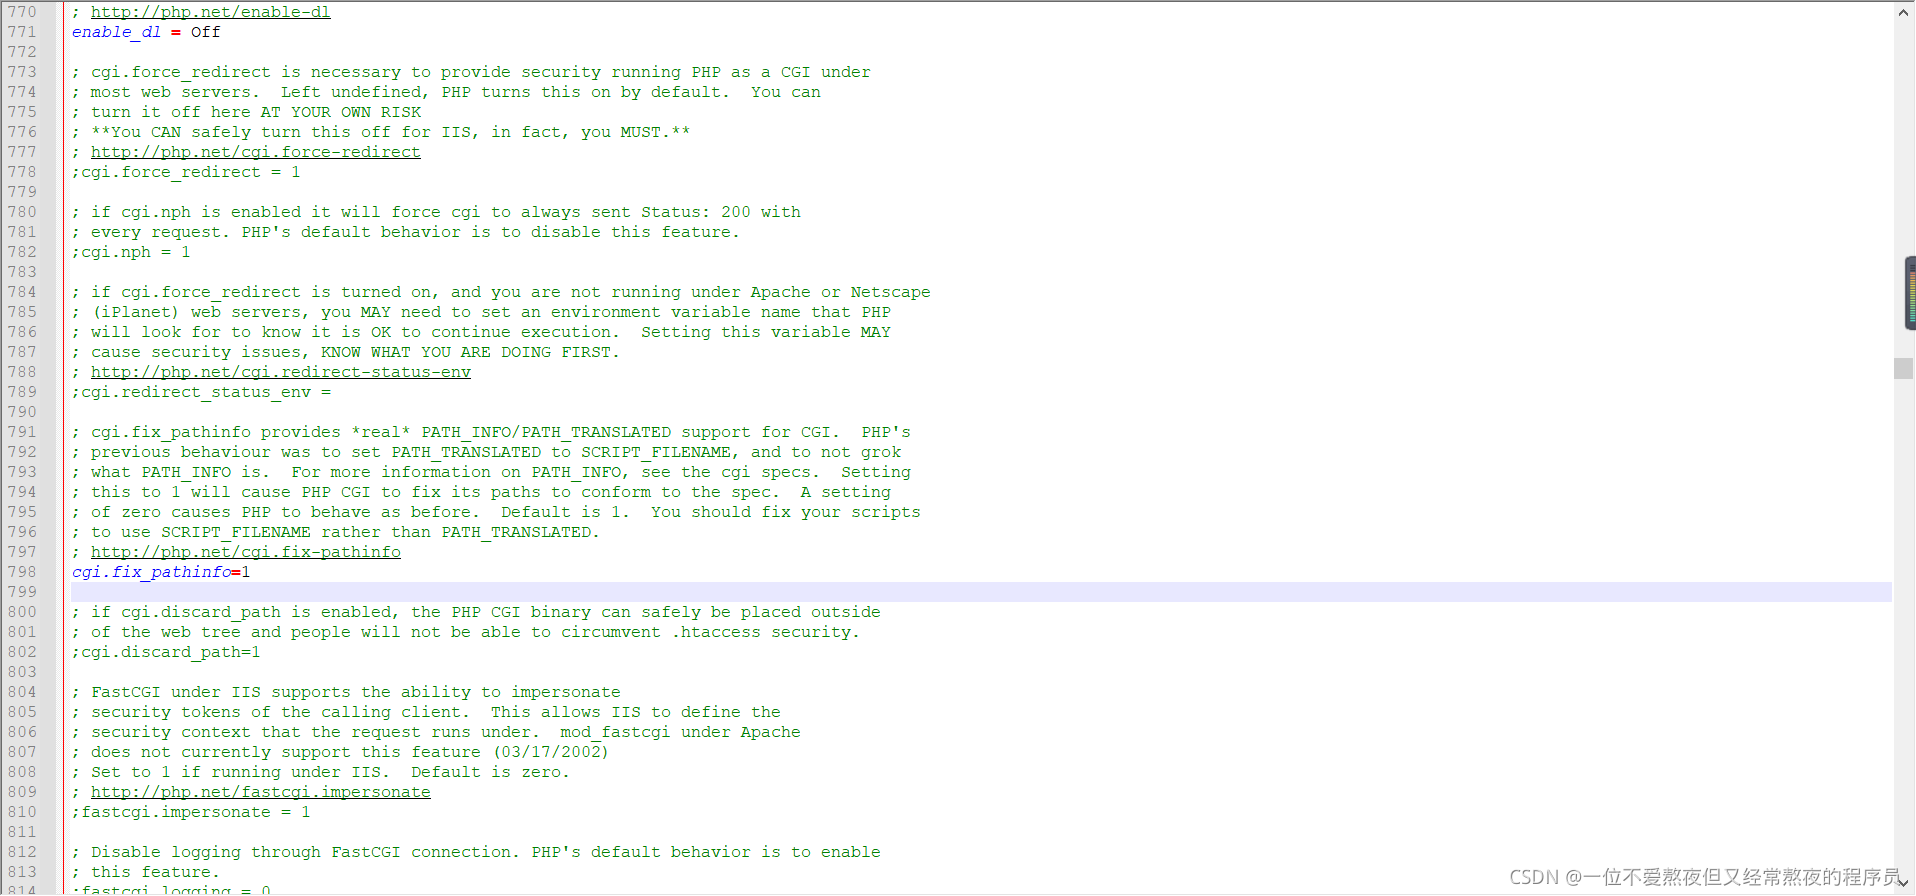
配置nginx的支持,大约在798行
cgi.fix_pathinfo=1
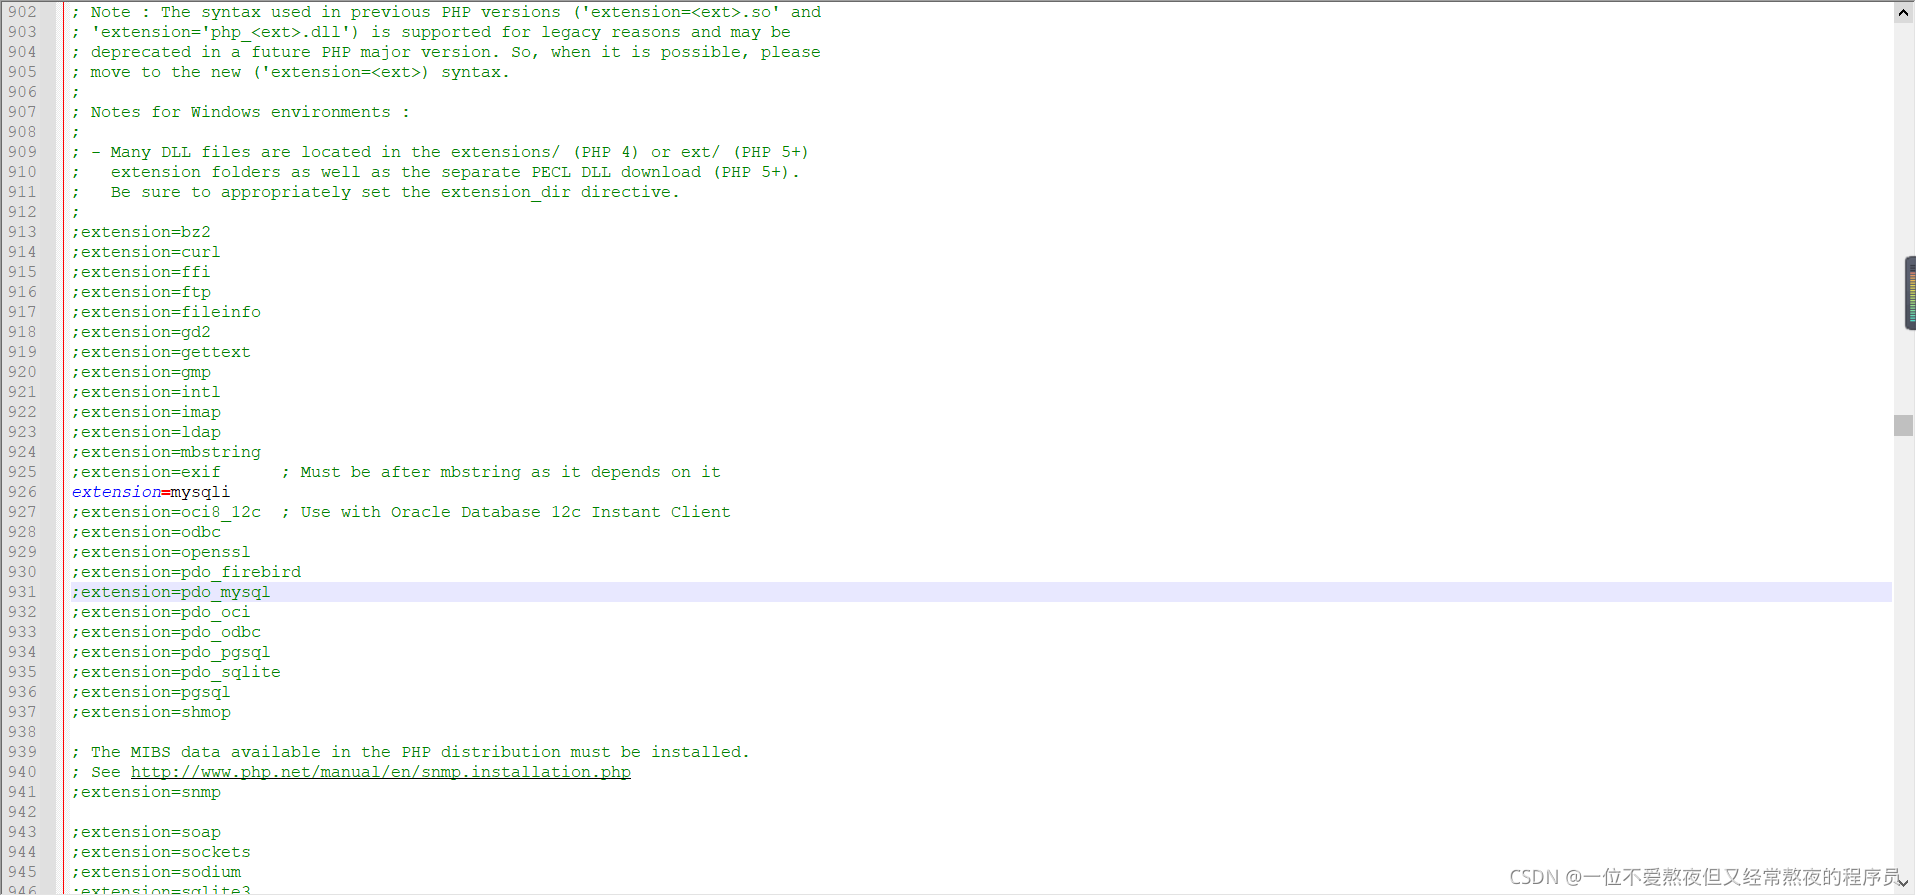
配置mysql数据库支持
取消注释
extension=mysqli
4.在www目录新建文件index.php,要与上面的配置名称一致
index.php
<?php
echo "php环境搭建成功!";
?>
5.启动nginx,与PHP
#nginx启动(进入nginx根目录)
start nginx.exe
#php启动(cmd窗口即可)
C:/Users/TANGSHUAI/Desktop/Nginx/php7/php-cgi.exe -b 127.0.0.1:9000 -c C:/Users/TANGSHUAI/Desktop/Nginx/php7/php.ini
访问测试搭建成功

6.配置多站点部署
在nginx目录新增modules
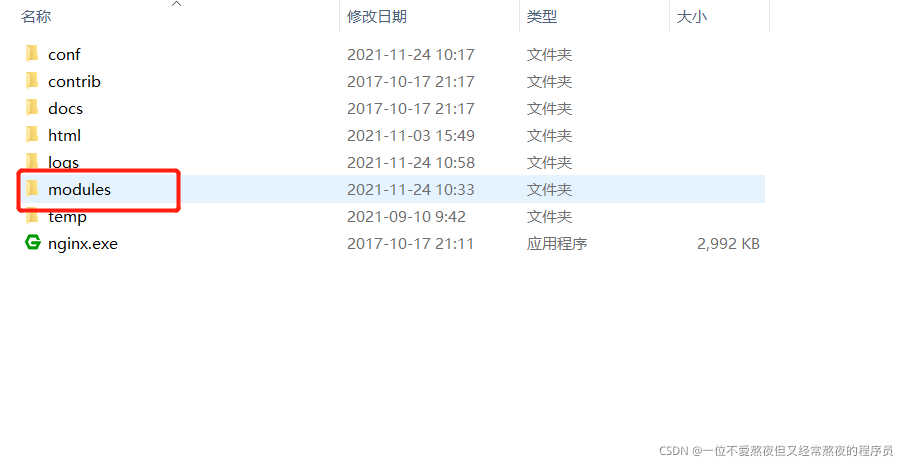
目录里新增配置文件php.conf,这里的名称可以随便取,但是必须是.conf结尾
server {
        listen       8080;
        server_name  localhost;

        location / {
            # 这边的路劲填写项目路劲
            root   C:/Users/TANGSHUAI/Desktop/Nginx/www;
            # 记得加上 index.php
            index  index.php index.html index.htm;

            if (!-e $request_filename) {
                rewrite . /index.php last;
            }
        }

        error_page   500 502 503 504  /50x.html;
        location = /50x.html {
            root   html;
        }

        location ~ \.php$ {
            # 这边的路劲填写项目路劲
            root           C:/Users/TANGSHUAI/Desktop/Nginx/www;
            fastcgi_pass   127.0.0.1:9000;
            fastcgi_index  index.php;
            # 要修改为$document_root
            fastcgi_param  SCRIPT_FILENAME  $document_root$fastcgi_script_name;
            include        fastcgi_params;
        }
    }
nginx.conf新增配置
include ../modules/*.conf;
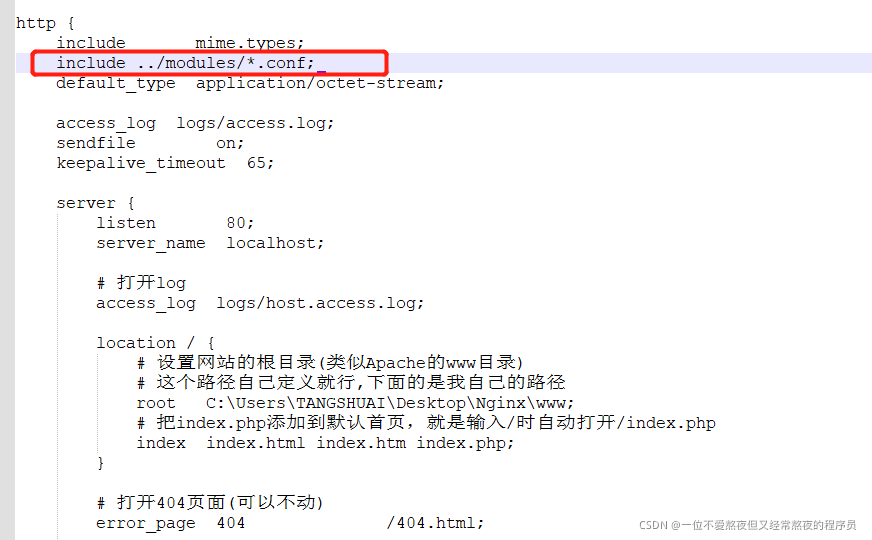
配置成功重新启动即可

为开发者提供学习成长、分享交流、生态实践、资源工具等服务,帮助开发者快速成长。
更多推荐


 3
3 0
0- 0


 已为社区贡献5条内容

所有评论(0)