tengine安装及配置
一。安装过程1》下载http://tengine.taobao.org/download.html找到下载包并且下载(Tengine-2.2.0.tar.gz)2》解压tar zxvf Tengine-2.2.0.tar.gz3》配置检查进入解压后的目录 ./configure异常1:[ro...
一。安装过程
1》下载
Download - The Tengine Web Server 找到下载包并且下载(Tengine-2.2.0.tar.gz)
2》解压
tar zxvf Tengine-2.2.0.tar.gz
3》配置检查
进入解压后的目录 ./configure
异常1:
   [root@bogon tengine]# ./configure
checking for OS
 + Linux 3.10.0-327.el7.x86_64 x86_64
checking for C compiler ... not found

./configure: error: C compiler cc is not found
也就是c编译器 gcc找不到
  安装gcc  yum -y install gcc
继续检查
异常2:
 checking for PCRE library ... not found
checking for PCRE library in /usr/local/ ... not found
checking for PCRE library in /usr/include/pcre/ ... not found
checking for PCRE library in /usr/pkg/ ... not found
checking for PCRE library in /opt/local/ ... not found

./configure: error: the HTTP rewrite module requires the PCRE library.
You can either disable the module by using --without-http_rewrite_module
 缺少pcre和pcre-devel 安装 yum -y install pcre pcre-devel
 这里安装好后 可以通过
  Rpm -qa | grep pcre找到所有pcre的包
  Rpm -ql 完整包名  查看安装的路径

异常3:
 checking for OpenSSL library ... not found
 缺少openssl和openssl-devel 安装 yum -y install openssl openssl-devel

继续检测成功 可以同构日志看到 需要pcre openssl zlib(安装openssl自动安装)的库
checking for PCRE library ... found
checking for PCRE JIT support ... found
checking for OpenSSL library ... found
checking for zlib library ... found
creating objs/Makefile
4》安装
Make && make install 安装完成 安装目录为/usr/local/nginx
找到 /usr/local/nginx/sbin/nginx -V 查看所有加载的模块
[root@bogon sbin]# ./nginx -V
Tengine version: Tengine/2.2.0 (nginx/1.8.1)
built by gcc 4.8.5 20150623 (Red Hat 4.8.5-11) (GCC)
TLS SNI support enabled
configure arguments:
nginx: loaded modules:
nginx:     ngx_core_module (static)
nginx:     ngx_errlog_module (static)
nginx:     ngx_conf_module (static)
nginx:     ngx_dso_module (static)
nginx:     ngx_events_module (static)
/usr/local/nginx/sbin/nginx start|stop|restart 启动和关闭ngix服务
访问 http://ip地址
5》nginx命令参数
nginx -m 显示所有加载的模块
nginx -l 显示所有可以使用的指令
nginx -t 检查nginx的配置文件是否正确
nginx -s 启动nginx
nginx -s reload 重启nginx
nginx -s stop 停止nginx
6》开机启动nginx
nigix官网上找到 https://www.nginx.com/resources/wiki/start/topics/examples/redhatnginxinit/ 查看linux下的启动脚本
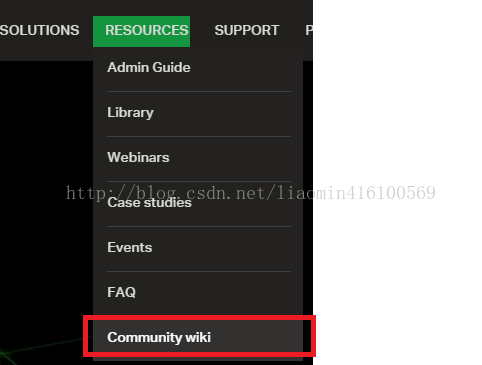
进入官网 www.nginx.com 点击resources-community wiki
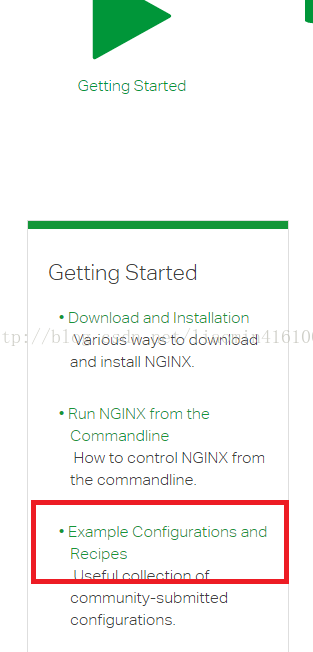
进入后 点击 下图 Getting Started按钮进入
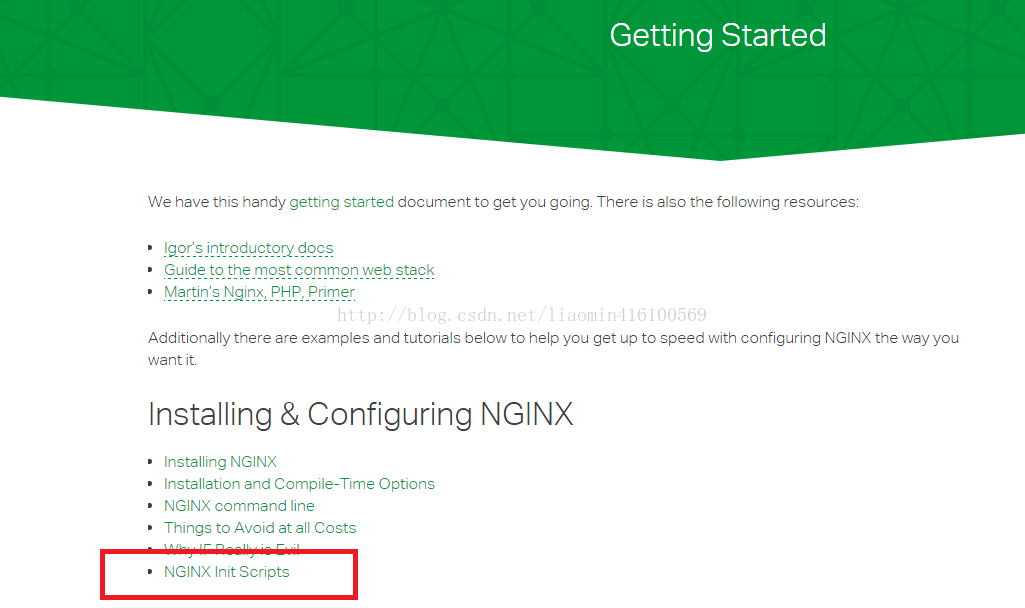
点击下界面的Ngix init Scipts
点击 Red hast nginx init script 即可打开脚本
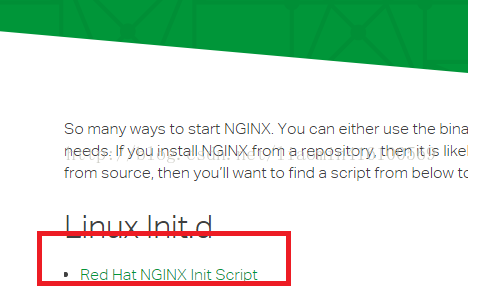
保存内容到 /etc/init.d/nginx (服务的教程参考http://blog.csdn.net/liaomin416100569/article/details/72876349)
拷贝后 需要修改其中的两个变量 nginx安装目录的配置文件和nginx程序的目录
nginx="/usr/sbin/nginx"
prog=$(basename $nginx)

NGINX_CONF_FILE="/etc/nginx/nginx.conf"
修改为
nginx="/usr/local/nginx/sbin/nginx"
prog=$(basename $nginx)

NGINX_CONF_FILE="/usr/local/nginx/conf/nginx.conf"
注意 nginx文件的内容是否完整拷贝 有时拷贝 缺少一些字符导致报错
service nginx start 或者 systemctl start nginx
一般启动会卡住 通过 systemctl status nginx 可以看到抛出错误
Jun 08 03:08:55 bogon systemd[1]: PID file /var/run/nginx.pid not readable (yet?) after start.
Warning: nginx.service changed on disk. Run 'systemctl daemon-reload' to reload units.
可以看到在nginx 在启动时候 自动会去 /var/run下面去找pid文件所以必须 要将pid文件生成在/var/run下
修改conf/nginx.conf文件
将 #pid=logs/nginx.pid(可以看到pid默认生成在logs目录下) 修改为 pid=/var/run/nginx.pid 即可 去掉注释的# 重启即可
添加到系统服务 设置开机启动
[root@bogon init.d]# chkconfig --add nginx
[root@bogon init.d]# chkconfig nginx on
使用 http://192.168.58.131/访问 看是否出现 欢迎使用tengine的英文
二。配置文件
默认配置文件位于
/usr/local/nginx/conf/nginx.conf1》常用配置选项
#user  nobody;
#工作的cpu的内核数  默认应该是和当前电脑的cpu一致  设置为auto自动获取当前机器
worker_processes  auto;
#ngx_http_log_module模块功能
#语法为 error_log 存储的log文件路径 [debug | info | notice | warn | error | crit]
#error_log  logs/error.log;
#error_log  logs/error.log  notice;
#error_log  logs/error.log  info;
#定义存储nginx主进程ID的file。 nigix可能建立虚拟主机是 会创建多个进程
#pid        logs/nginx.pid;

#最顶层的指令 events一般用于指定连接处理参数
events {
    #设置每个工作进程可以打开的最大并发连接数。(数量包含所有连接(比如,和后端服务器建立的连接,还有其他的), 而不仅仅是和客户端的连接)
    worker_connections  1024;
}

# load modules compiled as Dynamic Shared Object (DSO)
#
#dso {
#    load ngx_http_fastcgi_module.so;
#    load ngx_http_rewrite_module.so;
#}
#配置http服务器
http {
    #包含其他语法正确的配置文件
    include       mime.types;
    #设置默认的mini类型
    default_type  application/octet-stream;

    #log_format  main  '$remote_addr - $remote_user [$time_local] "$request" '
    #                  '$status $body_bytes_sent "$http_referer" '
    #                  '"$http_user_agent" "$http_x_forwarded_for"';

    #access_log  logs/access.log  main;
    #是否启用内核级别拷贝 零拷贝 速度快
    sendfile        on;
    #tcp_nopush     on;
    #长连接的超时是假呢
    #keepalive_timeout  0;
    keepalive_timeout  65;
    #是否启用gzip压缩 压缩需要时间 但是压缩后 可以节省带宽
    #gzip  on;
    #配置虚拟主机
    server {
        #虚拟主机监听端口
        listen       80;
        #虚拟主机监听的ip(同一电脑可能多个ip)或者域名
        #添加虚拟ip ifconfig 网卡名(可以通过ifconfig查看):1 192.168.58.134 netmask 255.255.255.0 up
        #删除虚拟ip ifconfig 网卡名(可以通过ifconfig查看):1 down
        server_name  localhost;
	//当根路径访问时 必须 http://localhost/ 自动进入根目录 html下找 index.html文件
        location / {
            root   html;
            index  index.html index.htm;
        }
        //出现以下错误状态码 自动进入 /50x.html
        error_page   500 502 503 504  /50x.html;
        //自动找 html 实际文件路径就是 /html/50x.html
        location = /50x.html {
            root   html;
        }
    }

}
2》location的路径匹配
该配置位于 ngx_http_core_module 模块 (http://tengine.taobao.org/nginx_docs/cn/docs/http/ngx_http_core_module.html#location)
nginx中location的路径匹配规则
使用正则表达式需要在路径开始添加“~*”前缀 (不区分大小写),或者“~”前缀(区分大小写)
匹配的路径以“^~”开始,那么nginx不再检查后面的所有条件和正则表达式。
使用“=”前缀可以定义URI和路径的精确匹配。如果发现匹配,则终止路径查找
#这个表示 路径精确就是 /就匹配A 比如 http://localhost/
location = / {
[ configuration A ]
}
location / {
[ configuration B ]
}
location /documents/ {
[ configuration C ]
}
location ^~ /images/ {
[ configuration D ]
}
location ~* \.(gif|jpg|jpeg)$ {
[ configuration E ]
}
请求“/”匹配配置A, 请求“/index.html”匹配配置B, 请求“/documents/document.html”匹配配置C, 请求“/images/1.gif”匹配配置D, 请求“/documents/1.jpg”匹配配置E。
2》location其他配置
》ngx_http_access_module模块 限制客户端访问ip(http://tengine.taobao.org/nginx_docs/cn/docs/http/ngx_http_access_module.html)
配置范例
location / {
deny 192.168.58.1;
allow all;
}
这里 192.168.58.1被禁止访问 除了58.1其他都可以访问
58.1访问 出现 403被禁止 其他ip都可以正常访问(linux访问可以使用 wget 地址 或者 curl地址) 可以通过logs/access.log查看访问服务的客户端信息

3 》
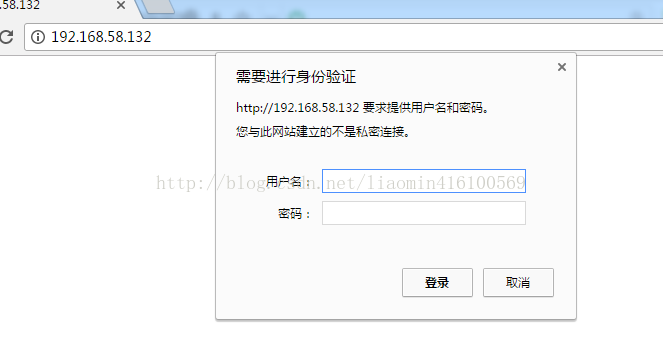
3》模块ngx_http_auth_basic_module
允许使用“HTTP基本认证”协议验证用户名和密码来限制对资源的访问。
(http://tengine.taobao.org/nginx_docs/cn/docs/http/ngx_http_auth_basic_module.html)
 location / {
    auth_basic           "密码验证";
    auth_basic_user_file conf/htpasswd;
 }
指定保存用户名和密码的文件,格式如下:
  name1:password1
  name2:password2:comment
  name3:password3
密码应该使用crypt()函数加密。 可以用Apache发行包中的htpasswd命令来创建此类文件。
安装Apache yum -y install httpd
[root@bogon logs]# htpasswd
   使用语法
        htpasswd [-cimBdpsDv] [-C cost] passwordfile username
        htpasswd -b[cmBdpsDv] [-C cost] passwordfile username password


        htpasswd -n[imBdps] [-C cost] username
        htpasswd -nb[mBdps] [-C cost] username password
[root@bogon logs]# htpasswd -nb zs 123456
zs:$apr1$8cAQMH7X$AvjTq5Gon0kiKHR/2LW2g/
通过vi创建文件拷贝内容到该文件 /usr/local/nginx/conf/auth.conf
修改
location / {
    auth_basic           "密码验证";
    auth_basic_user_file /usr/local/nginx/conf/auth.conf;
 }
效果图
二。nginx常用指令
1》proxypass指令
该指令将请求定位到后端服务器 比如如果nginx代理了后端服务器 默认所有静态资源都会从root下找 可以代理到后台服务器
 location / {
            root   html;
            index  index.html index.htm;
			if ($uri ~* "^/admin/(.*)$") {
				return 404;
			}
			if ($uri ~* "^(.*)\.(jpg|png|gif|bmp)$") {
				proxy_pass http://192.168.58.147:8080;
			}
}
比如nginx的ip是 192.168.58.1 当我访问 http://192.168.58.1/ttt/abc.png 会自动访问 http://192.168.58.147:8080/ttt/abc.png
if语法参考rewrite模块 (http://tengine.taobao.org/nginx_docs/cn/docs/http/ngx_http_rewrite_module.html#if)
具体这些参数可以去tengine官网 找到模块下 嵌入的变量查看 比如查看
比如http_core模块
http://tengine.taobao.org/nginx_docs/cn/docs/http/ngx_http_core_module.html#variables
2》 rewrite指令
rewrite指令 是将当前匹配的location请求 rewrite到其他的location上 也就是相当于javaee请求转发
 location / {
      rewrite ^/download/(.*)$ /50x.html permanent;
      set $id 1;
   }
 location = /50x.html {
            root   html;
        }
因为rewrite已经跳转了 那么rewrite后面的指令要不要继续执行 就要看最后一个参数的标志了
参考 http://tengine.taobao.org/nginx_docs/cn/docs/http/ngx_http_rewrite_module.html#rewrite
3》valid_referers指令
“Referer”请求头为指定值时,内嵌变量$invalid_referer被设置为空字符串, 否则这个变量会被置成“1”。查找匹配时不区分大小写。
该指令的参数可以为下面的内容:
none
缺少“Referer”请求头;
blocked
“Referer” 请求头存在,但是它的值被防火墙或者代理服务器删除; 这些值都不以“http://” 或者 “https://”字符串作为开头;
server_names
“Referer” 请求头包含某个虚拟主机名;
任意字符串
定义一个服务器名和可选的URI前缀。服务器名允许在开头或结尾使用“*”符号。 当nginx检查时,“Referer”请求头里的服务器端口将被忽略。
正则表达式
必须以“~”符号作为开头。 需要注意的是表达式会从“http://”或者“https://”之后的文本开始匹配。
实例:
location / {
            root   html;
            index  index.html index.htm;
	        valid_referers none blocked server_names 192.168.58.149;
            if ($invalid_referer) {
				return 403;
	        }
}
4》alias指令
root与alias主要区别在于nginx如何解释location后面的uri,这会使两者分别以不同的方式将请求映射到服务器文件上。
root实例:
location ^~ /t/ {
     root /www/;
}
如果一个请求的URI是/t/a.html时,web服务器将会返回服务器上的/www/t/a.html的文件。
alias实例:
location ^~ /t/ {
 alias /www/;
}
如果一个请求的URI是/t/a.html时,web服务器将会返回服务器上的/www//a.html的文件。,因为alias会把location后面配置的路径丢弃掉,把当前匹配到的目录指向到指定的目录。
注意:
1. 使用alias时,目录名后面一定要加"/"。
3. alias在使用正则匹配时,必须捕捉要匹配的内容并在指定的内容处使用。
4. alias只能位于location块中。(root可以不放在location中)
三。nginx案例
案例1
不同的浏览器语言 到不同页面
使用中文浏览器 www.baidu.com
使用英文浏览器 www.bing.com.cn
if ($http_accept_language ~ ^zh) {
    return http://www.baidu.com;
}

if ($http_accept_language ~ ^en) {
    return http://www.bing.com.cn;
}
案例2
动静分离
所有图片 直接从 nginx某个目录上返回
非图片路径 转向到后台(微服务 tomcat)
location ~* ^(.*)\.jpg|png|gif|bmp$ {
	root html;
	index  index.html index.htm;
}

location / {
	proxy_pass http://a;
}
upstream配置
upstream a {
        server 192.168.1.3:8989;
    }
案例3
https配置
server {
	listen 443 ssl;
	server_name api.manage.page.phecda861.com;

	ssl_certificate   D:/nginx-1.20.2/conf/ca/api.manage.page.phecda861.com.pem;
	ssl_certificate_key  D:/nginx-1.20.2/conf/ca/api.manage.page.phecda861.com.key;
	ssl_session_timeout 1d;
	ssl_session_cache shared:MozSSL:10m;

	ssl_ciphers ECDHE-RSA-AES128-GCM-SHA256:ECDHE:ECDH:AES:HIGH:!NULL:!aNULL:!MD5:!ADH:!RC4;
	ssl_protocols TLSv1 TLSv1.1 TLSv1.2;
	ssl_prefer_server_ciphers on;

	location / {
		proxy_pass http://127.0.0.1:8096;
	}
}
server {
	listen 80;
	server_name api.manage.page.phecda861.com;

	location / {
		proxy_pass http://127.0.0.1:8096;
	}
}
案例4 限制并发数
- 第一个参数:$server_name代表整个服务器,适合现在整个服务器的并发数,$binary_remote_addr 表示通过remote_addr这个标识来做限制,“binary_”的目的是缩写内存占用量,是限制同一客户端ip地址,适合用来限制某个客户端最多调用次数。
- 第二个参数:zone=mylimit:10m表示生成一个大小为10M,名字为one的内存区域,用来存储访问的频次信息。
- 第三个参数:rate=1r/s表示允许相同标识的客户端的访问频次,这里限制的是每秒1次,还可以有比如30r/m的。
limit_req_zone $server_name zone=mylimit:10m rate=10r/s;
server {
    location / {
        limit_req zone=mylimit burst=4 nodelay;
        limit_req_status 503;
    }
}
放在server{}内
- 第一个参数:zone=mylimit 设置使用哪个配置区域来做限制,与上面limit_req_zone 里的name对应。
- 第二个参数:burst=4,重点说明一下这个配置,burst爆发的意思,这个配置的意思是设置一个大小为5的缓冲区当有大量请求(爆发)过来时,超过了访问频次限制的请求可以先放到这个缓冲区内。
- 第三个参数:nodelay,如果设置,超过访问频次而且缓冲区也满了的时候就会直接返回503,如果没有设置,则所有请求会等待排队。
设置503显示json
# error_page 503 =200 /503; 这样设置才能返回200 否则浏览器收到的是503
error_page 503 /503;
location = /503 {
     default_type application/json;
	 add_header Content-Type 'text/html; charset=utf-8';
	 return 200 '{"code":"6666,"msg":"访问高峰期..."}';
}
具体关于令牌桶和漏筒算法 参考:Nginx限流模块limit_req_zone死磕之路 - Darren-Blog
注意 return 200浏览器依然会返回503 如果需要返回200
error_page 503 =200 /503;
案例5 流量复制
nginx1.13.4最新的ngx_http_mirror_module模块,利用mirror模块,业务可以将线上实时访问流量拷贝至其他环境,基于这些流量可以做版本发布前的预先验证,进行流量放大后的压测等等
mirror模块配置分为两部分,源地址和镜像地址配置,配置位置可以为nginx配置文件的http, server, location上下文,配置示例为:
location / {
  root html;
  index index.html index.htm;
  proxy_pass http://192.168.38.47:8080;
  mirror /mirror;
  mirror_request_body off;
}

location /mirror {
  internal;
  proxy_pass http://192.168.39.47:8080$request_uri;
  proxy_set_header X-Original-URI $request_uri;
}
1. test server 返回的数据,nginx接受之后会丢弃,不会转发给客户端;因此镜像过程不影响用户的正常使用;
2. 如果需要将流量放大,可新增一个 mirror /mirror就ok了
如果需要进行流量保存然后进行回放可以使用tcpdump+tcpcopy组合

为开发者提供学习成长、分享交流、生态实践、资源工具等服务,帮助开发者快速成长。
更多推荐


 6
6 0
0- 0


 已为社区贡献5条内容

所有评论(0)