
Maven 配置仓库nexus
Maven仓库nexus本地仓库在setting.xml文件中,设置localRepository元素的值为你想连接的仓库地址即可# cat /usr/local/maven/conf/settings.xml | grep localRepository< localRepository<!-- | The path to the local repository maven wil
1. Maven仓库nexus
本地仓库
在setting.xml文件中,设置localRepository元素的值为你想连接的仓库地址即可
# cat /usr/local/maven/conf/settings.xml | grep localRepository
 < localRepository
  <!-- | The path to the local repository maven will use to store artifacts.
   |
   | Default: ${user.home}/.m2/repository
 -->
  <localRepository>/path/to/local/repo</localRepository>
远程仓库

需要解压maven-model-builder-3.6.1.jar文件
/usr/local/apache-maven-3.6.1/lib/maven-model-builder-3.6.1.jar
在win上解压后的目录里查看xml文件
maven-model-builder-3.6.1\org\apache\maven\model\pom-4.0.0.xml
超级pom的信息
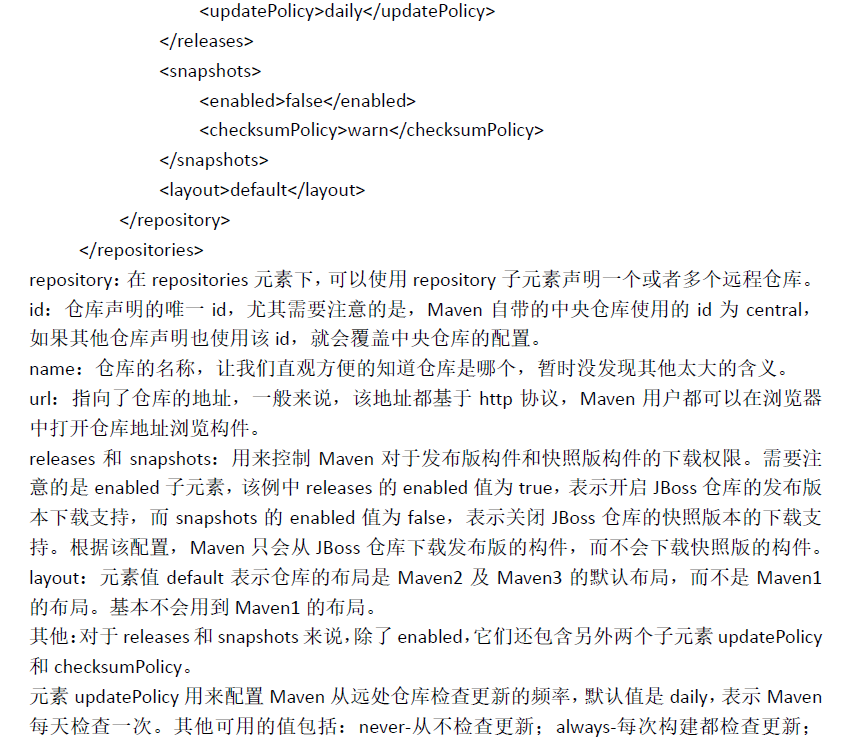
<repositories>
    <repository>
      <id>central</id>
      <name>Central Repository</name>
      <url>https://repo.maven.apache.org/maven2</url>
      <layout>default</layout>
      <snapshots>
        <enabled>false</enabled>
      </snapshots>
    </repository>
  </repositories>
配置使用远程仓库


2. maven中配置jboss仓库
有两种方式,一种是在项目的pom.xml中<repositories>中添加,这是配置是针对具体的某一个项目,更多时候,我们想把jboss仓库作为所有项目的仓库,这就需要在maven的setting.xml中配置了.建议将maven/conf/setting.xml文件拷贝一份到你本地仓库的目录,作为用户配置文件。打开setting.xml文件,在里面添加一下内容:
  <profiles>
    ...
    <profile>
      <id>jboss-public-repository</id>
      <repositories>
        <repository>
          <id>jboss-public-repository-group</id>
          <name>JBoss Public Maven Repository Group</name>
          <url>https://repository.jboss.org/nexus/content/groups/public-jboss/</url>
          <layout>default</layout>
          <releases>
            <enabled>true</enabled>
            <updatePolicy>never</updatePolicy>
          </releases>
          <snapshots>
            <enabled>true</enabled>
            <updatePolicy>never</updatePolicy>
          </snapshots>
        </repository>
      </repositories>
    <!-- 插件仓库 -->
      <pluginRepositories>
        <pluginRepository>
          <id>jboss-public-repository-group</id>
          <name>JBoss Public Maven Repository Group</name>
           <url>https://repository.jboss.org/nexus/content/groups/public-jboss/</url>
          <layout>default</layout>
          <releases>
            <enabled>true</enabled>
            <updatePolicy>never</updatePolicy>
          </releases>
         <!-- 不下载快照版 -->
         <snapshots>
            <enabled>false</enabled>
            <updatePolicy>never</updatePolicy>
          </snapshots>
        </pluginRepository>
      </pluginRepositories>
    </profile>
  </profiles>
  <!-- 默认为激活状态-->
  <activeProfiles>
    <activeProfile>jboss-public-repository</activeProfile>
  </activeProfiles>
  ...
如果想要停用JBoss仓库,可在setting.xml文件所在目录运行 :mvn -Pjboss-public-repository install
添加插件组
<pluginGroups>
    ...
    <pluginGroup>org.jboss.maven.plugins</pluginGroup>
    ...
</pluginGroups>
3. 利用nexus搭建私有maven库
3.1 Nexus介绍
3.2 部署 nexus
下载nexus3.x
首先,从以下地址下载nexus:
http://www.sonatype.com/download-oss-sonatype
文档:
https://help.sonatype.com/repomanager3
选择下载nexus-3.16.2-01-unix.tar.gz,适用于所有平台,本文将在centos7.5系统下安装,操作系统信息如下:
注意nexus是基于Java开发的,所以要先安装JDK8及以上:
jdk-8u211-linux-x64.rpm
cnetos7系列默认就安装了jdk
==删除原来的jdk包==
# rpm -qa | grep java //查询原有rpm包
# rpm --nodeps -e java-1.8.0-openjdk-headless-1.8.0.161-2.b14.el7.x86_64 java-1.8.0-openjdk-1.8.0.161-2.b14.el7.x86_64

//删除
# rpm -qa | grep java
//检查
# rpm -ivh jdk-8u211-linux-x64.rpm
# ls /usr/java/
default jdk1.8.0_211-amd64 latest
# ls /usr/java/ -l
总用量 0
lrwxrwxrwx 1 root root 16 1月 7 17:27 default -> /usr/java/latest #默认的jdk版本目录 default
drwxr-xr-x 8 root root 258 1月 7 17:27 jdk1.8.0_211-amd64
lrwxrwxrwx 1 root root 28 1月 7 17:27 latest -> /usr/java/jdk1.8.0_211-amd64
#
# echo $JAVA_HOME
# vim /etc/profile.d/java.sh
JAVA_HOME=/usr/java/latest
PATH=$PATH:$JAVA_HOME/bin
export JAVA_HOME PATH
# source /etc/profile
# java -version
java version "1.8.0_211"
Java(TM) SE Runtime Environment (build 1.8.0_211-b12)
Java HotSpot(TM) 64-Bit Server VM (build 25.211-b12, mixed mode)
然后 运行下面的youhua.sh命令
#/bin/bash

function ulimits(){
cat > /etc/security/limits.conf <<EOF
* soft noproc 20480
* hard noproc 20480
root soft nofile 65535
root hard nofile 65535
* soft nofile 65535
* hard nofile 65535
EOF
ulimit -n 65535
ulimit -u 20480
echo "[ulimits 配置] ==> OK"
}

function kernel(){
cat > /etc/sysctl.conf <<EOF
fs.file-max = 65535
net.ipv4.tcp_max_tw_buckets = 1000000
net.ipv4.tcp_fin_timeout = 30
net.ipv4.tcp_keepalive_time = 300
net.ipv4.tcp_keepalive_probes = 3
net.ipv4.tcp_keepalive_intvl = 30
net.ipv4.tcp_syncookies = 1
net.ipv4.tcp_tw_reuse = 1
net.ipv4.tcp_tw_recycle = 1
net.ipv4.ip_local_port_range = 5000 65000
net.ipv4.tcp_mem = 786432 1048576 1572864
net.core.wmem_max = 873200
net.core.rmem_max = 873200
net.ipv4.tcp_wmem = 8192 436600 873200
net.ipv4.tcp_rmem = 32768 436600 873200
net.core.somaxconn = 10240
net.core.netdev_max_backlog = 20480
net.ipv4.tcp_max_syn_backlog = 20480
net.ipv4.tcp_retries2 = 5
net.ipv4.conf.lo.arp_ignore = 0
net.ipv4.conf.lo.arp_announce = 0
net.ipv4.conf.all.arp_ignore = 0
EOF
sysctl -p >/dev/null 2>&1
echo "[内核 优化] ==> OK"
}

export -f ulimits
export -f kernel

ulimits
kernel

echo '[Success]System Init OK'
# sh +x youhua.sh
启动nexus服务
将安装包拷贝到linux操作系统路径下
解压
# tar zxvf nexus-3.16.2-01-unix.tar.gz
进入目录
# cd nexus-3.16.2-01/bin


设置systemd启动
 # cat /etc/systemd/system/nexus.service
[Unit]
Description=nexus service
After=network.target

[Service]
Type=forking
LimitNOFILE=65536
ExecStart=/data/nexus-3.16.2-01/bin/nexus start
#data/nexus-3.16.2-01 需要换成实际的目录
ExecStop=/data/nexus-3.16.2-01/bin/nexus stop
User=root
Restart=on-abort

[Install]
WantedBy=multi-user.target

设置环境变量export RUN_AS_USER=root,如下:
export RUN_AS_USER=root
或者
# cat /data/nexus-3.16.2-01/bin/nexus.rc
run_as_user=root
EG:尝试使用其他用户来启动,发现都失败了,反正私服就是在内网使用,使用root启动吧

# sudo systemctl daemon-reload   重新加载配置文件
# sudo systemctl start nexus.service  启动服务

这里提个醒,一定要注意java的版本,以及8081端口是否被占用等

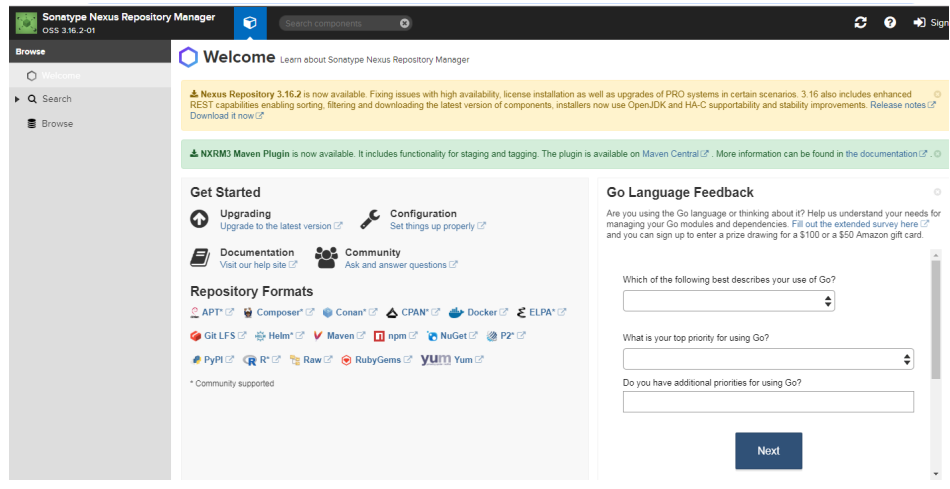
一切顺利的话,我们在浏览器输入http://192.168.56.103:8081(这里192.168.56.103是nexus安装的服务器ip),即可访问nexus客户端,默认的用户名和密码:admin admin123
如下图:
http://192.168.56.103:8081/
配置maven项目使用nexus仓库

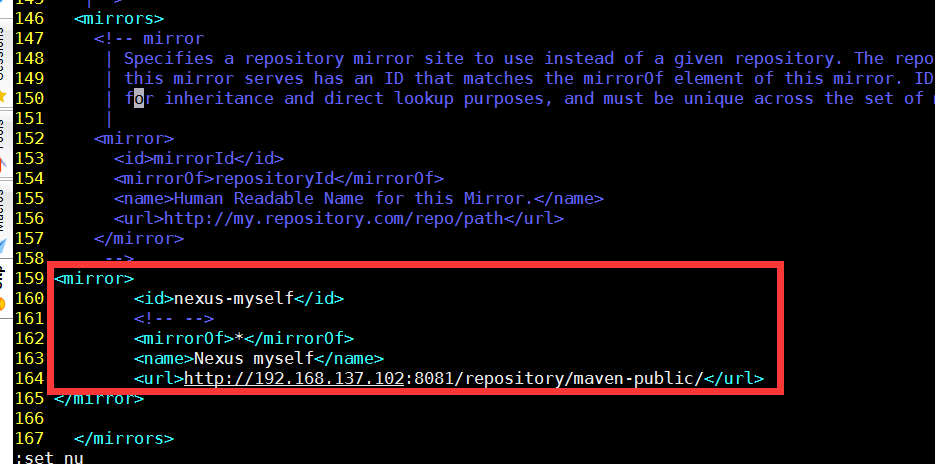
# vim /usr/local/maven/conf/settings.xml
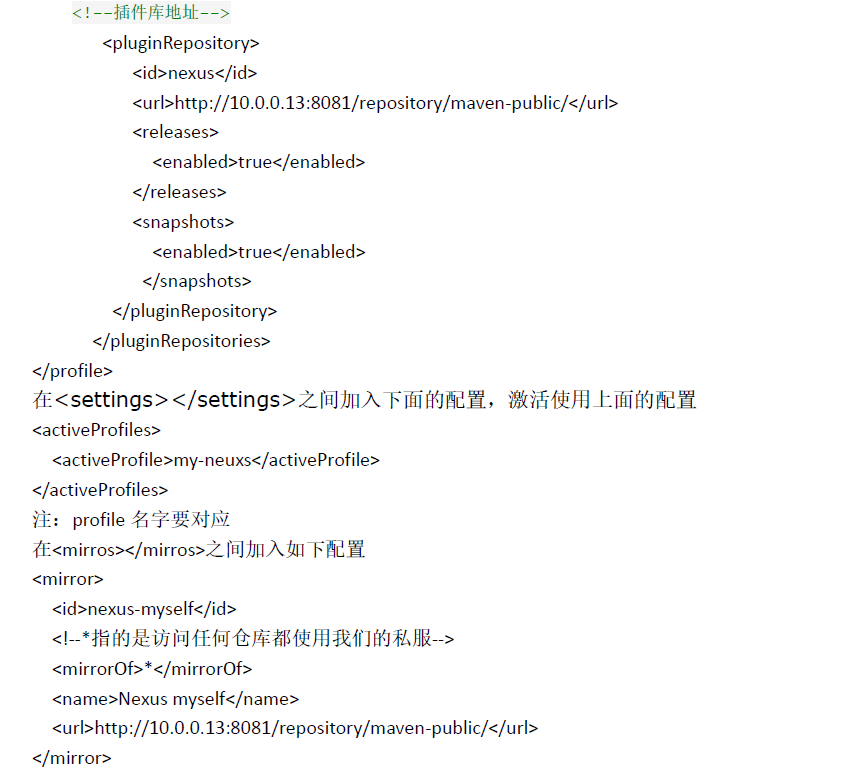
在<mirrors></mirrors>之间加入配置信息
<mirror>
<id>nexus-myself</id>
<!--* 指的是访问任何仓库都使用我们的私服 -->
<mirrorOf>*</mirrorOf>
<name>Nexus myself</name>
<url>http://192.168.137.102:8081/repository/maven-public/</url>
</mirror>
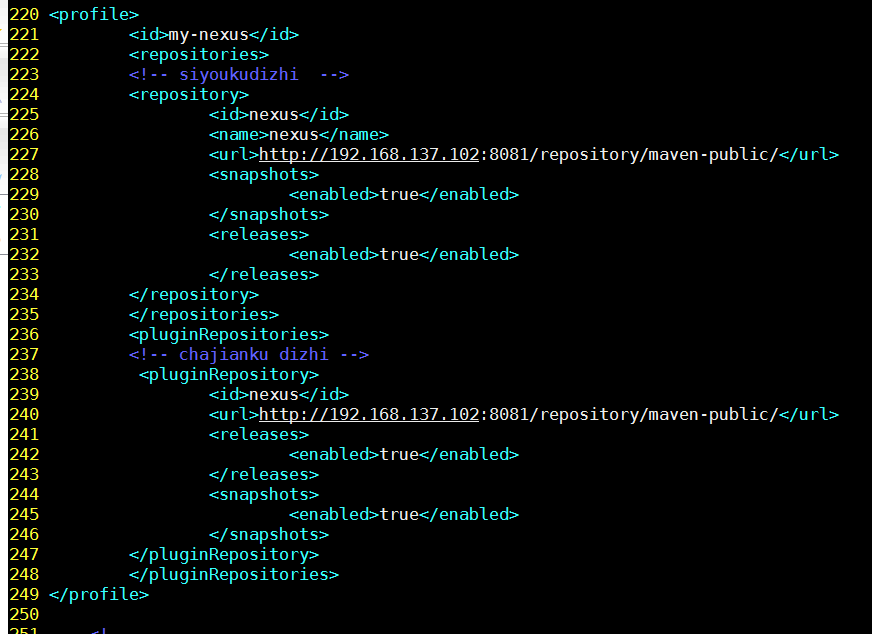
在之间加入配置信息
<profile>
         <id>my-nexus</id>
         <repositories>
         <!--私有库地址 -->
         <repository>
                 <id>nexus</id>
                 <name>nexus</name>
                 <url>http://192.168.137.102:8081/repository/maven-public/</url>
                 <snapshots>
                         <enabled>true</enabled>
                 </snapshots>
                 <releases>
                         <enabled>true</enabled>
                 </releases>
         </repository>
         </repositories>
         <pluginRepositories>
         <!-- 插件库地址 -->
          <pluginRepository>
                 <id>nexus</id>
                 <url>http://192.168.137.102:8081/repository/maven-public/</url>
                 <releases>
                         <enabled>true</enabled>
                 </releases>
                 <snapshots>
                         <enabled>true</enabled>
                 </snapshots>
         </pluginRepository>
         </pluginRepositories>
</profile>
在<settings></settings>之间加入下面的配置,激活使用上面的配置信息
注意:Profile名称要和上面的相对应
 <activeProfiles>
    <activeProfile>my-nexus</activeProfile>
 </activeProfiles>
测试
# pwd
/data/hello-world/hello-world
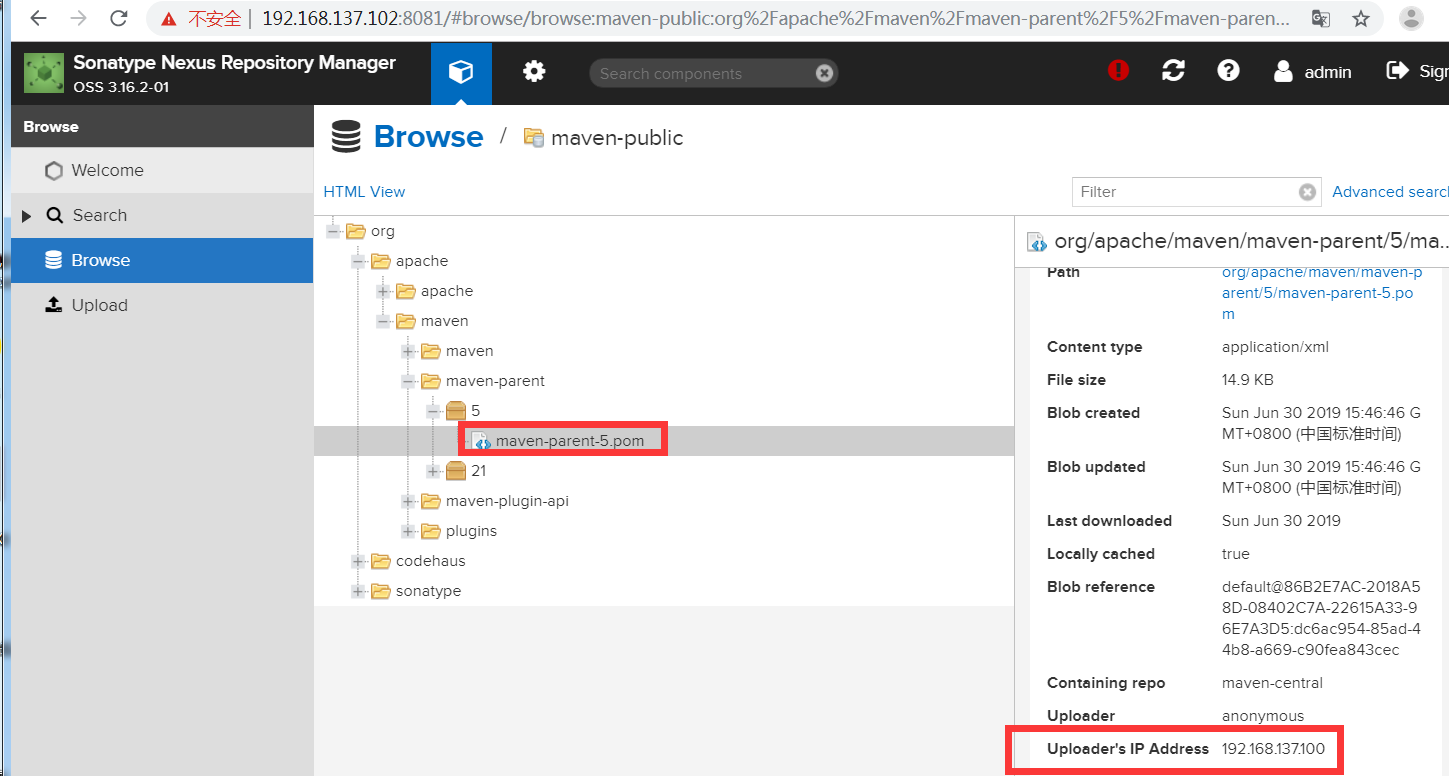
当我们再次执行mvn命令的时候,下载构件的地址就变为我们的地府地址了

私服也缓存了相对应的构件在本地仓库

为开发者提供学习成长、分享交流、生态实践、资源工具等服务,帮助开发者快速成长。
更多推荐


 4
4 0
0- 0


 已为社区贡献24条内容

所有评论(0)