k8s使用练手,使用k8s部署一个简单的nginx服务
简单的介绍几个名词Namespace 表示命名空间Deployment 表示pod发布Service 表示多个pod做为一组的集合对外通过服务的表示一、创建命名空间namespace1、创建命名空间的yaml文件 nginx-namespace.yamlapiVersion: v1kind: Namespacemetadata:name: nginxlabels:name: nginx配置说明:k
简单的介绍几个名词
Namespace 表示命名空间
Deployment 表示pod发布
Service 表示多个pod做为一组的集合对外通过服务的表示
一、创建命名空间namespace
1、创建命名空间的yaml文件 nginx-namespace.yaml
apiVersion: v1
kind: Namespace
metadata:
  name: nginx
  labels:
    name: nginx
配置说明:
kind:Namespace 表示yaml文件创建的是命名空间
metadata表示命名空间的元信息
metadata.name 是命名空间的名称 取值nginx
metadata.labels 是命名空间的标签 name=nginx
2、创建命名空间nginx
kubectl create -f nginx-namespace.yaml
3、常用命令
kubectl get namespaces #查询命名空间
kubectl describe namespace nginx #查询命名空间nginx详情
二、创建nginx的发布Deployment
1、创建deployment的yaml文件 nginx-deployment.yaml
apiVersion: apps/v1
kind: Deployment
metadata:
  labels:
    app: nginx
  name: nginx-deployment1
  namespace: nginx
spec:
  replicas: 1 #k8s中要启动的pod个数,可以任意修改
  selector:
    matchLabels:
      app: nginx
  template:
    metadata:
      labels:
        app: nginx
    spec:
      containers:
      - image: nginx:1.14.0
        ports:
        - containerPort: 80
        name: nginx
        volumeMounts: #k8s的master服务器对应的路径,必须存在
        - name: conf
          mountPath: /etc/nginx/nginx.conf
        - name: log
          mountPath: /var/log/nginx
        - name: html
          mountPath: /etc/nginx/html
      tolerations:
      - key: "key"
        operator: "Equal"
        value: "nginx"
        effect: "NoSchedule"
      volumes: #k8s的node对应的路径
      - name: conf #和volumeMounts中的内容要对应
        hostPath:
          path: /Users/w/kube/nginx/conf/nginx.conf
      - name: log #和volumeMounts中的内容要对应
        hostPath:
          path: /Users/w/kube/nginx/logs
          type: Directory
      - name: html #和volumeMounts中的内容要对应
        hostPath:
          path: /Users/w/kube/nginx/html
          type: Directory
配置说明:
kind: Deployment表示yaml文件创建的是一个Deployment发布
metadata表示这个deployment的元信息
metadata.name 是deployment的名称 nginx-deployment1
metadata.labels 是deployment的标签 即:app=nginx
metadata.namespace 是deployment的命名空间,此处选择的是第一步创建的命名空间nginx
spec: 表示deployment的详细参数配置说明
spec.replicas 是启动几个pod节点
spec.template.spec 是deployment选择模块的详细说明
spec.template.spec.containers 表示选择的容器是什么,此处是nginx的docker镜像 nginx:1.14.0,容器的端口设置 containerPort: 80, volumeMounts表示绑定的文件和目录
spec.template.spec.volumes 表示选择的容器挂载的宿主机的文件和目录 conf, log和html
2、创建deployment的nginx
kubectl create -f nginx-deployment.yaml #初次创建
kubectl apply -f nginx-deployment.yaml #后期更新
3、常用命令
kube kubectl get pods -n nginx
kubectl describe pod nginx-deployment1-6cb86fb6b7-kkpbw -n nginx
kubectl delete pod nginx-deployment1-6cb86fb6b7-txkkj -n nginx
kubectl describe deployment nginx -n nginx
三、创建nginx的服务Service
1、创建service的yaml文件 nginx-service.yaml
apiVersion: v1
kind: Service
metadata:
  labels:
   app: nginx
  name: nginx-deployment1
  namespace: nginx
spec:
  ports:
  - port: 9000
    name: nginx-service80
    protocol: TCP
    targetPort: 80
    nodePort: 31090
  selector:
    app: nginx
  type: NodePort
配置说明:
kind: Service表示yaml文件创建的是一个Service
metadata表示这个Service的元信息
metadata.name 是Service的名称 nginx-deployment1
metadata.labels 是Service的标签 即:app=nginx
metadata.namespace 是Service的命名空间,此处选择的是第一步创建的命名空间nginx
sepc是Service的详细配置说明
sepc.type 取值NodePort 表示这个Service的类型是一个节点端口转发类型
sepc.selector 表示这个Service是将带标签的哪些pods做为一个集合对外通过服务
sepc.ports.port 是Service绑定的端口
sepc.ports.name: nginx-service80 表示Service服务的名称
sepc.ports.protocol: TCP 表示Service转发请求到容器的协议是TCP,我们部署的http的nginx服务,因此选择协议为TCP
sepc.ports.targetPort: 80 表示Service转发外部请求到容器的目标端口80,即deployment的pod容器对外开放的容器端口80
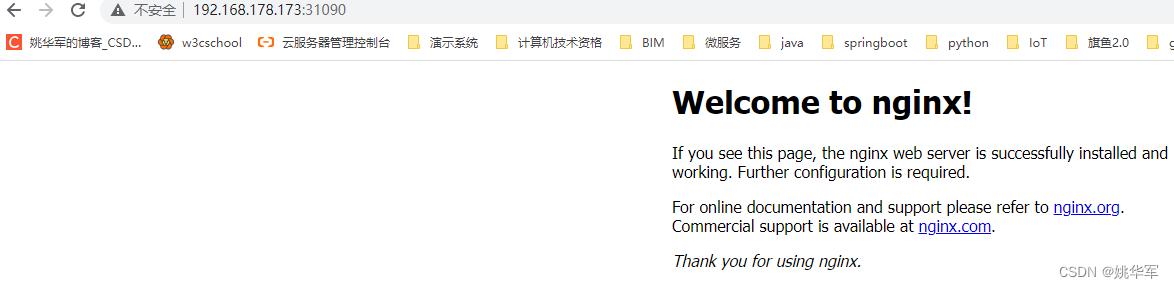
sepc.ports.nodePort: 31090 表示Service对外开放的节点端口
2、创建一个服务
kubectl create -f nginx-service.yaml
3、常用命令
kubectl get services -n nginx
kube kubectl describe service nginx-deployment1 -n nginx
kubectl delete services nginx-deployment1 -n nginx

为开发者提供学习成长、分享交流、生态实践、资源工具等服务,帮助开发者快速成长。
更多推荐


 5
5 0
0- 0


 已为社区贡献9条内容

所有评论(0)