Centos升级安装Openssh9.0p1
最新版Openssh安装升级,完美解决系统漏洞!
·
一、环境
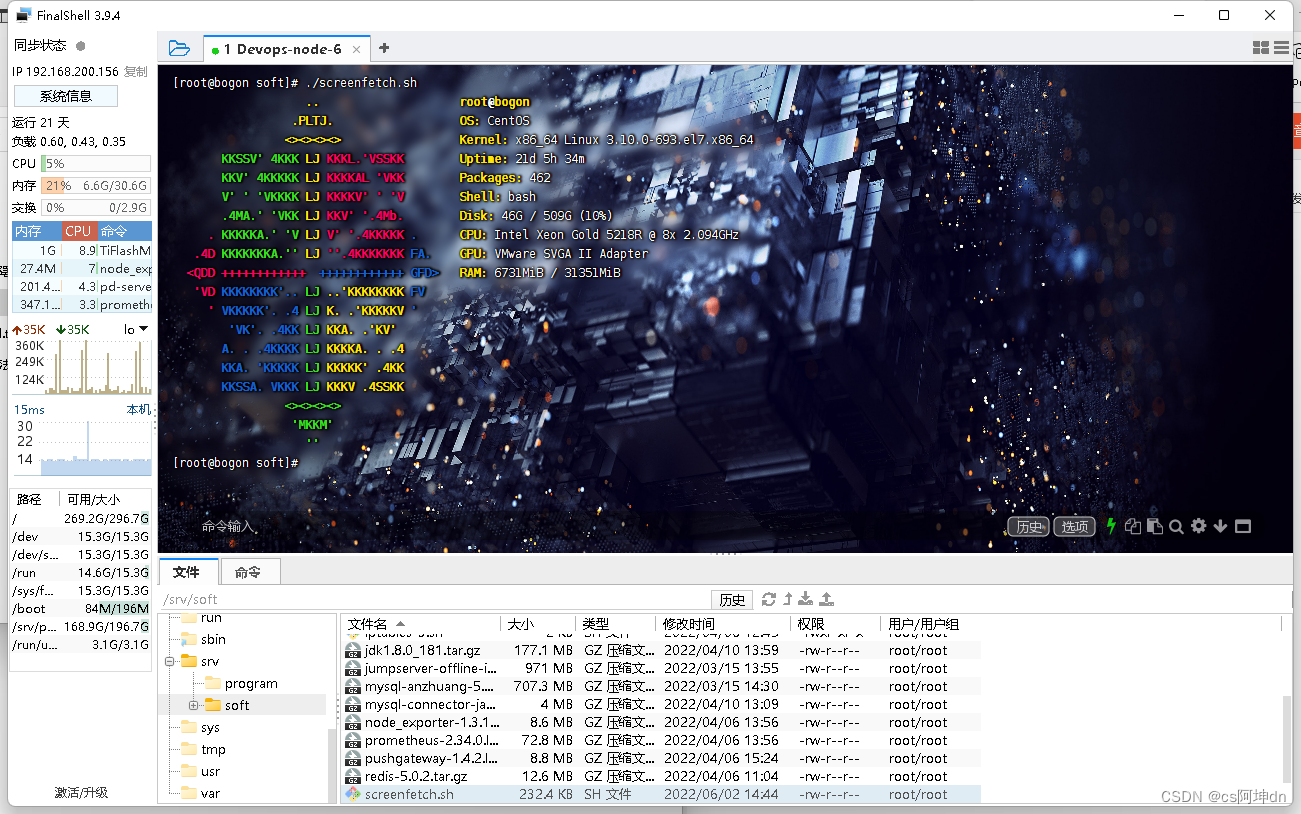
1.系统环境
2.当前版本
ssh -V

(注:openssh可以单独升级,确保有openssl即可【openssh依赖于openssl】)
二、安装包
1.下载地址:openssh-9.0p1.tar.gz
2.wget下载:
wget https://mirrors.aliyun.com/pub/OpenBSD/OpenSSH/portable/openssh-9.0p1.tar.gz
三、升级
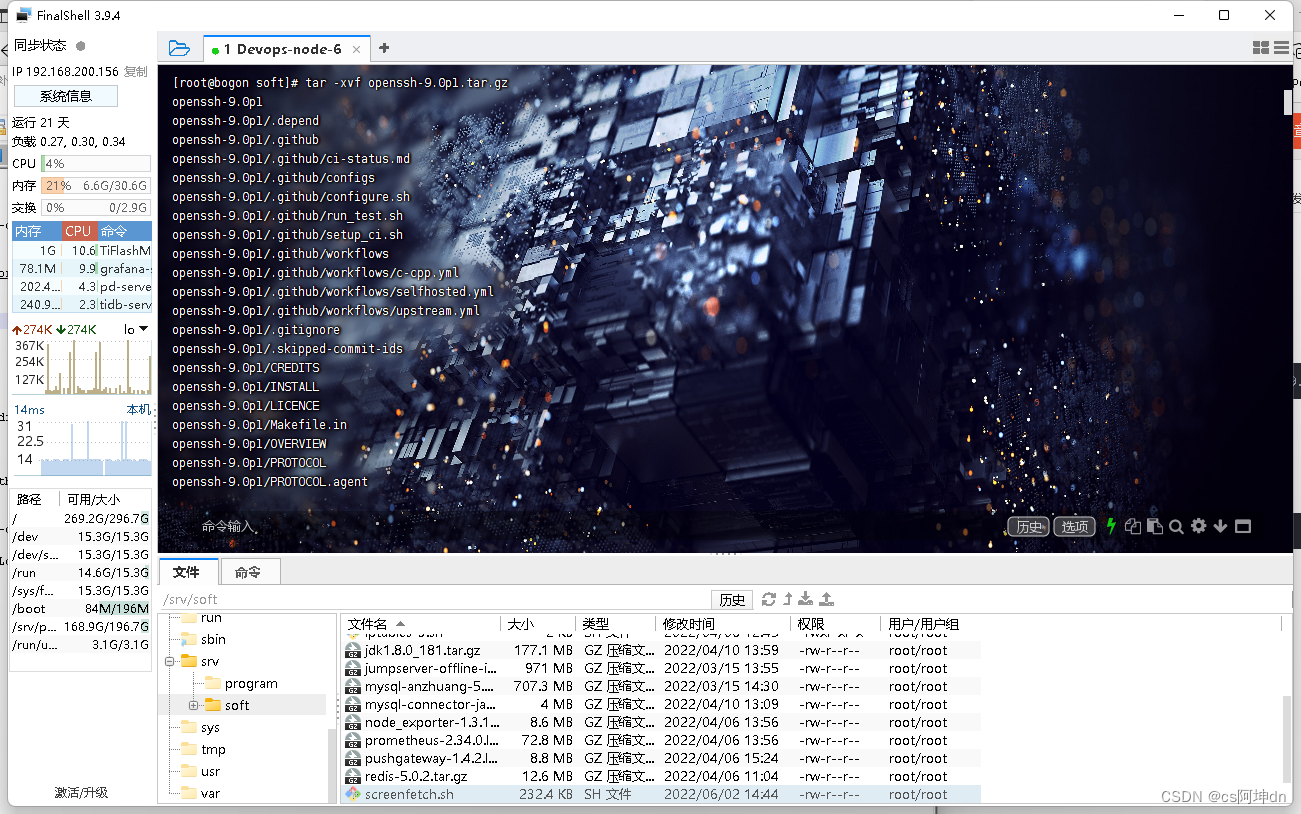
1.解压安装包
[root@localhost ~]# tar -xvf openssh-9.0p1.tar.gz
2.备份与环境
[root@localhost ~]# yum install -y pam* zlib* openssl-devel gcc make
[root@localhost ~]# cd openssh-9.0p1
[root@localhost openssh-9.0p1]# cp -r  /etc/ssh /tmp/
[root@localhost openssh-9.0p1]# setenforce 0
[root@localhost openssh-9.0p1]#  sed -i 's/enforcing/disabled/g' /etc/selinux/config
[root@localhost openssh-9.0p1]# systemctl stop firewalld
[root@localhost openssh-9.0p1]# systemctl disable firewalld
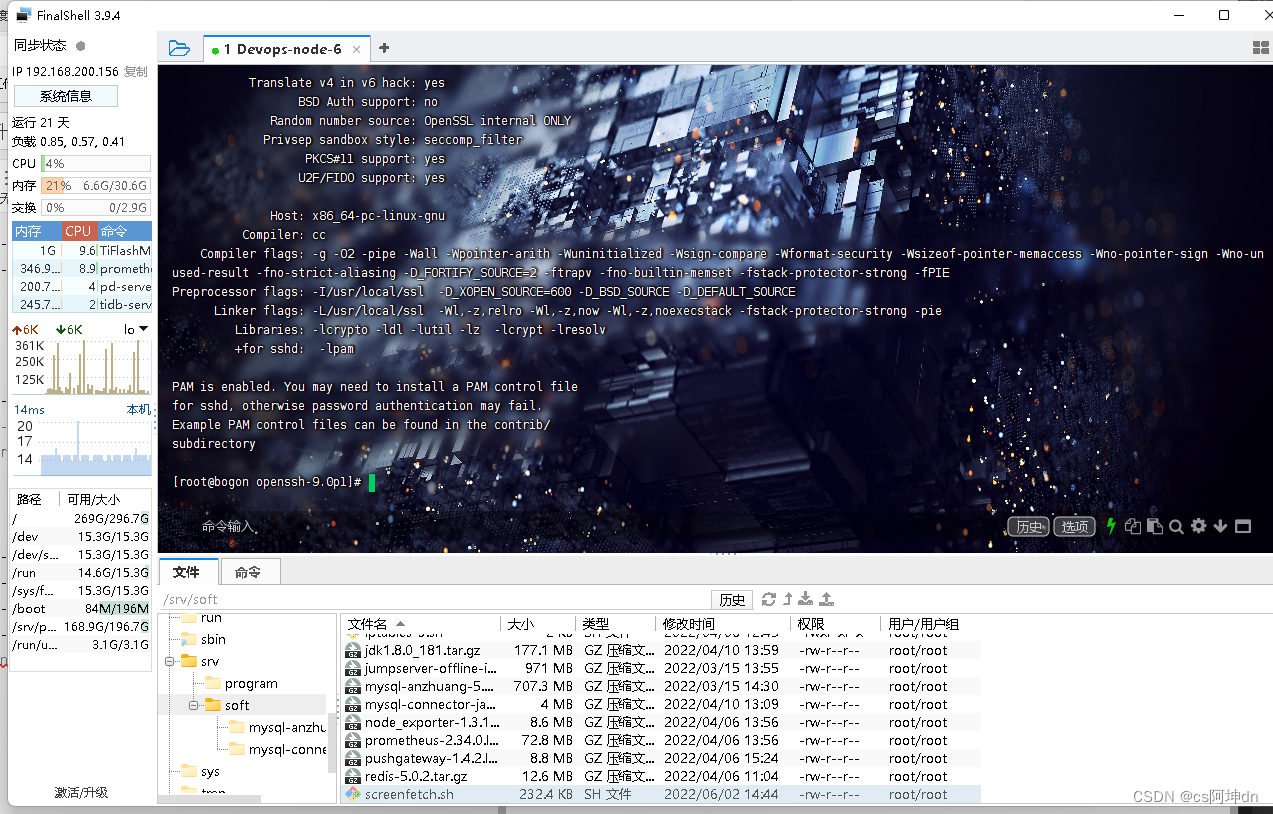
3.编译安装
[root@localhost openssh-9.0p1]# ./configure --prefix=/usr --sysconfdir=/etc/ssh --with-zlib --with-pam --without-openssl-header-check --with-ssl-dir=/usr/local/ssl --with-privsep-path=/var/lib/sshd
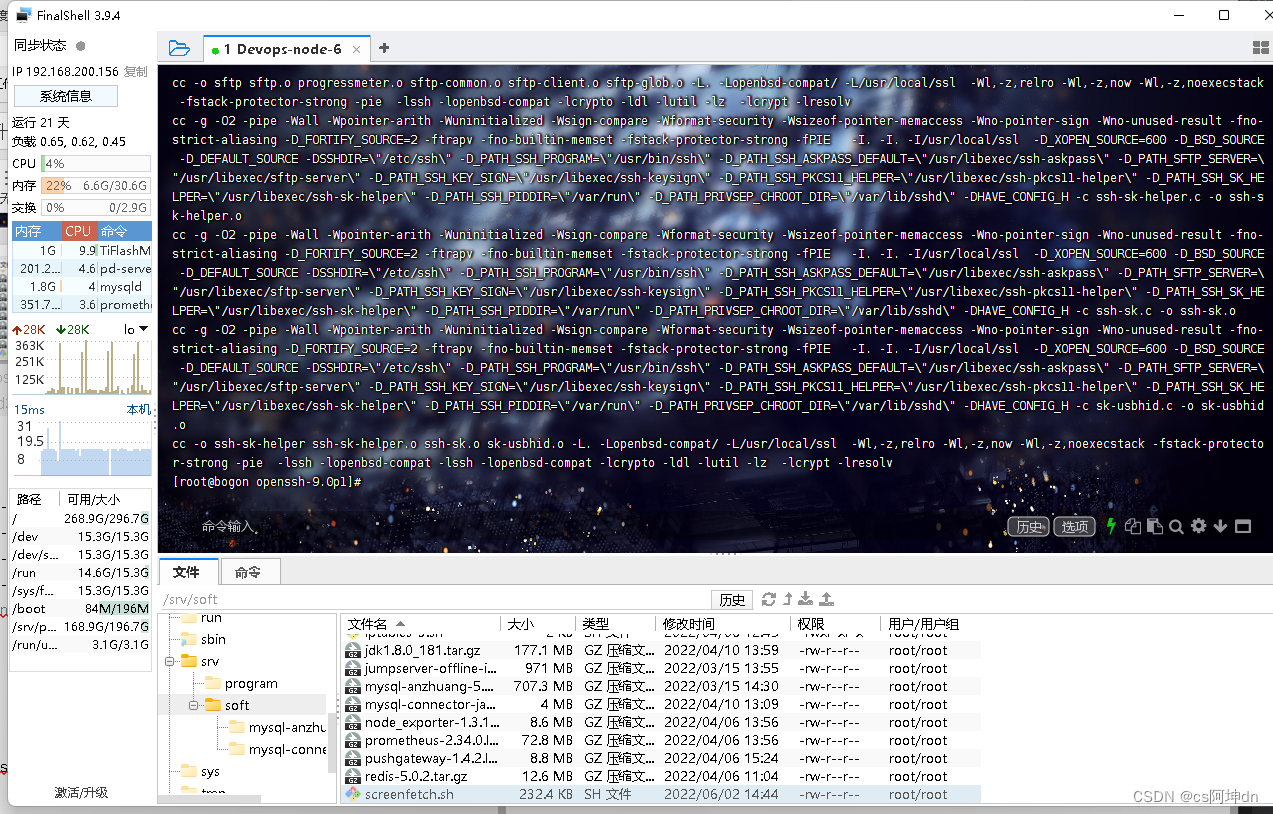
[root@localhost openssh-9.0p1]# make
[root@localhost openssh-9.0p1]# rpm -e --nodeps `rpm -qa | grep openssh`
[root@localhost openssh-9.0p1]# rm -rf /etc/ssh/*
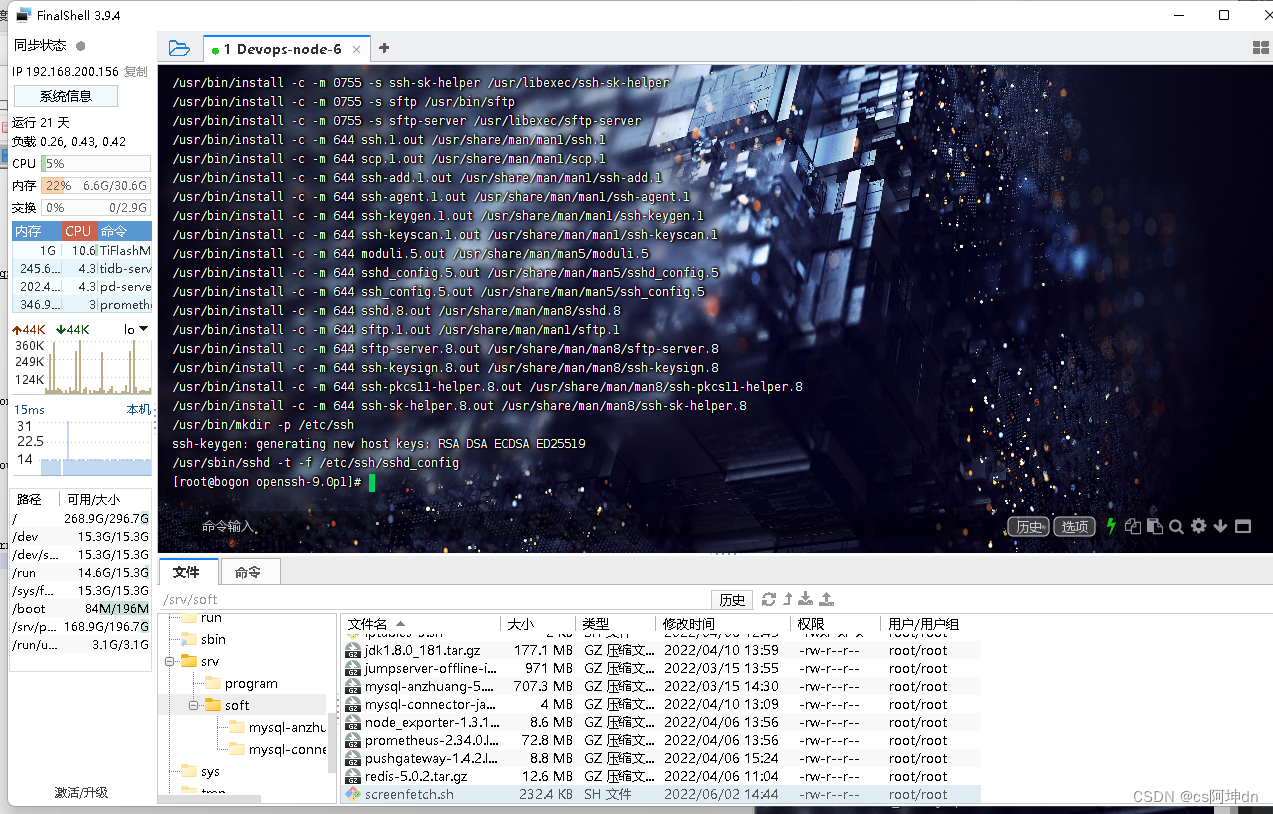
[root@localhost openssh-9.0p1]# make install
[root@localhost openssh-9.0p1]# sed -i 's/#PermitRootLogin prohibit-password/PermitRootLogin yes/g' /etc/ssh/sshd_config

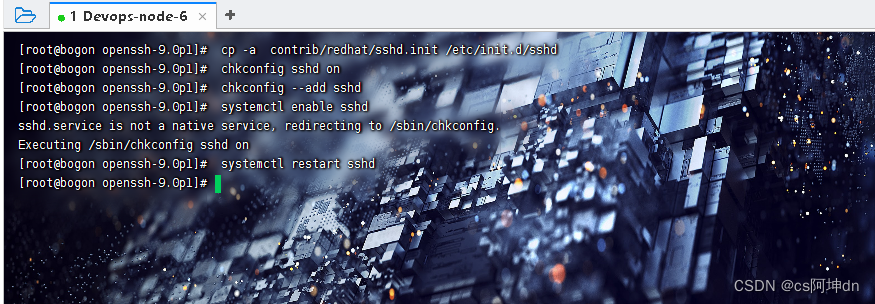
4.基于systemctl管理
 [root@bogon openssh-9.0p1]# cp -a  contrib/redhat/sshd.init /etc/init.d/sshd
 [root@bogon openssh-9.0p1]# chkconfig sshd on
 [root@bogon openssh-9.0p1]# chkconfig --add sshd
 [root@bogon openssh-9.0p1]# systemctl enable sshd
 [root@bogon openssh-9.0p1]# systemctl restart sshd
5.验证
ssh -V

四、结束语
到此openssh升级就结束啦,安装过程中出现其他问题的博友亦可给博主留言哦!

为开发者提供学习成长、分享交流、生态实践、资源工具等服务,帮助开发者快速成长。
更多推荐


 4
4 0
0- 0


 已为社区贡献2条内容

所有评论(0)