

1、编译安装nginx
wget https://github.com/fdintino/nginx-upload-module/archive/refs/heads/master.zip
PS:原先使用的nginx-upload-module-2.2编译的时候报错:ngx_http_upload_module.c:14:17: fatal error: md5.h: No such file or directory
后来找到一个可用的fork版本
https://github.com/Austinb/nginx-upload-module
我下载得zip包 nginx-upload-module-master.zip
# yum -y install openssl libssl-dev gcc gcc-c++ make
# cd /data
# unzip nginx-upload-module-master.zip
# cd nginx-1.19.9/
# ./configure --prefix=/data/nginx --add-module=../nginx-upload-module-master --with-http_secure_link_module
# make && make install
2、编辑nginx配置文件
vim conf/nginx.conf
#user  nobody;
worker_processes  1;

#error_log  logs/error.log;
#error_log  logs/error.log  notice;
#error_log  logs/error.log  info;

#pid        logs/nginx.pid;


events {
    worker_connections  1024;
}


http {
    include       mime.types;
    default_type  application/octet-stream;

    #log_format  main  '$remote_addr - $remote_user [$time_local] "$request" '
    #                  '$status $body_bytes_sent "$http_referer" '
    #                  '"$http_user_agent" "$http_x_forwarded_for"';

    #access_log  logs/access.log  main;

    sendfile        on;
    #tcp_nopush     on;

    #keepalive_timeout  0;
    keepalive_timeout  65;

    #gzip  on;

    server {
        listen       80;
        client_max_body_size 100m;
        location / {
            root    html;
            index  index.html  index.htm;
        }
    error_page 405 =200 @405;
        # Upload form should be submitted to this location
        location /upload {

        if ($request_method = 'GET'){
            root html;
        }
        if ($request_method = 'POST'){

            # Pass altered request body to this location

            upload_pass @test;

            # Store files to this directory
            # The directory is hashed, subdirectories 0 1 2 3 4 5 6 7 8 9 should exist
         #文件存储的路径,要先手动创建0 1 2 3 4 5 6 7 8 9一共10个文件夹
            upload_store /data/nginx/html/upload 1;

            # Allow uploaded files to be read only by user
            upload_store_access user:rw;

            # Set specified fields in request body
            upload_set_form_field "${upload_field_name}_name" $upload_file_name;
            upload_set_form_field "${upload_field_name}_content_type" $upload_content_type;
            upload_set_form_field "${upload_field_name}_path" $upload_tmp_path;

            # Inform backend about hash and size of a file
            upload_aggregate_form_field "${upload_field_name}_md5" $upload_file_md5;
            upload_aggregate_form_field "${upload_field_name}_size" $upload_file_size;

            upload_pass_form_field "^submit$|^description$";
        upload_cleanup 400 404 499 500-505;
        }
    }
        # Pass altered request body to a backend

        location @test {
            #content_by_lua ngx.say("upload success!");
        proxy_pass http://localhost:8888;
        return 200;
        }

    }
}
使用 nginx -t 检测一下配置文件是否正确
我这里遇到一个问题 如果不使用 if 判断 开启uoload_pass @test 的话直接访问页面会报405
创建存储目录和访问的index首页
# mkdir -p html/upload/{0..9}
vim html/upload/index.html
<html>
<head>
<title>Test upload</title>
</head>
<body>
<h2>Select files to upload</h2>
<form enctype="multipart/form-data" action="/upload" method="post">
<input type="file" name="file1"><br>
<input type="file" name="file2"><br>
<input type="file" name="file3"><br>
<input type="file" name="file4"><br>
<input type="file" name="file5"><br>
<input type="file" name="file6"><br>
<input type="submit" name="submit" value="Upload">
<input type="hidden" name="test" value="value">
</form>
</body>
</html>
3、启动nginx
./sbin/nginx
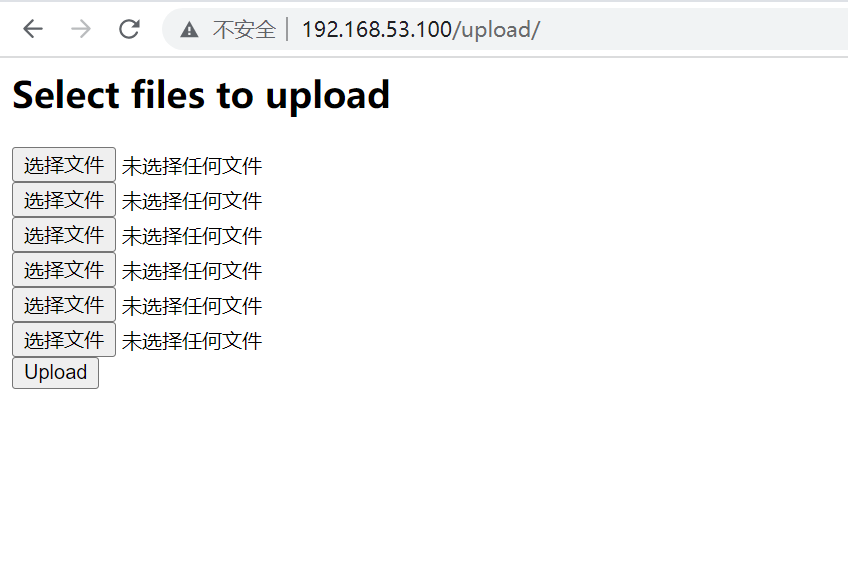
4、浏览器访问 http://192.168.53.100/upload/,结果如下
5、上传文件测试

可以看到选中文件点upload 的时候报出了503,需要修改一下存储目录权限
# chmod 777 {0..9}
[root@localhost upload]# ll
total 4
drwxrwxrwx. 2 root root   6 Mar 14 00:07 0
drwxrwxrwx. 2 root root   6 Mar 14 00:07 1
drwxrwxrwx. 2 root root   6 Mar 14 00:07 2
drwxrwxrwx. 2 root root   6 Mar 14 00:07 3
drwxrwxrwx. 2 root root   6 Mar 15 00:56 4
drwxrwxrwx. 2 root root   6 Mar 15 00:56 5
drwxrwxrwx. 2 root root   6 Mar 14 00:07 6
drwxrwxrwx. 2 root root   6 Mar 14 00:07 7
drwxrwxrwx. 2 root root   6 Mar 14 00:07 8
drwxrwxrwx. 2 root root   6 Mar 14 00:07 9
-rw-r--r--. 1 root root 501 Mar 14 00:14 index.html
重新上传试试 上传成功
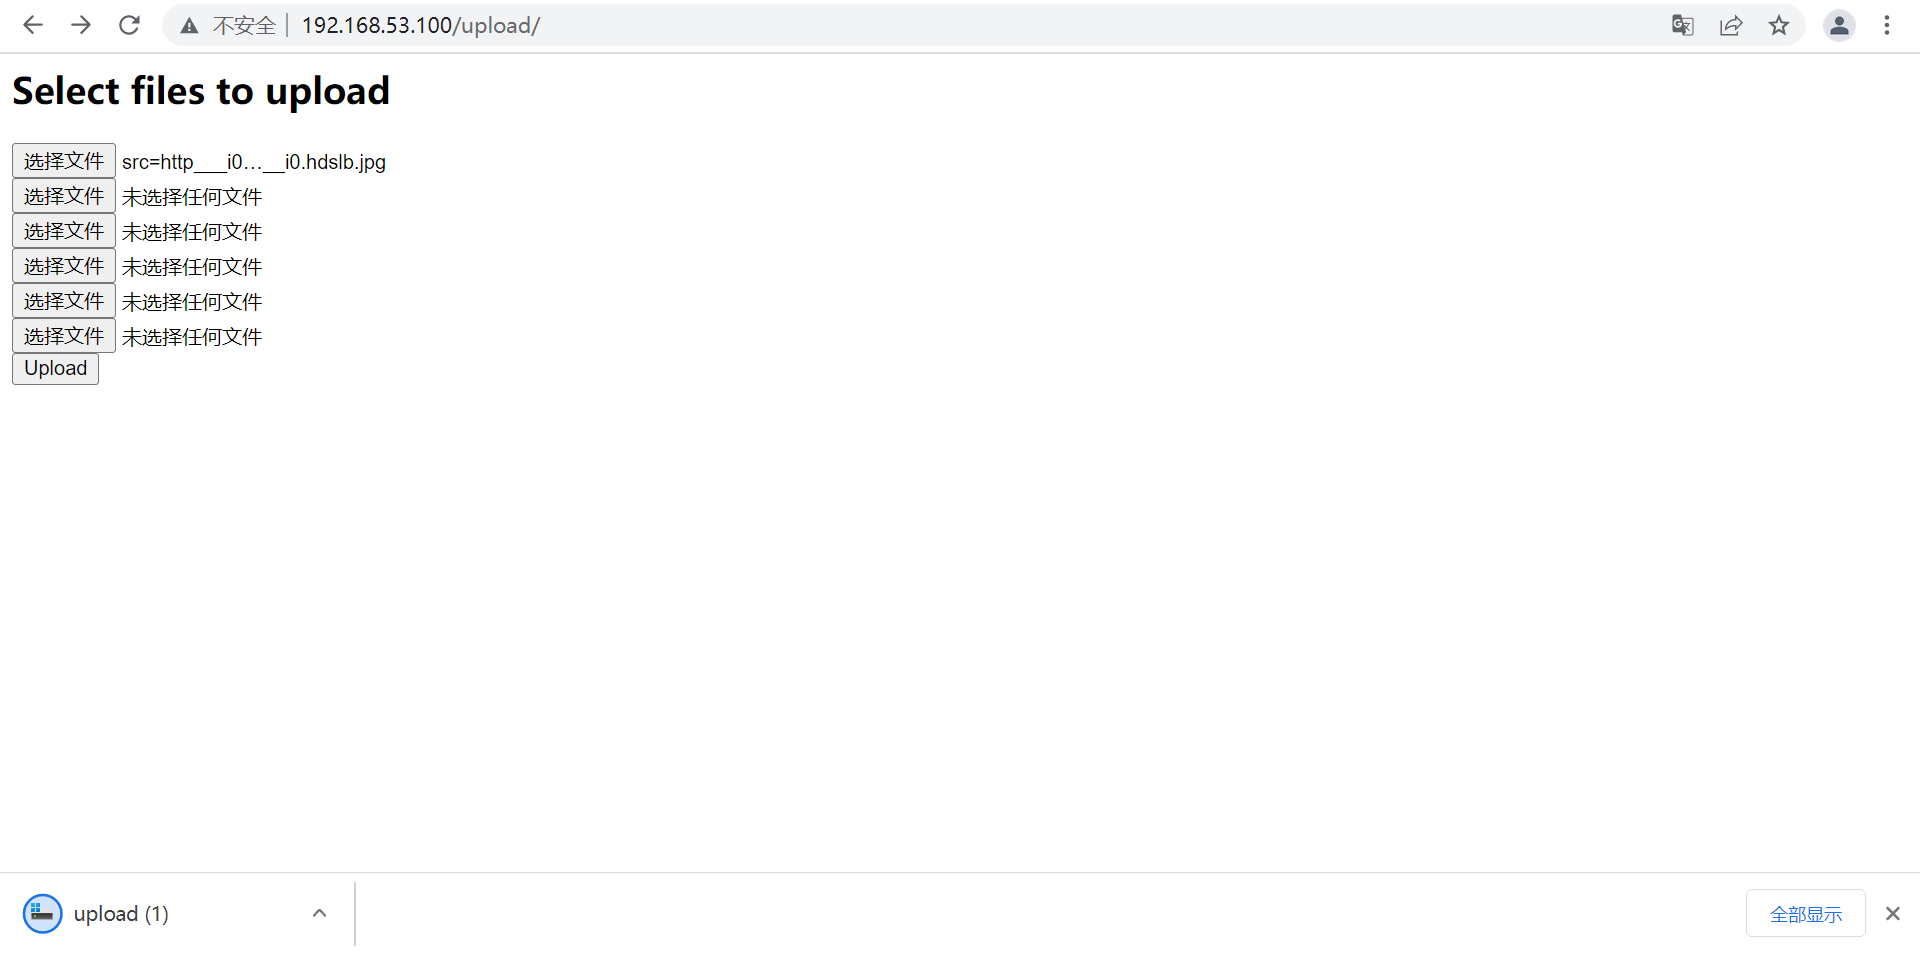
我们去服务器查看文件存储位置

6、添加账号登录验证
使用 htpasswd 生成用户密码
# htpasswd -c conf/htpasswd test1
New password:
Re-type new password:
Adding password for user test1
编辑nginx.conf配置文件,在upload下添加
auth_basic    'upload balance file';
auth_basic_user_file htpasswd;
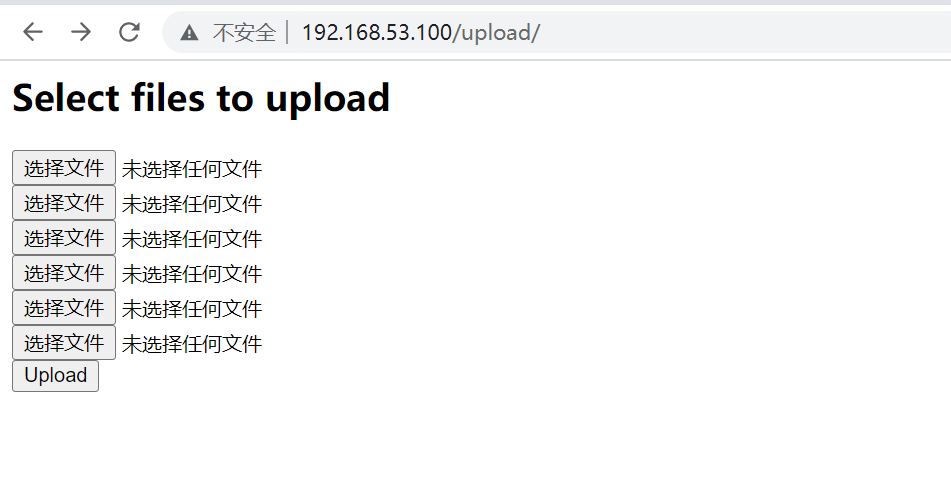
重启nginx,浏览器访问

可以看到现在登录页面需要账号密码验证,使用自己创建的账号密码登录即可
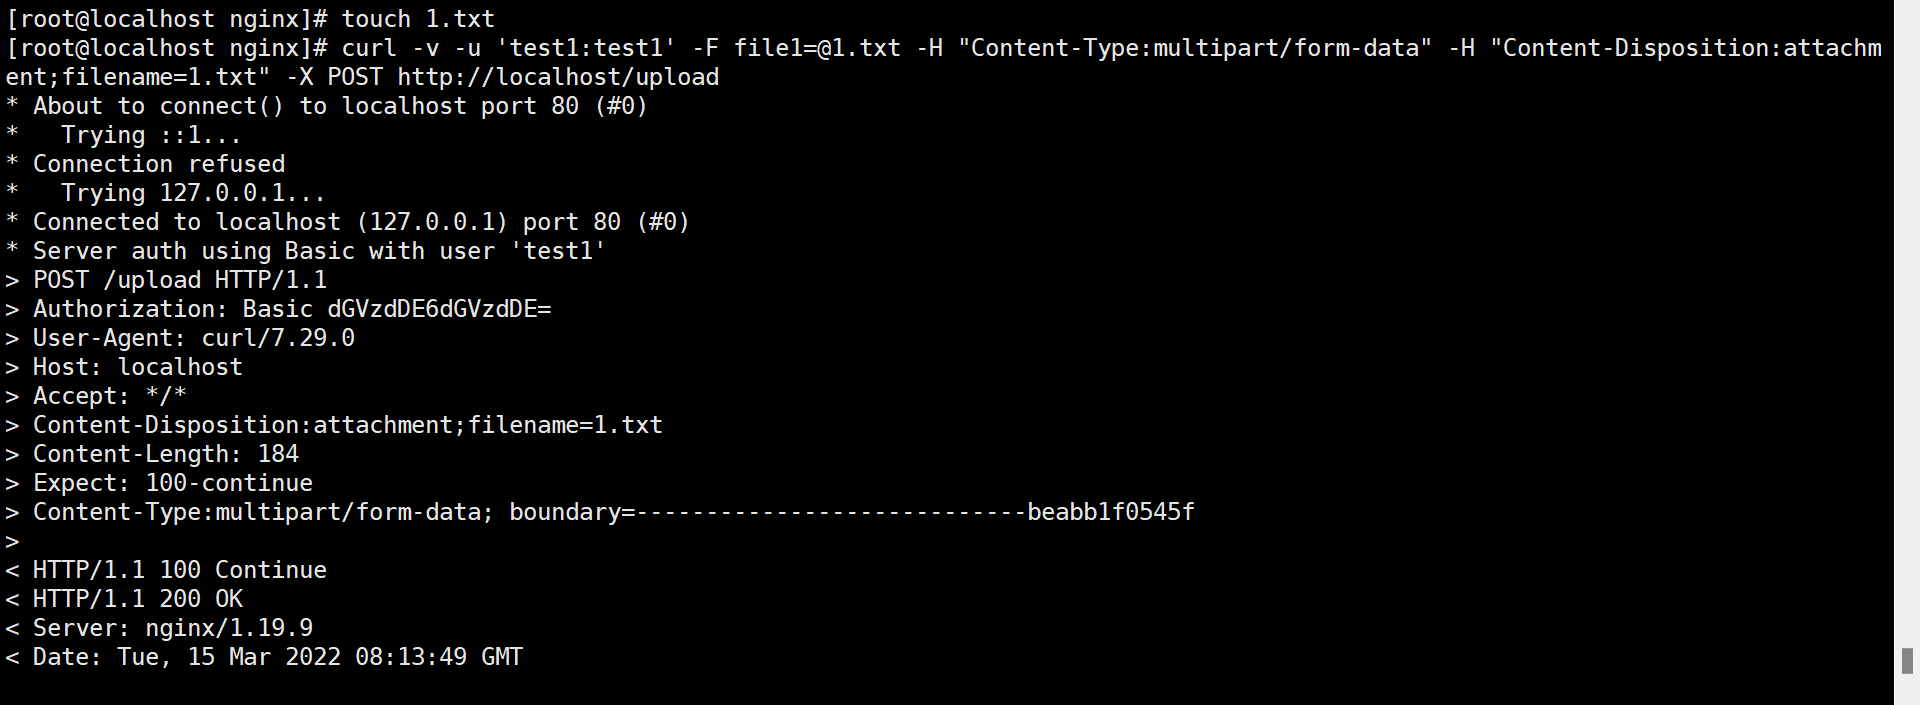
7、服务器使用curl 进行文件上传调试
# curl -v -u 'test1:test1' -F file1=@1.txt -H "Content-Type:multipart/form-data" -H "Content-Disposition:attachment;filename=1.txt" -X POST http://localhost/upload


 已为社区贡献1条内容

所有评论(0)