kafka下载安装
kafka下载与Linux下安装配置一览
·
提示:以下是本篇文章正文内容,下面案例可供参考
1.https://kafka.apache.org/downloads下载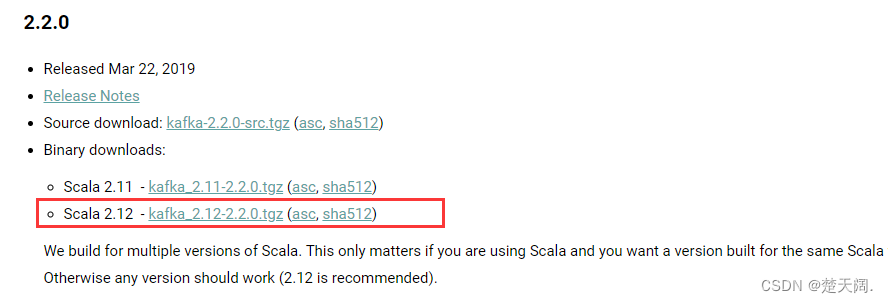
2.使用Xftp将压缩包上传至Linux root目录下
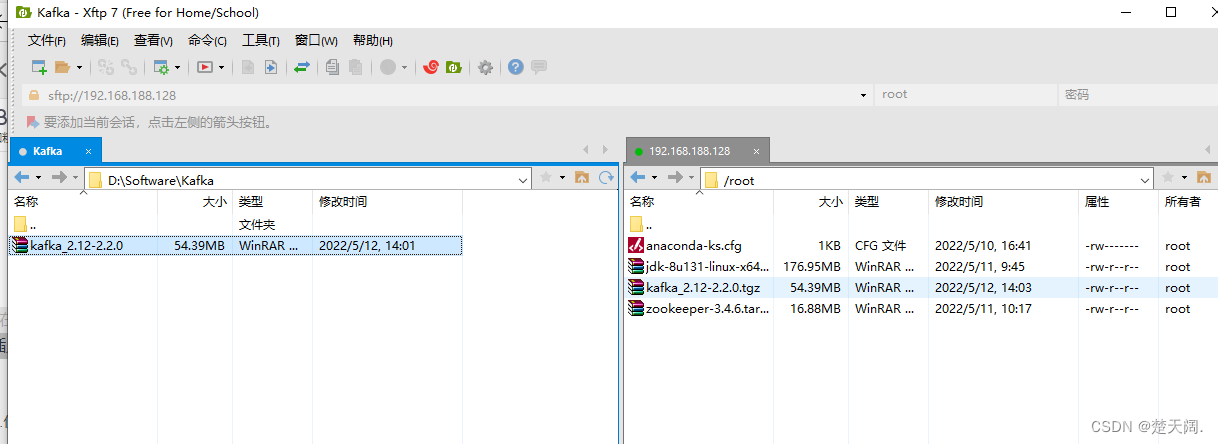
压缩包解压至 opt目录下,并重命名方便后续操作
代码如下(示例):
[root@localhost ~]# ls
anaconda-ks.cfg  jdk-8u131-linux-x64.tar.gz  kafka_2.12-2.2.0.tgz  zookeeper-3.4.6.tar.gz
[root@localhost ~]# tar zxvf kafka_2.12-2.2.0.tgz -C /opt
kafka_2.12-2.2.0/
kafka_2.12-2.2.0/LICENSE
kafka_2.12-2.2.0/NOTICE
然后重命名
[root@localhost ~]# cd /opt
[root@localhost opt]# ls
kafka_2.12-2.2.0
[root@localhost opt]# mv kafka_2.12-2.2.0/ kafka
[root@localhost opt]# ls
kafka
[root@localhost opt]#
然后修改config目录下的server.properties文件
[root@localhost kafka]# ls
bin  config  kafkaStart.sh  libs  LICENSE  log  logs  NOTICE  site-docs  zookeeper
[root@localhost kafka]# cd config/
[root@localhost config]# ls
config                           connect-console-source.properties  connect-file-sink.properties    connect-log4j.properties       consumer.properties  producer.properties  tools-log4j.properties
connect-console-sink.properties  connect-distributed.properties     connect-file-source.properties  connect-standalone.properties  log4j.properties     server.properties    zookeeper.properties
[root@localhost config]# vi server.properties
主要修改如下配置:
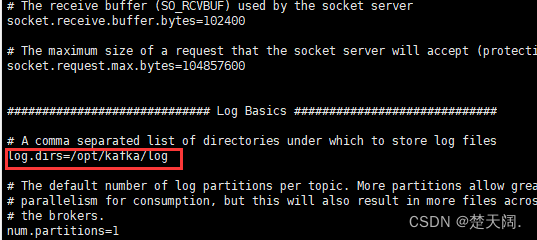
log.dirs=/opt/kafka/log
不要忘记创建log文件夹
[root@localhost config]# cd ..
[root@localhost kafka]# mkdir log
[root@localhost kafka]# ls
bin  config  libs  LICENSE  log  NOTICE  site-docs
[root@localhost kafka]# pwd
/opt/kafka
[root@localhost kafka]#
修改kafka中config目录下zookeeper.properties
vi zookeeper.properties

dataDir=/opt/kafka/zookeeper/data/dataDir
dataLogDir=/opt/kafka/zookeeper/data/dataLogDir
# the port at which the clients will connect
clientPort=2181
# disable the per-ip limit on the number of connections since this is a non-production config
maxClientCnxns=100
tickTime=2000
initLimit=10
接下来创建刚才提到的文件夹
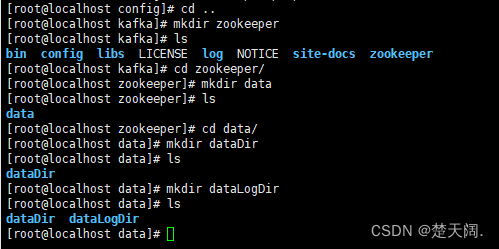
命令如下:
[root@localhost config]# cd ..
[root@localhost kafka]# mkdir zookeeper
[root@localhost kafka]# ls
bin  config  libs  LICENSE  log  NOTICE  site-docs  zookeeper
[root@localhost kafka]# cd zookeeper/
[root@localhost zookeeper]# mkdir data
[root@localhost zookeeper]# ls
data
[root@localhost zookeeper]# cd data/
[root@localhost data]# mkdir dataDir
[root@localhost data]# ls
dataDir
[root@localhost data]# mkdir dataLogDir
[root@localhost data]# ls
dataDir  dataLogDir
[root@localhost data]#
编写启动脚本:
在kafka目录下 vi kafkaStart.sh
然后添加如下内容
#!/bin/bash
#启动zookeeper
/opt/kafka/bin/zookeeper-server-start.sh /opt/kafka/config/zookeeper.properties &
sleep 3  #默默等3秒后执行
#启动kafka
/opt/kafka/bin/kafka-server-start.sh /opt/kafka/config/server.properties &
添加脚本执行权限:
[root@localhost kafka]# chmod +x kafkaStart.sh
注意:因为脚本中已经包含zookeeper的开启,因此不需要单独开zookeeper

[root@localhost kafka]# ./kafkaStart.sh
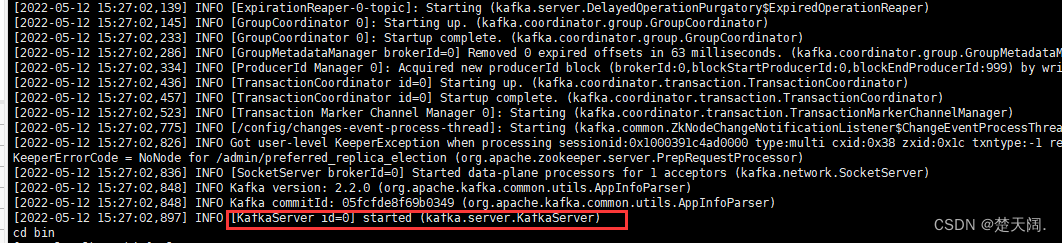
成功开启kafka
接下来在bin目录创建topic:

创建Topic命令:
[root@localhost bin]# ./kafka-topics.sh --create --zookeeper localhost:2181 --replication-factor 1 --partitions 1 --topic test
test是topic名称 可以随变换
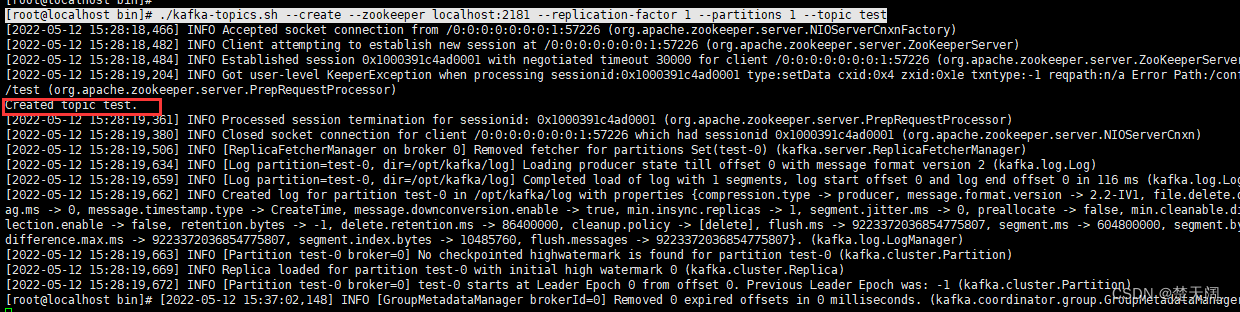
出现Created topic test即创建成功
查询创建的top主题 出现test则为正常

查询Topic命令:
./kafka-topics.sh --list --zookeeper localhost:2181
删除topic:

删除topic命令:
./kafka-topics.sh --delete --zookeeper localhost:2181 --topic test


创建Producer命令:
[root@localhost bin]# ./kafka-console-producer.sh --broker-list localhost:9092 --topic test
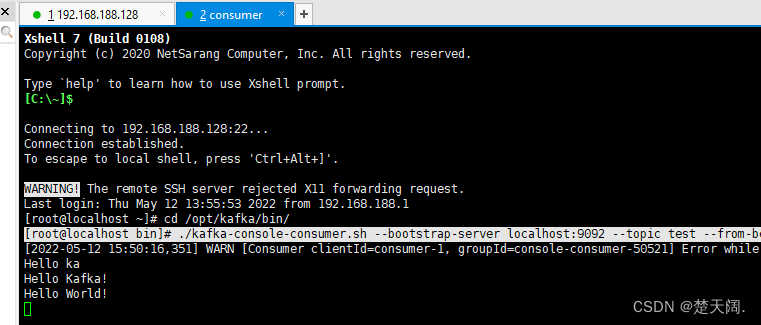
创建消费者:
在XShell中开启另一个会话:

创建Consumer命令:
[root@localhost bin]# ./kafka-console-consumer.sh --bootstrap-server localhost:9092 --topic test --from-beginning
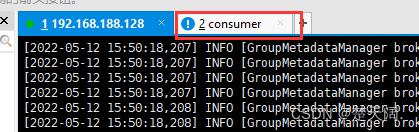
生产者发送消息:
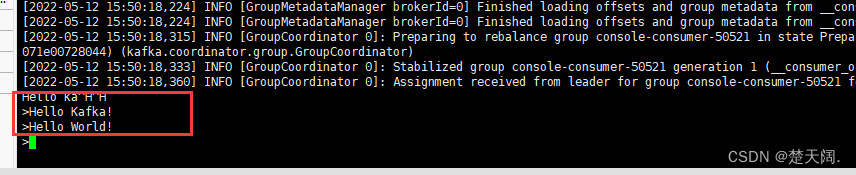
消费者收到消息:
发送消息后,消费者会话框会变成叹号
关闭的话需要jps查出
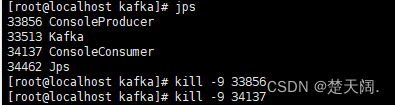
然后再关闭kafka,之后是zookeeper,要先关kafka

为开发者提供学习成长、分享交流、生态实践、资源工具等服务,帮助开发者快速成长。
更多推荐


 8
8 0
0- 0


 已为社区贡献1条内容

所有评论(0)