【ubuntu20.04安装MySQL以及MySQL-workbench可视化工具】
摘要:本文基于Ubuntu20.04 LST 以及MySQL 8.0.29,可视化工具使用mysql-workbench-community_8.0.29-1ubuntu20.04_amd64.deb
前言
本文基于Ubuntu20.04 LST 以及MySQL 8.0.29,可视化工具使用mysql-workbench-community_8.0.29-1ubuntu20.04_amd64.deb
安装步骤
1.安装MySQL
sudo apt-get update  #获取最新的软件源
sudo apt-get install mysql-server #安装mysql
启动与关闭MySQL
service mysql start  #启动MySQL
service mysql stop  #关闭MySQL
2.配置MySQL
开始配置:
sudo mysql_secure_installation
...
# 1.询问是否安装密码插件,我选择 No
VALIDATE PASSWORD COMPONENT can be used to test passwords
and improve security. It checks the strength of password
and allows the users to set only those passwords which are
secure enough. Would you like to setup VALIDATE PASSWORD component?
Press y|Y for Yes, any other key for No: n

# 2.为root用户设置密码
Please set the password for root here.

New password:

Re-enter new password:
#2.1 解决方法详见下一小节,解决bug
 ... Failed! Error: SET PASSWORD has no significance for user 'root'@'localhost' as the authentication method used doesn't store authentication data in the MySQL server. Please consider using ALTER USER instead if you want to change authentication parameters.

# 2.2 解决bug后,重新设置密码
New password:

Re-enter new password:

#3.删除匿名用户,我选No
By default, a MySQL installation has an anonymous user,
allowing anyone to log into MySQL without having to have
a user account created for them. This is intended only for
testing, and to make the installation go a bit smoother.
You should remove them before moving into a production
environment.

Remove anonymous users? (Press y|Y for Yes, any other key for No) : n

 ... skipping.

#4.禁止root管理员从远程登录,这里我选 No
Normally, root should only be allowed to connect from
'localhost'. This ensures that someone cannot guess at
the root password from the network.

Disallow root login remotely? (Press y|Y for Yes, any other key for No) : n

 ... skipping.

 #5.删除test数据库并取消对它的访问权限, 我选 No
By default, MySQL comes with a database named 'test' that
anyone can access. This is also intended only for testing,
and should be removed before moving into a production
environment.


Remove test database and access to it? (Press y|Y for Yes, any other key for No) : n

 ... skipping.

 #6.刷新授权表,让初始化后的设定立即生效, 选 Yes
Reloading the privilege tables will ensure that all changes
made so far will take effect immediately.

Reload privilege tables now? (Press y|Y for Yes, any other key for No) : y
Success.

All done!
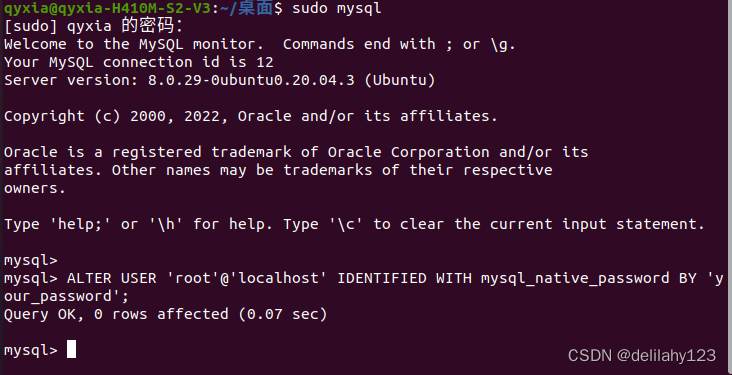
3.解决配置MySQL中的bug
解决报错Failed! Error: SET PASSWORD has no significance for user ‘root’@‘localhost’ as the authentication me
sudo mysql
ALTER USER 'root'@'localhost' IDENTIFIED WITH mysql_native_password BY 'your_password';
完成显示如下图,即可重复完成上节中的修改密码的操作
4.安装可视化工具MySQL-workbench
命令行直接安装MySQL-workbench,安装不了
sudo apt-get install MySQL-workbench
 安装包下载地址如下:https://dev.mysql.com/downloads/workbench/,选择与本机系统以及MySQL版本相符的版本进行下载,由于系统与版本为Ubuntu20.04 LST 以及MySQL 8.0.29,故可视化工具使用mysql-workbench-community_8.0.29-1ubuntu20.04_amd64.deb。对本机系统与MySQL版本不清楚的,可以参照以下命令行进行查询
sudo mysql
SELECT @@VERSION;
完成mysql-workbench版本下载后,终端进入下载目录,进行安装
sudo dpkg -i mysql-workbench-community_8.0.29-1ubuntu20.04_amd64.deb
若出现下图所示的依赖错误
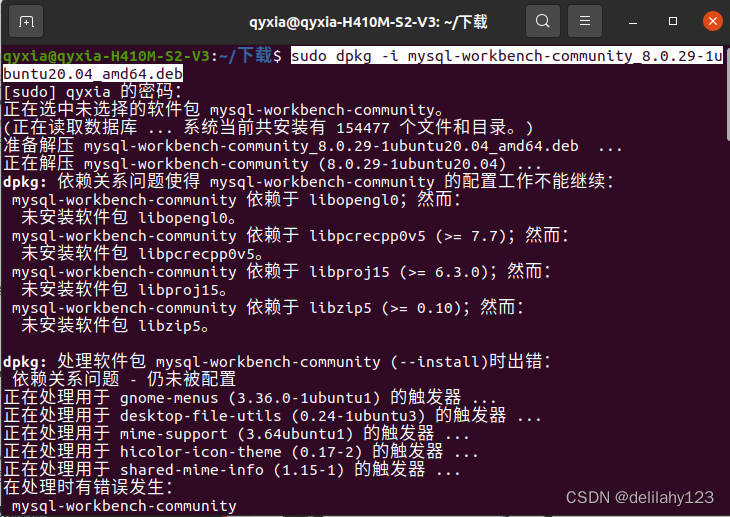 可以输入以下命令解决问题,然后重复执行上述安装命令
sudo apt -f install
由于在上述设置中,允许root管理员从远程连接,所以界面中有Local instance 3306,点击进入然后输入密码即可进入图形管理界面
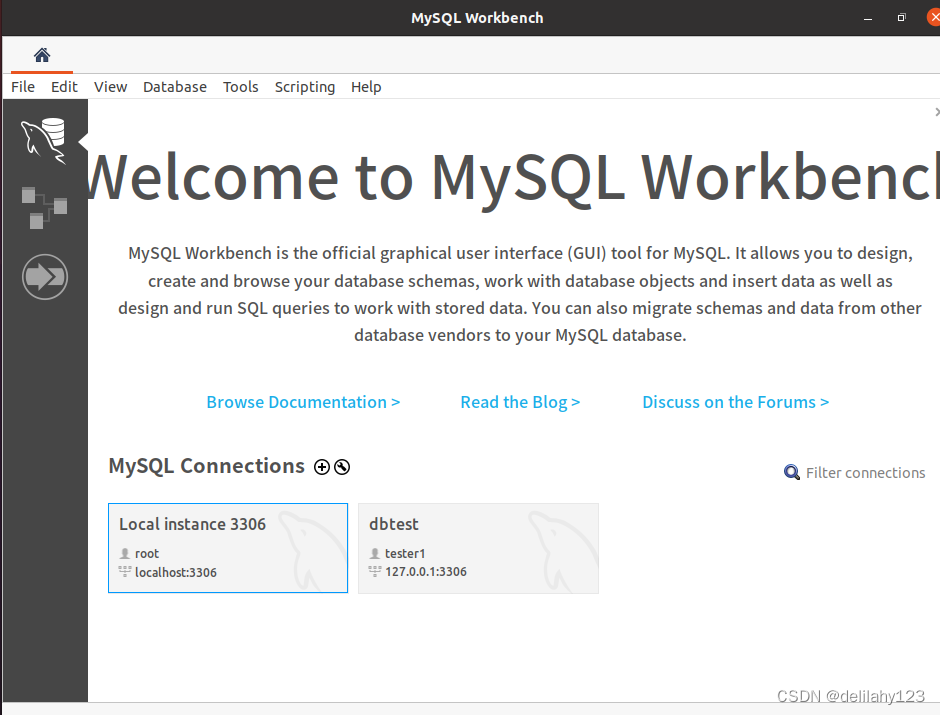
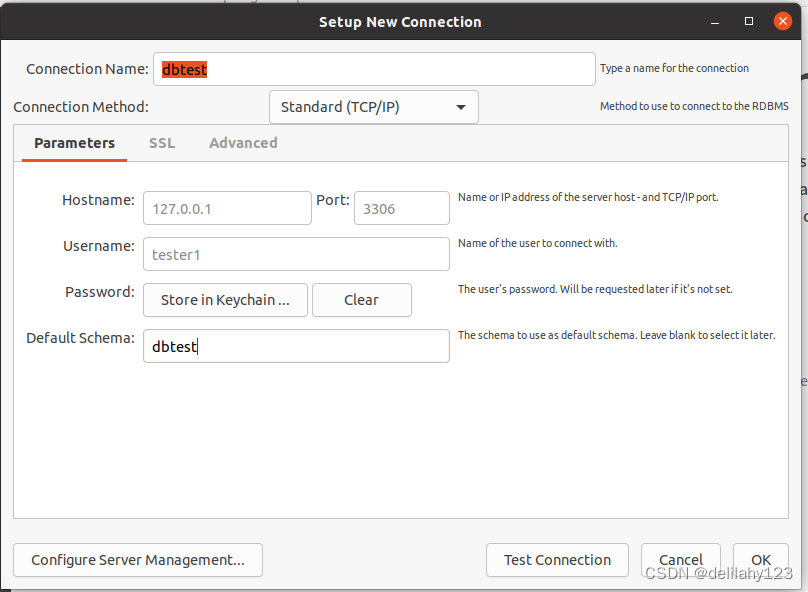
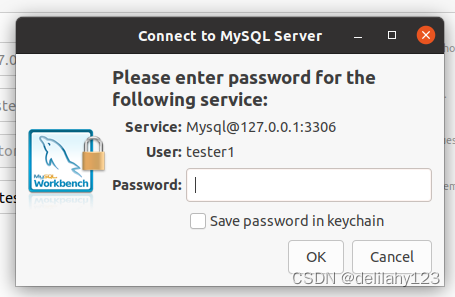 连接成功即可开始MySQL的图形化界面操作使用。
总结
由于学习与提升原因,本人安装了win10与ubuntu 20.04双系统,文章旨在分享ubuntu 20.04系统上安装MySQL与图形化工具mysql-workbench的步骤过程和问题解决方法,希望可以帮助到大家。后续也会继续分享其他方面的学习内容,希望能与大家沟通学习,共同进步。

为开发者提供学习成长、分享交流、生态实践、资源工具等服务,帮助开发者快速成长。
更多推荐


 11
11 0
0- 0


 已为社区贡献2条内容

所有评论(0)