mybatis-plus使用xml自定义sql语句
提示:文章写完后,目录可以自动生成,如何生成可参考右边的帮助文档文章目录学习准备前言一 在Mapper层自定义方法二、创建mapper.xml文件三、配置YAML总结学习准备使用mybaits-plus配置项目好基本的三个层次 dao service controller可以参考我的这篇文章如何快速使用 Mybatis-plus.前言mybatis-plus的使用确实很方便,但我们在日常的使用中难
·
提示:文章写完后,目录可以自动生成,如何生成可参考右边的帮助文档
学习准备
使用mybaits-plus配置项目好基本的三个层次 dao service controller
可以参考我的这篇文章
如何快速使用 Mybatis-plus.
前言
mybatis-plus的使用确实很方便,但我们在日常的使用中难免遇到复杂的查询
这时候应该使用xml自定义sql
提示:以下是本篇文章正文内容,下面案例可供参考
一 在Mapper层自定义方法

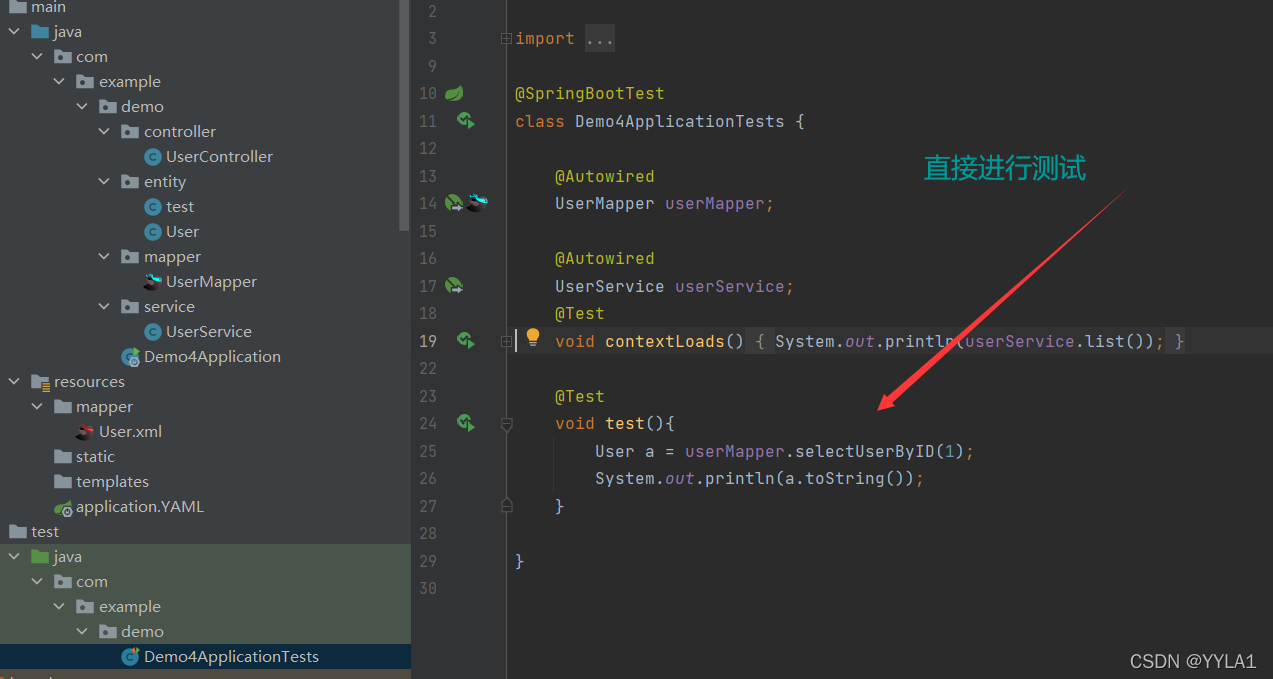
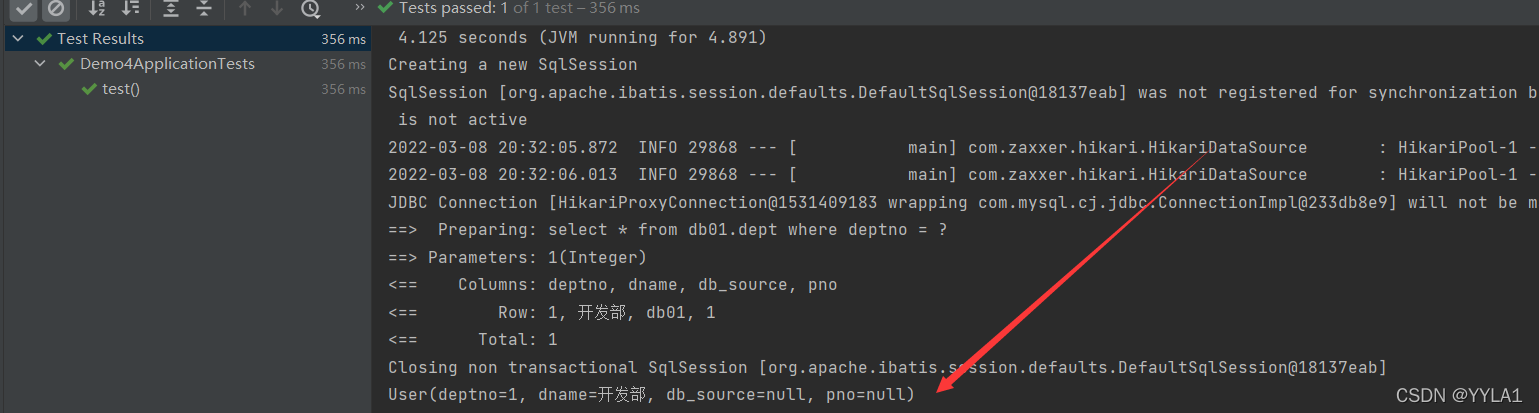
这里定义了一个根据ID查询方法
package com.example.demo.mapper;

import com.baomidou.mybatisplus.core.mapper.BaseMapper;
import com.example.demo.entity.User;
import org.apache.ibatis.annotations.Mapper;
import org.apache.ibatis.annotations.Param;

@Mapper
public interface UserMapper  extends BaseMapper<User> {
    User selectUserByID(@Param("id") int id);
}
二、创建mapper.xml文件
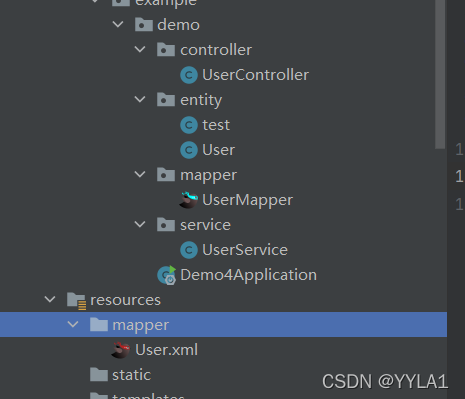
我这里是在resources下创建了mapper文件夹
并在里面创建User.xml
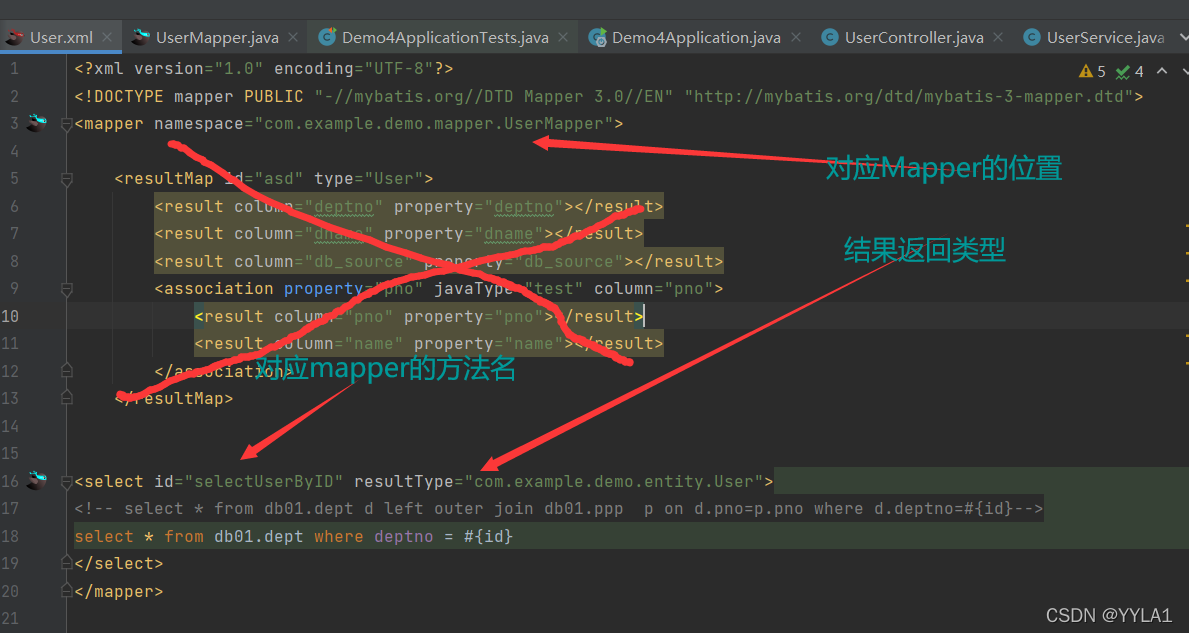
<?xml version="1.0" encoding="UTF-8"?>
<!DOCTYPE mapper PUBLIC "-//mybatis.org//DTD Mapper 3.0//EN" "http://mybatis.org/dtd/mybatis-3-mapper.dtd">
<mapper namespace="com.example.demo.mapper.UserMapper">


<!-- 注释一定要使用这种形式,不然会报错-->

<select id="selectUserByID" resultType="com.example.demo.entity.User">
select * from db01.dept where deptno = #{id}
</select>

</mapper>
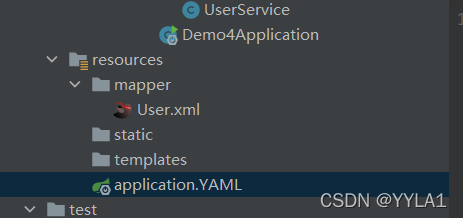
三、配置YAML

spring:
  datasource:
    driver-class-name: com.mysql.cj.jdbc.Driver
    username: root
    password: 123456
    url: jdbc:mysql://localhost:3306/db01?useUnicode=true&characterEncoding=utf-8&allowMultiQueries=true&useSSL=false&serverTimezone=GMT%2B8
server:
  port: 8082
mybatis-plus:
  configuration:
    log-impl: org.apache.ibatis.logging.stdout.StdOutImpl
  mapper-locations: classpath:mapper/*.xml
  type-aliases-package: com.example.demo.entity
总结

为开发者提供学习成长、分享交流、生态实践、资源工具等服务,帮助开发者快速成长。
更多推荐


 8
8 0
0- 0


 已为社区贡献6条内容

所有评论(0)